How to Dry Ceiling Quickly After Water Damage
Discovering a leak in your ceiling can be a homeowner’s nightmare. Whether it’s from a burst pipe, heavy rain, or an overflowing bathtub, water damage can quickly lead to bigger problems like mold growth and structural issues if not addressed promptly. But don’t panic—acting quickly and methodically can save you time, money, and a lot of frustration.
In this guide, we’ll walk you through the essential steps to effectively dry out your ceiling after a leak, ensuring your home stays safe and sound. From identifying the source of the leak to employing the right drying techniques, we’ve got you covered. Let’s dive in and tackle that leak head-on!
What causes water damaged Ceiling ?
Water-damaged ceilings can result from a variety of causes, each potentially leading to significant issues if not addressed promptly. Here are some common reasons why ceilings may suffer water damage:
Roof Leaks: Damaged or missing shingles, cracked flashing, or deteriorated sealant can allow water to seep through the roof and into the ceiling.
Plumbing Issues: Burst or leaking pipes, particularly those running through the attic or between floors, can cause water to pool and damage the ceiling below.
HVAC Problems: Leaking air conditioning units, particularly those installed in the attic, can cause water to drip onto the ceiling. Condensation from improperly insulated ductwork can also be a culprit.
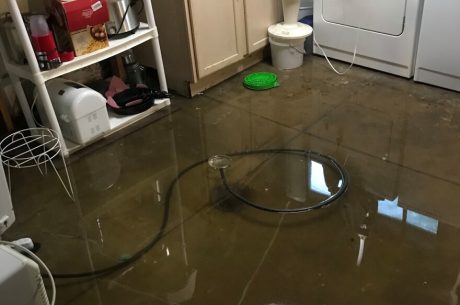
Overflowing Fixtures: Bathtubs, sinks, or toilets that overflow can lead to water seeping through the floor and damaging the ceiling below.
Gutter Problems: Clogged or damaged gutters and downspouts can cause water to back up and seep into the roof, eventually making its way to the ceiling.
Poorly Sealed Windows and Doors: Water can seep in through windows and doors that are not properly sealed, especially during heavy rain, leading to ceiling damage.
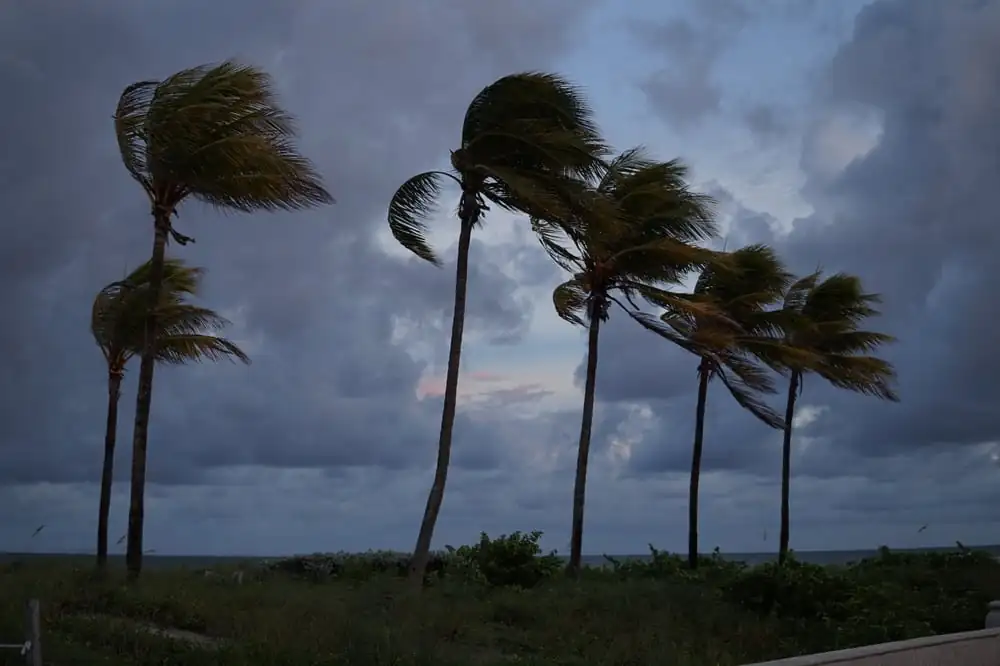
Natural Disasters: Severe weather conditions like heavy rain, snowstorms, or hurricanes can cause extensive water damage to a roof and ceiling.
Ice Dams: In colder climates, ice dams can form on the edge of the roof, preventing melting snow from draining properly. This water can then back up under the shingles and into the ceiling.
Condensation: High humidity levels, particularly in poorly ventilated areas, can cause condensation to form on the ceiling, leading to water damage over time.
Structural Issues: Cracks in the walls or foundation can allow water to seep in and damage the ceiling.
Understanding the cause of the water damage is crucial for effectively addressing the issue and preventing future problems. Once the source is identified and repaired, you can begin the process of drying and repairing the affected ceiling.
How to Dry Ceiling After Leak
Drying out a ceiling after a leak involves a series of crucial steps to ensure the issue is resolved and to prevent further damage. Here’s a detailed explanation of each step:
1. Stop the Water Source
Identify and Shut Off the Source:
Turn Off Water Supply: If the leak is due to plumbing, immediately turn off the water supply to prevent more water from entering the affected area. This may involve shutting off the main water valve or a localized valve near the source.
Fix the Leak: Identify the exact cause of the leak, whether it’s a broken pipe, a leaky roof, or an overflowing fixture.
If it’s a plumbing issue, you might need a plumber to repair or replace the damaged pipe. For roof leaks, patching or replacing shingles, flashing, or sealant may be necessary.
Stop Further Damage: In cases of natural disasters or severe weather, cover the area with a tarp or plastic sheeting to minimize further water intrusion until professional help can arrive.
2. Dry Out a Wet Ceiling
Remove Excess Water:
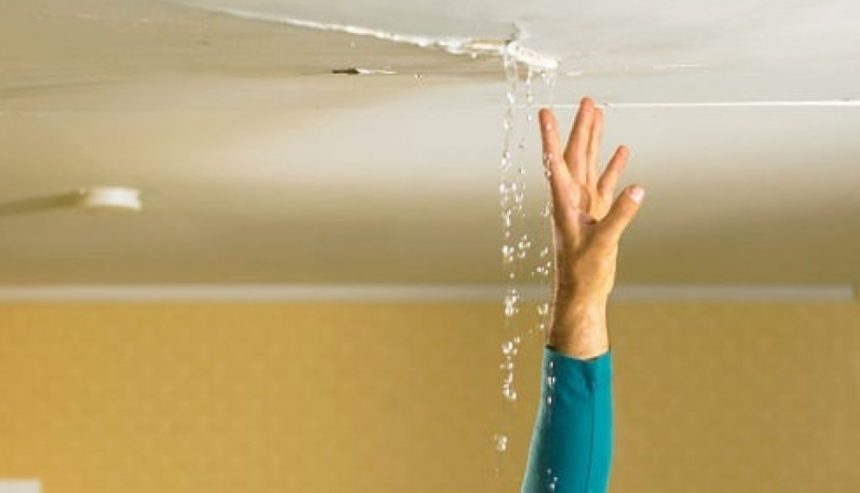
Drain Water Pockets: If the ceiling is bulging with water, carefully poke a small hole at the lowest point and let the water drain into a bucket. This prevents a sudden collapse from the weight of the water.
Promote Air Circulation:
Use Fans and Dehumidifiers: Place fans and dehumidifiers in the room to increase air circulation and speed up the drying process.
Position the fans to blow air across the wet areas, and empty the dehumidifier regularly to maintain efficiency.
Open Windows and Doors: If weather permits, open windows and doors to allow fresh air to circulate through the room, which can help with drying.
Monitor Moisture Levels:
Check for Dryness: Use a moisture meter to check the wet areas. The ceiling should be completely dry before proceeding to repairs. This may take several days.
3. Remove the Damaged Sections
Safety Precautions:
Turn Off Electricity: Before starting any work, ensure that the power is turned off to the affected area to avoid electrical hazards.
Remove Wet Material:
Cut Out Damaged Drywall: Using a utility knife or drywall saw, cut out the damaged sections of the ceiling. Be careful to cut beyond the visibly damaged area to ensure you remove all wet or compromised material.
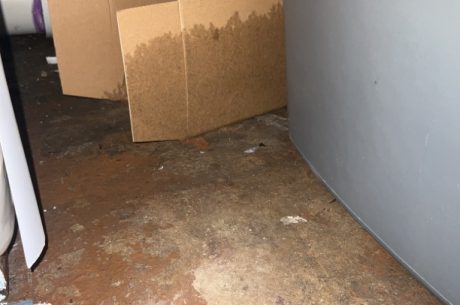
Inspect for Mold: Check the exposed area for signs of mold or mildew. If you find any, treat it with a mold remover or a solution of bleach and water before proceeding.
Dispose of Debris:
Proper Disposal: Bag up the damaged materials and dispose of them according to local regulations. Clean the area thoroughly to remove any dust or debris.
4. Repair the Water Damaged Ceiling
Prepare the Area:
Measure and Cut Replacement Drywall: Measure the size of the hole you created and cut a new piece of drywall to fit. It’s often best to use moisture-resistant drywall in areas prone to leaks.
Install the New Drywall:
Secure in Place: Use drywall screws to attach the new piece of drywall to the ceiling joists. Make sure it’s flush with the existing ceiling.
Tape and Mud Seams: Apply drywall tape over the seams where the new drywall meets the old ceiling. Use a putty knife to spread joint compound (mud) over the tape, feathering the edges to blend with the surrounding ceiling.
Let the first coat dry, then sand lightly and apply additional coats as needed, sanding between each coat for a smooth finish.
5. Prime and Paint the Ceiling
Prime the Surface:
Apply Primer: Once the joint compound is dry and sanded smooth, apply a coat of primer to the repaired area. This helps to seal the new drywall and prepares it for painting. Use a primer specifically designed for water-damaged areas to prevent stains from bleeding through.
Paint the Ceiling:
Choose the Right Paint: Select a high-quality ceiling paint that matches the existing color. For the best results, consider using paint with a built-in primer or one that’s formulated for high-moisture areas.
Apply Paint: Use a roller to apply the paint evenly across the repaired area. You may need to paint the entire ceiling to ensure a uniform finish. Apply multiple coats as needed, allowing each coat to dry thoroughly before applying the next.
By following these detailed steps, you can effectively dry out and repair a water-damaged ceiling, restoring your home to its original condition and preventing future issues.
Fast Solution to Drying Ceiling after Water Damage in New Jersey
PuroClean Emergency Recovery Services in New Jersey, with their years of experience and IICRC certification, stand as your reliable partners in home restoration. For immediate assistance with ceiling leak repair and water damage cleanup in New Jersey, contact us on (877) 750-7876.