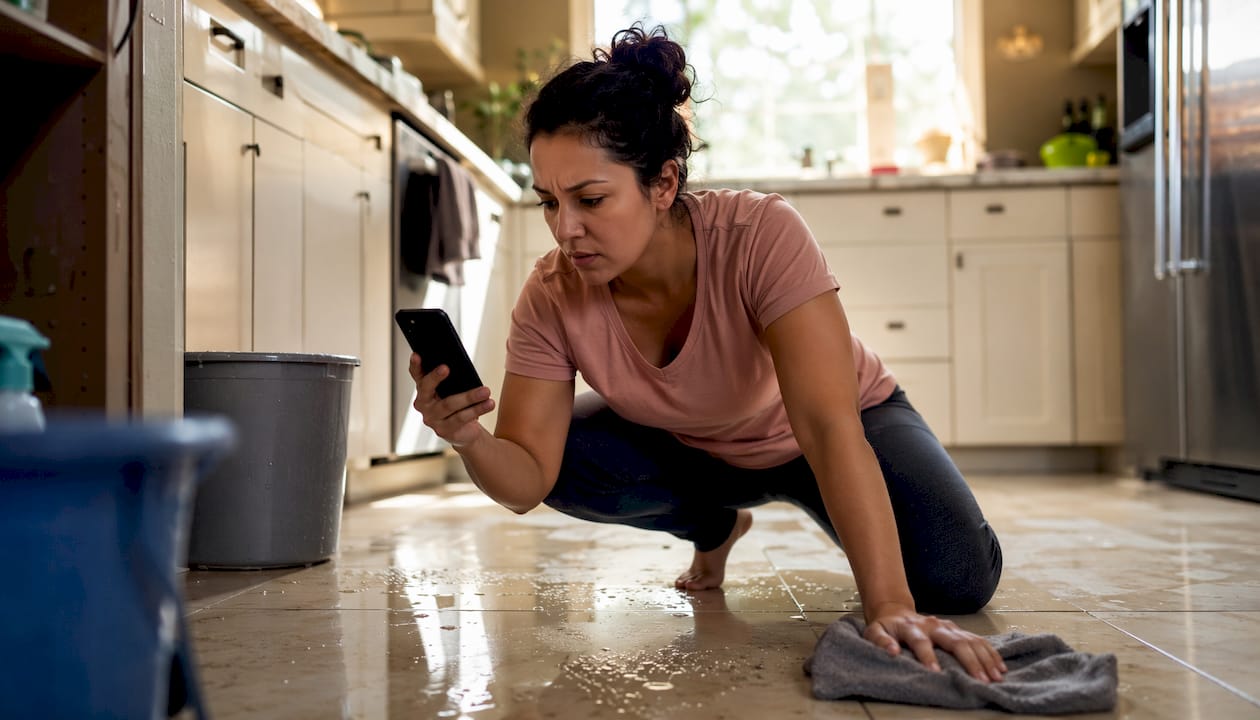
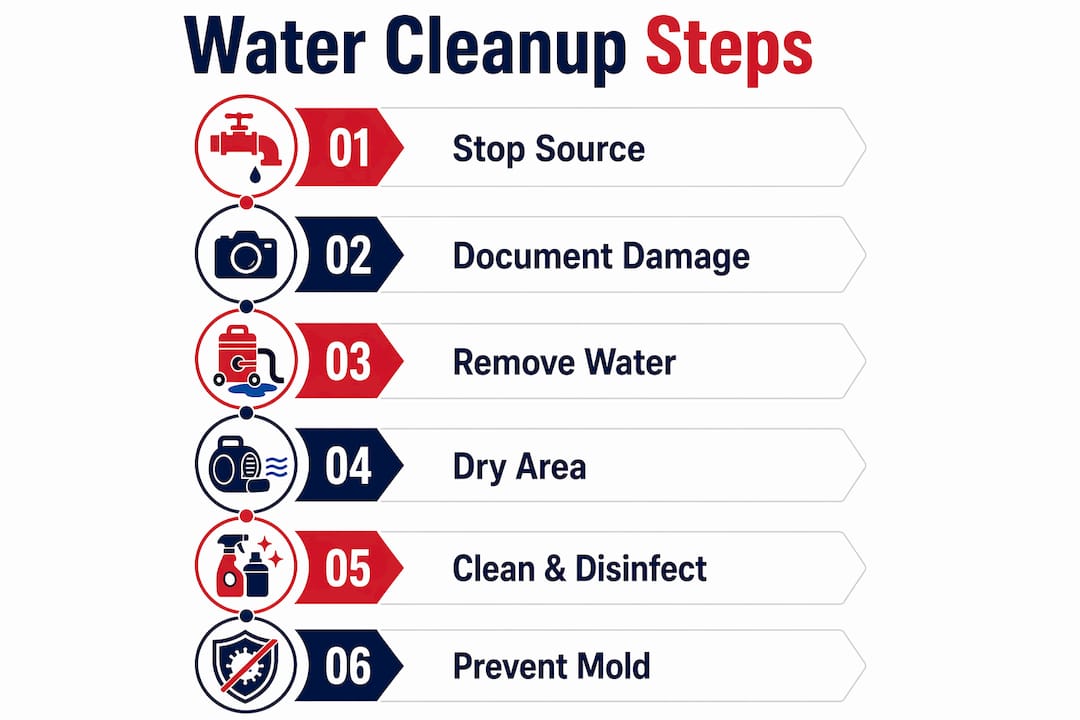
When water damage hits, act immediately: get people and pets out of harm’s way, shut off the water source if it’s safe to reach, cut power to affected areas, document everything with photos, extract standing water, start drying, and call your insurer. That sequence, done in order, is what separates a manageable repair from a six-figure structural loss.
The clock starts the second you find the water. Mold can begin growing on wet materials within 24–48 hours, so every hour you spend deciding is an hour mold spends colonizing your drywall.
Immediate action checklist (do these in order):
- Get everyone, including children and pets, away from the affected area
- Shut off the water source if you can reach the shutoff valve safely
- Cut power to the affected zone at the breaker panel — only if you can reach it without stepping in water
- Put on rubber boots, gloves, and an N95 mask before entering
- Photograph everything before you move a single item
- Begin extracting standing water as soon as electricity is verified safe
- Open windows and doors to start air circulation
- Call your insurance carrier to report the loss
- Contact a licensed restoration contractor if volume, contamination, or structural damage is involved
For a fuller emergency water damage checklist, bookmark it now before you need it.
Table of Contents
- Step 1: What are the first safety priorities after water damage?
- Step 2: How do you inspect and document water damage for insurance?
- Step 3: How do you safely remove standing water?
- Step 4: What does proper drying actually involve?
- Step 5: How do you clean and disinfect after water damage?
- Step 6: How do you prevent mold after water damage?
- When should you call restoration professionals and your insurer?
- Why professional drying standards matter more than you think
- Key Takeaways
- What homeowners consistently get wrong about water cleanup
- When you need professional help now: what Puroclean offers
- Useful sources for further reading
Step 1: What are the first safety priorities after water damage?
Human safety comes before property. Before you grab a mop or a camera, ask one question: is it safe to be in this space? If the water is deep, smells like sewage, or you can see submerged outlets or appliances, the answer is no.
PPE basics before you enter any water-damaged space:
- Rubber or waterproof boots (ankle height minimum; knee-high for deeper water)
- Nitrile or rubber gloves
- N95 respirator or better if there’s any odor, visible mold, or sewage involvement
- Safety glasses if you’re working overhead or near damaged ceilings
Electrical safety is the most underestimated risk. Never walk into standing water if electrical outlets, appliances, or wiring are submerged. If you cannot reach your main breaker panel without stepping into water, call your utility company for an emergency meter disconnect. That call takes minutes and could save your life. Once power is confirmed off, a licensed electrician should inspect any submerged electrical components before the circuit is restored. GFCIs, breakers, and surge protectors that have been underwater are generally not salvageable, even if they appear to work after drying.
Stopping the water source:
- Burst pipe or appliance leak: close the shutoff valve behind the appliance or the main water shutoff at the meter
- Water heater leak: turn off the cold-water supply line to the unit and switch the heater to pilot or off
- Sewer backup: do not use any drains or toilets; call a plumber immediately
- Municipal main break: call your water utility; do not attempt to access the street-level shutoff yourself
Pro Tip: While waiting for help, move valuables and furniture off wet floors. Slide aluminum foil or plastic bags under furniture legs to prevent rust and dye transfer to wet carpet. It takes two minutes and saves a lot of grief.
Keep children and pets out of the area entirely. EPA guidance is explicit: floodwater can contain hazardous household chemicals, sewage, and contaminants that are not visible to the eye. Don’t let curiosity turn into a health problem.
Step 2: How do you inspect and document water damage for insurance?
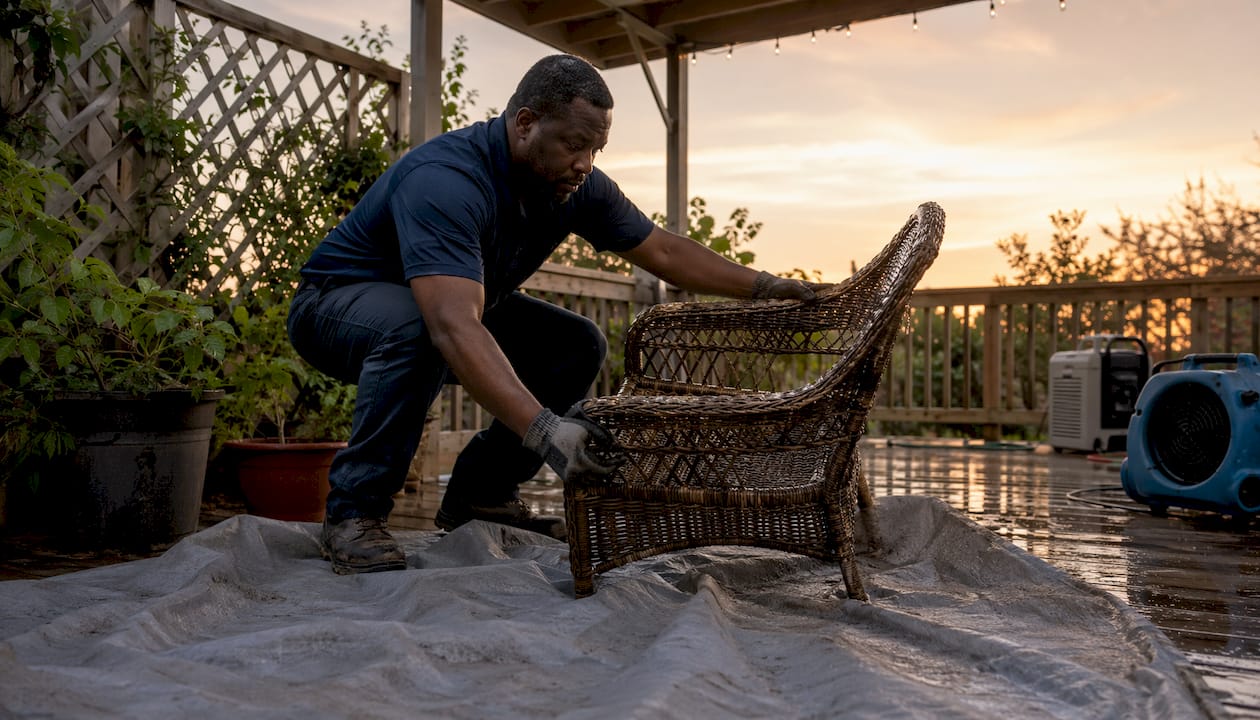
Document before you touch anything. Adjusters and restoration contractors both rely on your initial photos, and a gap in documentation can delay or reduce your claim payout.
What to assess first:
- Water category: Clean water (Category 1) comes from a supply line or rain. Gray water (Category 2) comes from appliances, dishwashers, or overflow. Black water (Category 3) comes from sewage, flooding from rivers, or any water that has sat long enough to become contaminated. Category determines what can be salvaged and what must be discarded.
- Structural involvement: Check for sagging ceilings, buckled floors, cracked walls, or doors that no longer close properly.
- Affected contents: Note which items are wet, which are in the path of water migration, and which appear dry.
Photo and video checklist:
- Shoot the water source before anything is moved or shut off
- Wide shots of each affected room from the doorway
- Close-up detail shots of visible damage (staining, warping, saturation)
- All wet contents in place, before removal
- Timestamps on every image (your phone does this automatically; verify it’s on)
- Video walkthrough narrating what you see and when you found it
Recordkeeping for your drying log:
- Date and time of discovery
- Water source and category
- Names and contact info of everyone you called (plumber, contractor, insurer)
- Daily moisture readings if you have a meter
- Equipment running (fans, dehumidifiers) and hours of operation
Insurance carriers expect a documented mitigation pathway: photos, water category, a contractor scope, daily drying logs, and a final drying clearance report. Missing any of these can complicate your claim. For property managers handling multiple units, this documentation workflow applies to every affected space, not just the most visibly damaged one.
Step 3: How do you safely remove standing water?
Extraction speed matters, but safety comes first. Only use electrical equipment once power to the area is confirmed off and the circuit has been cleared by a licensed electrician or your utility.
Extraction methods by scale:
- Small spills (under a few gallons): Towels, mops, and squeegees work fine. Wring into buckets and dispose of water away from the structure.
- Small-to-medium pools: A wet/dry vacuum with GFCI protection handles most residential situations. Empty frequently and work from the perimeter inward.
- Larger accumulations: A submersible or sump pump moves water faster. Drop the intake hose into the deepest point and route the discharge hose outside, away from the foundation.
- Major losses: Truck-mounted extractors are standard professional tools for large-scale events. If you’re looking at more than a few inches across a significant area, this is the threshold where professional extraction pays for itself in time and thoroughness.
Handling contaminated water (Category 2 and 3):
Gray and black water require a different approach. Wear full PPE. Bag and discard porous materials (carpet padding, drywall, insulation) that have absorbed contaminated water. Do not attempt to dry and reuse them. Hard, nonporous surfaces can be cleaned and disinfected, but only after physical contamination is removed first.
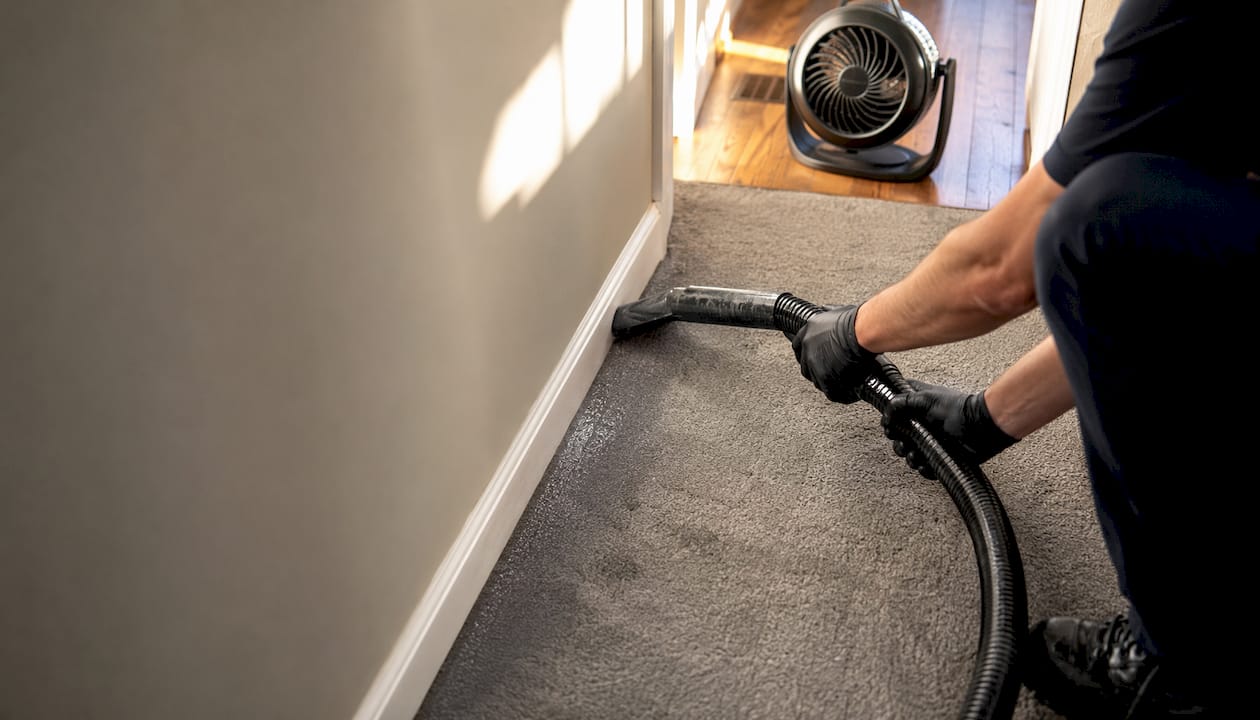
Pro Tip: When using a wet/dry vac near walls, angle the nozzle along the baseboard to pull water that has wicked under the wall. That moisture, if left, is what feeds mold behind the drywall weeks later.
Call professionals immediately if: the water is Category 3 (sewage, floodwater), your HVAC system has been affected, the volume exceeds what you can extract in a few hours, or you see structural damage. These situations require water damage mitigation expertise that goes beyond consumer equipment.
Step 4: What does proper drying actually involve?
Drying is not just running a fan and waiting. It’s a measured, calibrated process, and residential fans alone frequently fail to dry wall cavities and subfloors where moisture hides.
The science is straightforward: air movers increase evaporation from wet surfaces, and dehumidifiers pull that moisture-laden air out of the space. Together, they create a drying system. Separately, they’re much less effective.
| Drying scenario | Typical timeline | Key variables |
|---|---|---|
| Small room, clean water, caught early | 1–3 days | Ventilation, ambient humidity |
| Moderate intrusion, multiple rooms | 4–7 days | Wall cavity involvement, flooring type |
| Major loss, subfloor or structural involvement | 2–4 weeks or more | Climate, material density, equipment capacity |
Moisture targets and how to verify dryness:
- Use a pin-type or pinless moisture meter on walls, floors, and subfloors. Wood should read at or below 15% moisture content before refinishing or covering.
- For concrete slabs, use the plastic-sheet test: tape a clear plastic sheet tightly to the slab, wait approximately 16 hours, and check for condensation underneath. Visible moisture means the slab is still too wet for new flooring.
- Take readings at the same locations daily and log them. Flat or rising readings after 48 hours of drying indicate a problem.
When residential equipment isn’t enough:
- Wall cavities and subfloors require directed airflow that box fans cannot provide
- High ambient humidity (common in Sacramento summers) slows evaporation significantly
- IICRC-certified technicians use calibrated moisture meters and commercial air movers and dehumidifiers to reach target dryness per ANSI/IICRC S500 standards
The ANSI/IICRC S500 standard is the industry benchmark for water damage restoration. It defines drying goals, equipment placement, and documentation requirements. If a contractor cannot reference it, find one who can.
Step 5: How do you clean and disinfect after water damage?
Cleaning sequence matters more than most homeowners realize. Disinfectants don’t work on dirty surfaces. The EPA recommends removing visible contamination with clean water and detergent before applying any disinfectant, and avoiding scrubbing that could spread mold spores into the air.
The correct cleaning sequence:
- Remove all standing debris and contaminated material by hand or with tools
- Wash nonporous surfaces with clean water and a mild detergent using gentle strokes
- Rinse thoroughly and allow to dry partially
- Apply an EPA-registered disinfectant according to the product label, paying attention to required contact time
- Do not rinse off the disinfectant before the contact time has elapsed
Chemical safety rules:
- Never mix bleach and ammonia or bleach with other household cleaners. The resulting gases are toxic.
- Read the label for dilution ratios and contact time. A disinfectant wiped off in 30 seconds has not done its job.
- Ventilate the space while working with any cleaning chemicals.
Salvage decisions by material:
- Clothing and linens: Machine wash with detergent and the hottest water safe for the fabric; dry completely before storing.
- Documents and photos: Freeze them in sealed bags immediately if you cannot restore them now. Freezing halts deterioration and buys time.
- Electronics: Do not power on any device that has been wet. Let a qualified technician assess it.
- Upholstered furniture: Category 1 water exposure may be salvageable if dried within 24–48 hours. Category 2 or 3 exposure means discard.
- Carpet and padding: Padding is almost never worth saving after significant water exposure. Carpet may be salvageable if it’s Category 1, dried quickly, and professionally cleaned.
For a detailed post-disaster cleaning guide, Puroclean’s resource walks through room-by-room protocols.
Step 6: How do you prevent mold after water damage?
Mold prevention is really about speed. The EPA is direct: if you were not able to dry your home within 24–48 hours, assume mold growth has begun and take remediation steps accordingly.
Daily monitoring checklist:
- Smell: a musty odor that wasn’t there before is an early mold indicator
- Visible growth: look for discoloration on walls, ceilings, and under flooring edges
- Moisture readings: log them daily at the same points; any reading that isn’t dropping is a red flag
- Condensation: check windows, cold pipes, and exterior walls for surface moisture
Practical prevention steps:
- Remove wet porous materials (drywall, insulation, carpet padding) within 24–48 hours of water exposure
- Keep indoor humidity below 60% during drying; target 30–50% for normal conditions
- Do not paint, caulk, or seal over any surface that still shows elevated moisture readings
- Run dehumidifiers continuously until moisture readings stabilize at target levels
Sealing wet materials under paint is one of the most common and costly mistakes homeowners make. The moisture doesn’t disappear. It migrates, feeds mold, and eventually forces a much larger demolition than the original damage required. For more on mold prevention steps specific to water-damaged homes, Puroclean’s guide covers the monitoring process in detail.
When to call a mold remediator:
- Visible mold growth covering more than 10 square feet (EPA threshold for professional remediation)
- Mold suspected behind walls, under flooring, or in HVAC ducts
- Any occupant experiencing respiratory symptoms, headaches, or unexplained illness
When should you call restoration professionals and your insurer?
Some situations are simply beyond DIY scope. Knowing the threshold saves you from making damage worse.
Call professionals immediately when:
- The water is Category 2 or 3 (gray or black water, sewage, floodwater)
- Your HVAC system, ductwork, or air handler has been affected
- Structural components (framing, subfloor, load-bearing walls) show damage or saturation
- Volume exceeds what you can extract and dry within the first few hours
- Any occupant has health symptoms that could be related to contamination or mold
What restoration professionals actually do:
- Moisture mapping with thermal imaging cameras to find hidden water migration
- Truck-mounted extraction for fast, thorough removal
- Commercial air movers and dehumidifiers placed to IICRC S500 drying protocols
- Antimicrobial treatments on affected surfaces
- Controlled demolition of unsalvageable materials when necessary
Insurance steps:
- Notify your carrier the same day you discover the damage
- Provide your photo documentation and initial drying log
- Request that any contractor you hire provide daily moisture logs and a final drying clearance report
- Keep all receipts for emergency expenses (hotel, equipment rental, temporary repairs)
Documents to collect from any contractor:
- State contractor license number and IICRC certification
- Daily moisture logs with meter readings and locations
- Equipment inventory (make, model, placement dates)
- Final drying clearance report confirming target moisture levels were reached
FEMA’s NFIP claims handbook outlines what flood insurance adjusters expect to see. Prompt professional drying with documented logs strengthens your claim significantly.
Why professional drying standards matter more than you think
Drying is not a passive process. It’s a calibrated, measured sequence that professionals verify with instruments, not with their hands or eyes.
IICRC-certified technicians use thermal imaging to find water that has migrated behind walls and under floors, places a moisture meter alone won’t catch without knowing exactly where to probe. That combination of tools is what separates a documented, defensible restoration from one that looks dry on the surface but fails six months later when mold appears behind the baseboards.
Pro Tip: Before any contractor begins repairs, ask for their daily moisture logs and confirm they will provide a final drying clearance report. Your insurer will ask for these documents, and without them, you have no proof the structure was actually dry before it was closed up. That proof is worth more than any single line item on the invoice.
For a deeper look at the water damage restoration process and what certified technicians do at each stage, Puroclean’s guide covers the full scope.
Key Takeaways
The most important thing a homeowner can do after water damage is act within the first 24–48 hours: stop the source, document everything, extract water, and start drying before mold has a chance to establish itself.
| Point | Details |
|---|---|
| Act within 24–48 hours | Mold growth begins within 24–48 hours; extraction and drying must start immediately. |
| Document before you move anything | Photos, water category, and daily moisture logs are what insurance adjusters require for claims. |
| Match extraction method to volume | Use wet/dry vacs for small pools; call professionals for large volumes, contaminated water, or structural involvement. |
| Drying requires measurement, not guesswork | Use a moisture meter; wood should read 15% or below before any surface is covered or refinished. |
| Puroclean responds 24/7 | Puroclean of Northeast Sacramento provides IICRC-standard drying, moisture mapping, and insurance documentation support. |
What homeowners consistently get wrong about water cleanup
The conventional wisdom says “dry it out fast and you’ll be fine.” That’s mostly true, but the part people miss is what “dry” actually means. Visible dryness and measured dryness are not the same thing. A floor can feel dry to the touch while the subfloor underneath reads 25% moisture on a meter. Paint that surface, and you’ve just created a sealed environment where mold thrives for months before anyone notices.
The second mistake is documentation. Homeowners who photograph the damage but skip the daily drying log often find their insurance claim disputed on the mitigation line items. Adjusters don’t question that the damage happened. They question whether the drying was thorough and timely. A daily log with meter readings and equipment notes answers that question before it’s asked.
The third mistake is stopping too soon. Extraction takes an hour. Drying takes days. The moment the space looks and smells better, the temptation to declare victory and start repairs is strong. Resist it. Run the equipment until the meter confirms target moisture levels, get the clearance report, and then call the contractor. Rebuilding over wet framing is how a $10,000 repair becomes a $40,000 mold remediation.
For property managers handling multiple units, the water damage prevention tips Puroclean has published are worth reviewing before the next incident, not during it.
When you need professional help now: what Puroclean offers
Water damage moves faster than most homeowners expect. By the time you’ve extracted the standing water and set up a few fans, the moisture has already migrated into wall cavities and subfloor assemblies that residential equipment can’t reach.
Puroclean of Northeast Sacramento provides 24/7 emergency water damage restoration with IICRC-certified technicians, truck-mounted extraction, commercial drying equipment, and the moisture mapping and daily documentation your insurer will require. The team serves Northeast Sacramento, Folsom, Rancho Cordova, and Citrus Heights, and responds to emergencies around the clock. Every job includes a final drying clearance report so you have documented proof the structure was dry before repairs began. Property managers can also explore Puroclean’s dedicated property management services for multi-unit response coordination. Call Puroclean now and get a certified technician on-site before the 24-hour mold window closes.
Useful sources for further reading
The guidance in this article draws on the following authoritative sources. Use them to verify specific claims or dig deeper into any section.
- EPA: Flood Cleanup to Protect Indoor Air and Your Health — Covers the correct cleaning sequence, the plastic-sheet slab test, and indoor air quality guidance after flooding. Primary source for cleaning and drying sections.
- EPA: Homeowner’s and Renter’s Guide to Mold Cleanup After Disasters — Source for the 24–48 hour mold timeline, chemical safety rules (bleach/ammonia), and mold remediation thresholds.
- EPA: Dealing with Debris and Damaged Buildings — Federal guidance on hazardous household chemicals, debris handling, and keeping children and pets safe.
- FEMA/NFIP Claims Handbook — What flood insurance adjusters expect: documentation, drying logs, and mitigation timelines.
- EPA: Mold Resources — General mold guidance including the 10-square-foot threshold for professional remediation.
- WrightWay: Water Damage and Electrical Safety — Electrical hazard guidance for submerged components and GFCI requirements.
- Puroclean of Northeast Sacramento: Step-by-Step Restoration Guide — Puroclean’s own detailed restoration guide for homeowners in the Sacramento area.
- Puroclean: Local service area and emergency response — Find Puroclean’s Northeast Sacramento location and service coverage.
Recommended
- How to Handle Water Damage: Step-by-Step Restoration Guide – PuroClean of Northeast Sacramento
- Restoration Process Explained: Step-by-Step Property Recovery – PuroClean of Northeast Sacramento
- Water Damage Restoration Guide: Restore Property Fast – PuroClean of Northeast Sacramento
- Property Restoration Process Guide: Steps for Success – PuroClean of Northeast Sacramento