Clean Smoke Stains: 70% Better Results Within 48 Hours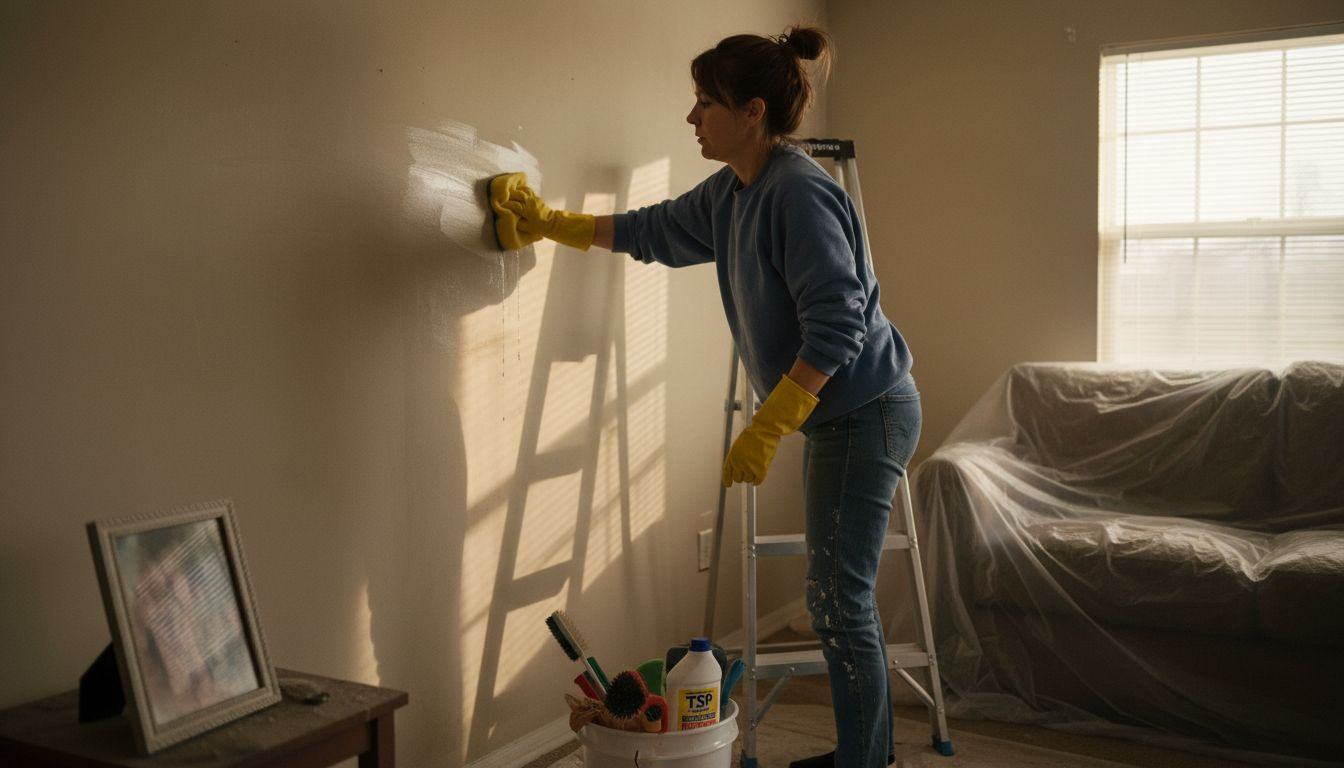
Smoke stains from fire damage create frustration for homeowners who discover that regular cleaning products barely make a dent. The black residue seems impossible to remove, and many DIY attempts only spread the problem or push stains deeper into surfaces. Research shows that cleaning within 24 to 48 hours improves stain removal success rates by up to 70%, making prompt action your most powerful tool for restoration.
Table of Contents
Preparation And Safety Before Cleaning Smoke Stains
Tools And Materials Needed For Effective Smoke Stain Removal
Stepwise Cleaning Methods For Different Surface Types
Post-Cleaning Odor Removal Techniques
Common Mistakes To Avoid And Troubleshooting Tips
When To Call Professional Restoration Services
Expected Results And Outcomes From Smoke Stain Cleaning
Restore Your Northeast Sacramento Home With Professional Fire Damage Services
Frequently Asked Questions
Key Takeaways
Point
Details
Time matters
Cleaning within 48 hours boosts stain removal success by 70%.
Safety first
N95 masks and gloves cut toxic exposure risk in half.
Right tools
Dry chemical sponges and TSP solutions outperform household cleaners.
Water warning
Water alone sets stains deeper in over 40% of DIY attempts.
Know limits
Severe damage requires professional restoration technology.
Preparation and Safety Before Cleaning Smoke Stains
You cannot skip safety prep when dealing with smoke residue. Soot contains toxic chemicals, acids, and microscopic particles that harm your respiratory system and skin. Exposure risk doubles without proper protection, making N95 respirators and protective gloves non-negotiable.
Ventilate your space before you start. Open windows, set up fans to push air outside, and seal off clean areas with plastic sheeting to prevent contamination spread. This creates negative pressure that keeps soot from migrating to unaffected rooms.
Gather your protective equipment:
N95 respirator masks rated for fine particles
Heavy duty rubber gloves that cover your forearms
Safety goggles to protect eyes from airborne soot
Disposable coveralls or old clothing you can discard
Plastic sheeting and painter’s tape for containment
Pro tip: Take photos of all damage before cleaning starts. Insurance claims move faster when you document the initial condition thoroughly.
“The first 48 hours after fire damage determine whether you’ll achieve good results or face permanent staining. Speed and proper technique make all the difference.” Fire damage restoration expert
Set up your work zone by laying drop cloths and removing all movable items. This preparation protects your flooring and gives you clear access to stained surfaces. Following smoke cleanup best practices from the start prevents costly mistakes that complicate restoration. Check your smoke damage cleanup tips checklist before moving to the next phase.
Tools and Materials Needed for Effective Smoke Stain Removal
Specialized tools deliver results that household cleaners cannot match. Trisodium phosphate, commonly called TSP, cuts through smoke residue that resists ordinary detergents. This alkaline cleaner breaks down acidic soot compounds, though you must handle it carefully and rinse surfaces thoroughly.
Dry chemical sponges revolutionize the initial cleaning phase. These vulcanized rubber sponges lift loose soot without water, preventing the smearing that ruins walls and ceilings. You simply wipe in straight lines, rotating to a clean section as the sponge darkens.
Commercial smoke stain kits achieve 60 to 75% effectiveness depending on stain age and surface type. These kits contain enzymatic cleaners specifically formulated to break down smoke compounds.
Tool Type
Purpose
Best For
Dry chemical sponges
Remove loose soot without smearing
Initial cleaning, painted surfaces
TSP solution
Deep clean stubborn stains
Walls, hard surfaces, severe staining
Enzymatic cleaners
Break down smoke compounds
Fabrics, upholstery, porous materials
HEPA vacuum
Capture microscopic particles
Final cleanup, preventing recontamination
Your complete supply list includes:
Five gallon buckets for mixing cleaning solutions
Multiple microfiber cloths and sponges
Spray bottles for applying cleaners
Stiff bristle brushes for textured surfaces
HEPA vacuum with attachments
pH neutral rinse solution
Pro tip: Buy extra dry chemical sponges. They become saturated quickly, and using a dirty sponge spreads soot instead of removing it.
Choosing smoke damage cleaning products designed for fire restoration saves time and prevents surface damage. Generic cleaners lack the chemical composition needed to neutralize acidic soot. Investment in proper materials pays off through better results and fewer do-overs. Review best smoke cleanup practices before purchasing supplies.
Stepwise Cleaning Methods for Different Surface Types
Start every surface with dry cleaning. Use your chemical sponge in straight, overlapping strokes, never circular motions that grind soot into pores. This first pass removes 50 to 60% of visible residue without introducing moisture.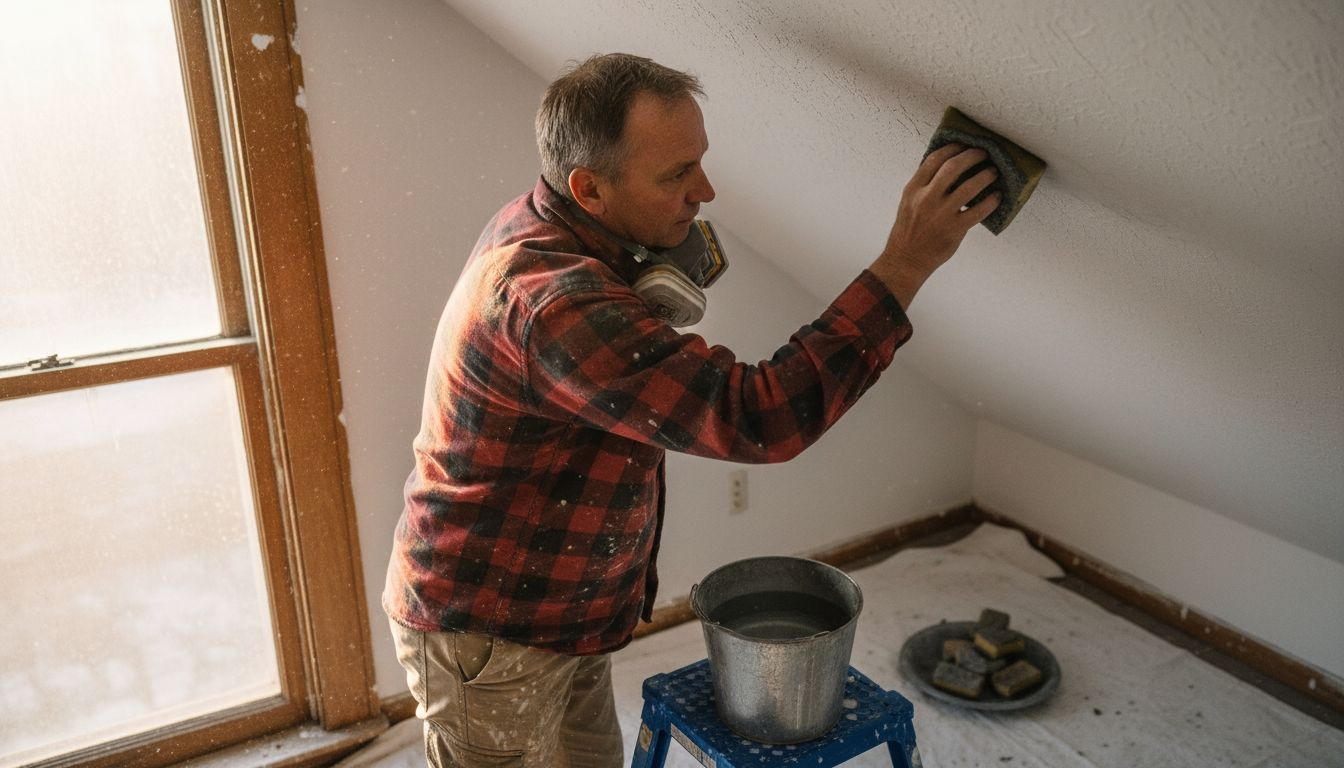
Move to wet cleaning only after dry methods stop producing results. Mix your TSP solution according to package directions, typically one tablespoon per gallon of warm water. Test on an inconspicuous spot first because water alone often sets smoke stains deeper.
Follow this sequence for painted walls:
Vacuum loose soot with HEPA filter attachment
Dry sponge from ceiling down in vertical strokes
Apply TSP solution with damp cloth, working in small sections
Rinse immediately with clean water on separate cloth
Dry thoroughly with towels to prevent water damage
Assess results and repeat if needed on stubborn areas
Different materials demand adjusted approaches. Wood surfaces require gentler cleaners to avoid stripping finish. Drywall needs minimal water to prevent paper layer separation. Fabrics benefit from enzymatic cleaners that penetrate fibers.
Surface
Cleaning Method
Success Rate
Special Considerations
Painted walls
Dry sponge, TSP, rinse
70 to 80%
Work top to bottom, avoid over-wetting
Wood trim
Mineral spirits, wood soap
60 to 70%
Test finish compatibility first
Drywall
Light TSP, minimal water
50 to 65%
May require primer and paint
Tile surfaces
TSP, stiff brush
80 to 90%
Scrub grout lines thoroughly
Fabric items
Enzymatic cleaner, air dry
55 to 70%
Professional cleaning often better
Pro tip: Change your rinse water frequently. Dirty rinse water redeposits soot and creates streaks that require additional cleaning passes.
Ceilings present special challenges because gravity works against you. Apply cleaner sparingly to prevent drips, and protect yourself from solution running down your arms. Learning how to clean after fire damage means adapting techniques to each situation. Never rush through rinsing because residual cleaner attracts new dirt and dulls surfaces.
Post-Cleaning Odor Removal Techniques
Smoke odor embeds itself in every porous material, outlasting visible stains by weeks or months. You’ve scrubbed away black residue, but microscopic particles still release that acrid smell. Odor molecules penetrate deep into carpets, insulation, and HVAC systems where surface cleaning cannot reach.
Ozone generators oxidize odor molecules at the molecular level. These machines create O3 gas that neutralizes smoke compounds, though you must vacate the space during treatment. Ozone kills plants and irritates lungs, making proper safety protocols essential.
Thermal fogging replicates smoke’s penetration pattern but with deodorizing chemicals. The fog particles match smoke size, traveling into the same microscopic spaces to neutralize odors at the source. This professional technique works faster than passive methods.
Natural alternatives provide gentler options:
Activated charcoal bags absorb odor molecules continuously
HEPA air purifiers capture airborne particles
Baking soda spread on carpets pulls odors from fibers
White vinegar bowls neutralize airborne acids
Fresh air circulation through open windows dilutes concentration
Activated charcoal and air purifiers reduce smoke odor naturally over several weeks of consistent use. You need patience because these methods work gradually, unlike chemical treatments that show immediate results.
Ventilation complements every odor removal approach. Running fans 24/7 for the first week exchanges contaminated air with fresh outdoor air. Change HVAC filters daily during this period because they trap escaping smoke particles.
Timing matters for chemical treatments. Seal the space completely during ozone generation, then ventilate thoroughly before reentry. Thermal fogging requires similar evacuation but clears faster. Check complete odor removal techniques for detailed protocols and safety timelines.
Common Mistakes to Avoid and Troubleshooting Tips
Using water alone ranks as the top mistake homeowners make. Plain water dissolves soot’s oily component and drives it deeper into porous surfaces. Over 40% of DIY attempts fail because people grab a wet rag before understanding smoke’s chemistry.
Skipping protective equipment exposes you to carcinogens and respiratory irritants. Soot contains benzene, formaldehyde, and heavy metals that absorb through skin or enter lungs. Short-term exposure causes headaches and nausea, while repeated contact increases serious health risks.
Delaying cleanup allows acids in smoke residue to etch surfaces permanently. Every day you wait, those acids corrode metal, tarnish fixtures, and discolor materials. The 48 hour window exists because chemical reactions accelerate after that point.
Key errors to avoid:
Scrubbing in circles instead of straight lines spreads soot
Applying too much water saturates drywall and causes mold
Neglecting to rinse TSP leaves sticky residue
Reusing dirty cleaning cloths smears loosened soot
Painting over stains before proper cleaning creates peeling
Pro tip: If smear marks appear, let the area dry completely before attempting correction. Wet smears worsen when you work them, but dry residue lifts more easily with fresh chemical sponge.
Troubleshooting persistent stains requires identifying the smoke source. Protein fires from cooking leave sticky residue that needs alkaline cleaners. Synthetic material fires create harder-to-remove chemical compounds. Wood smoke responds best to standard TSP treatment.
Yellow or brown discoloration after cleaning signals incomplete rinsing or residue oxidation. Re-clean these areas with fresh solution and rinse multiple times with clean water. Some materials hold stains permanently despite proper technique, particularly unfinished wood and porous stone. Understanding smoke cleanup mistakes helps you correct problems before they become permanent.
When to Call Professional Restoration Services
Severe smoke damage exceeds DIY capabilities when stains penetrate structural materials or contamination spreads throughout your home. Professional restoration teams bring industrial equipment that removes residue from places you cannot access. They use thermal imaging to find hidden damage and moisture meters to prevent secondary problems.
Structural concerns demand expert assessment. If fire compromised walls, ceilings, or support beams, cleaning becomes secondary to safety evaluation. Smoke that traveled through HVAC systems requires duct cleaning equipment and antimicrobial treatments beyond homeowner tools.
Certified technicians apply proven protocols:
Industrial air scrubbers remove microscopic particles
Hydroxyl generators neutralize odors without evacuation
Specialized sealants lock in residual staining
Content pack-out services restore or replace belongings
Insurance coordination streamlines claims processing
Early professional intervention saves costs and timelines by preventing secondary damage from improper DIY techniques. Teams arrive within hours, contain damage spread, and begin restoration immediately. This speed stops acids from etching surfaces and moisture from causing mold.
Signs you need professional help:
Smoke odor persists after thorough cleaning
Stains cover more than 100 square feet
Fire affected multiple rooms or levels
HVAC system distributed smoke throughout building
You experience respiratory symptoms during cleanup
Insurance coverage includes restoration services
Professionals document every step for insurance purposes, photograph damage progression, and provide detailed reports that support claims. Their expertise with professional fire damage restoration equipment achieves results impossible with retail products. Time invested in DIY attempts sometimes costs more than hiring experts initially, especially when improper techniques cause additional damage. Specialized smoke odor professional removal addresses lingering smells that resist homeowner methods.
Expected Results and Outcomes from Smoke Stain Cleaning
Realistic expectations prevent frustration and help you assess when additional help becomes necessary. Cleaning within 48 hours results in 70% improved stain removal, but this percentage varies by surface type and fire intensity. Light smoke from a small kitchen fire responds much better than heavy soot from burning furniture.
Commercial cleaning kits achieve 60 to 75% effectiveness depending on circumstances. Age of stains matters significantly. Fresh residue lifts more easily than smoke that sat for days or weeks. Surface porosity also impacts results because porous materials absorb stains deeper.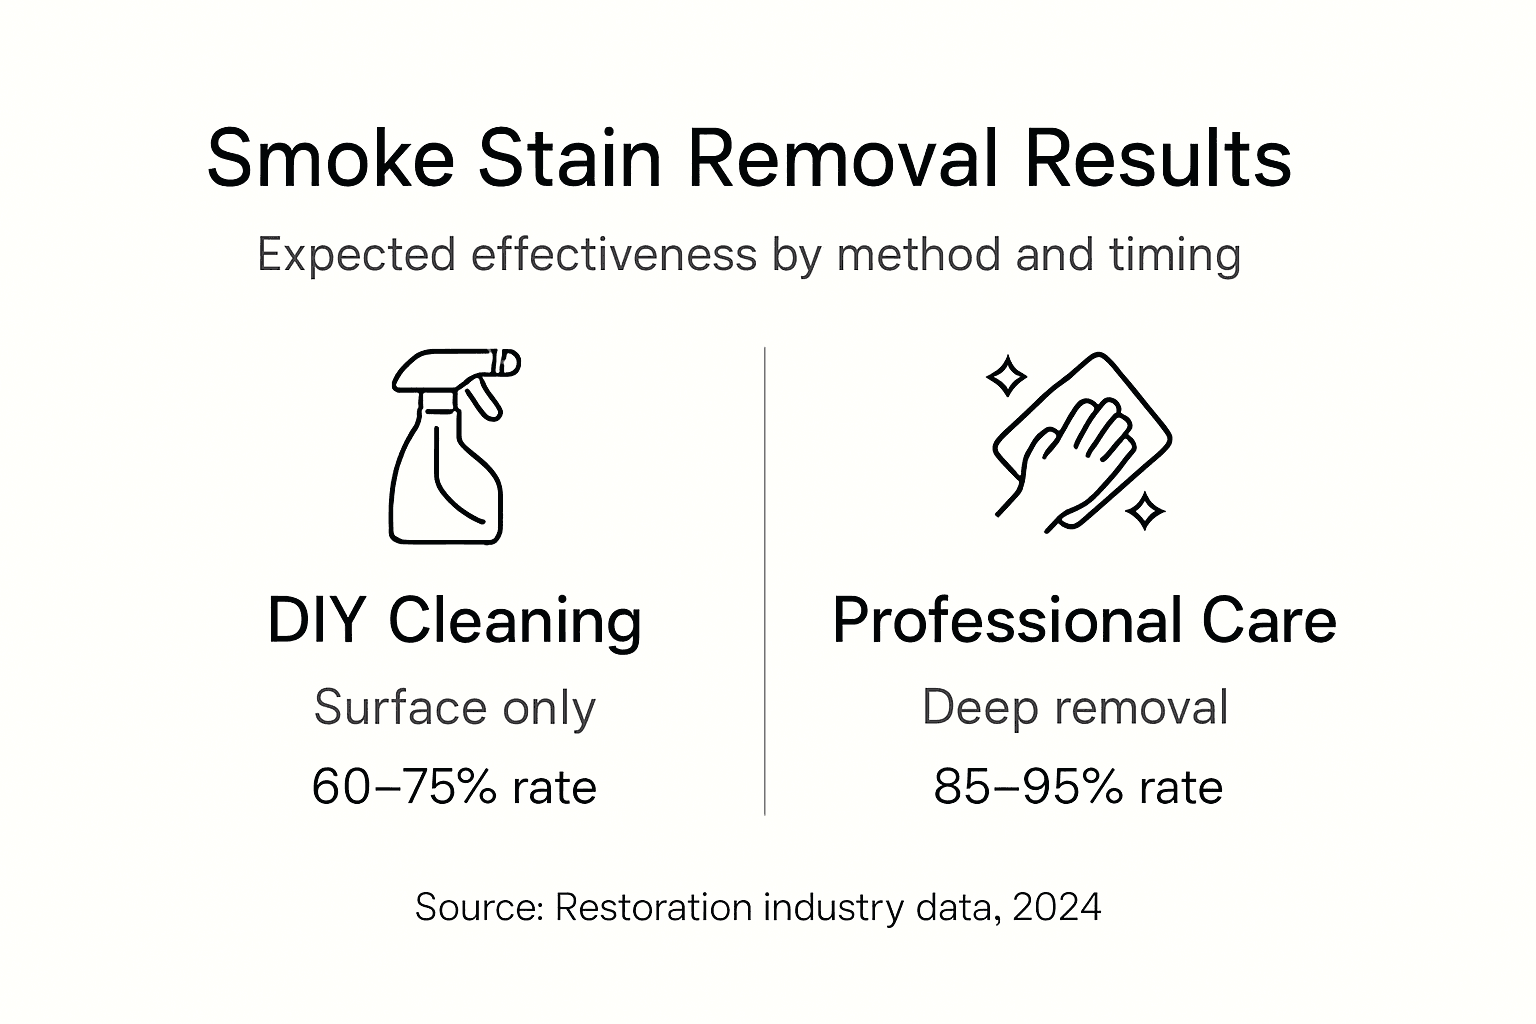
Professional restoration delivers higher success rates through specialized equipment and techniques. Teams achieve 85 to 95% stain removal on most surfaces, with complete odor elimination in properly treated spaces. Their advantage comes from industrial cleaners, containment protocols, and experience with thousands of fire losses.
Method
Timeline
Stain Removal Rate
Odor Removal
Best Application
DIY immediate
24 to 48 hours
65 to 75%
Partial
Light smoke, small areas
DIY delayed
After 72 hours
40 to 55%
Minimal
Already attempted cleaning
Commercial kit
48 to 96 hours
60 to 75%
Moderate
Medium damage, accessible areas
Professional
3 to 7 days
85 to 95%
Complete
Heavy damage, structural concerns
Some materials never return to pre-loss condition. Unfinished wood absorbs smoke permanently. Porous stone like brick or concrete holds discoloration despite aggressive cleaning. Drywall often requires primer and paint even after successful stain removal.
Expect multiple cleaning passes for stubborn areas. First attempts remove surface residue, revealing deeper staining underneath. Subsequent treatments address embedded particles with increasing success. Budget three to four cleaning cycles for heavily affected surfaces.
Understand that complete restoration sometimes requires replacement. Severely damaged materials cost less to replace than to clean, particularly carpet, insulation, and particle board. Professional assessment identifies the crossover point where cleaning stops making economic sense. Setting realistic expectations helps you plan restoration efforts wisely and know when DIY methods have reached their limit.
Restore Your Northeast Sacramento Home with Professional Fire Damage Services
When smoke damage exceeds DIY capabilities, professional restoration becomes essential for complete recovery. PuroClean of Northeast Sacramento specializes in fire damage restoration services that address both visible staining and hidden contamination throughout your property.
Our certified technicians respond quickly with industrial equipment designed for thorough smoke removal and odor elimination. We handle everything from initial assessment through final clearance testing, coordinating with your insurance company to streamline the claims process. Early intervention prevents permanent damage while reducing overall restoration costs and timelines.
Expert teams bring specialized knowledge that protects your investment. Our comprehensive approach includes structural drying, contents restoration, and antimicrobial treatments that DIY methods cannot match. Following proven fire damage cleanup guide protocols ensures your home returns to pre-loss condition safely. Complete smoke odor removal solutions eliminate lingering smells that resist homeowner techniques.
Frequently Asked Questions
How soon should I start cleaning smoke stains after a fire?
Begin cleaning within 24 to 48 hours for optimal results. Immediate action improves stain removal success rates by up to 70% compared to delayed cleanup. Acids in smoke residue etch surfaces permanently after 72 hours, making early intervention critical for preventing permanent damage.
What personal protective equipment do I need when cleaning smoke stains?
Wear N95 respirator masks and heavy duty rubber gloves as minimum protection. Exposure risk doubles without proper PPE during cleanup. Add safety goggles and disposable coveralls for complete protection against toxic soot particles that harm respiratory systems and skin.
Can I remove smoke odor myself, or do I need professionals?
Mild odors respond to activated charcoal bags and HEPA air purifiers over several weeks. Severe or persistent smells require professional ozone generators or thermal fogging treatments that penetrate deep into materials. Assess odor intensity after initial cleaning to determine whether natural odor removal methods will suffice.
When is professional restoration necessary for smoke stains?
Call experts when damage affects multiple rooms, penetrates structural materials, or creates health concerns during DIY attempts. Professional services reduce costs and restoration time through early intervention and specialized equipment. Severe contamination, HVAC system involvement, or persistent odors after thorough cleaning signal the need for professional smoke stain restoration.
Recommended
Smoke Remediation Steps for Complete Odor Removal – PuroClean of Northeast Sacramento
7 Smoke Cleanup Best Practices Every Property Owner Needs – PuroClean of Northeast Sacramento
Smoke Odor Removal: Restoring Homes After Fire – PuroClean of Northeast Sacramento
Smoke Damage Effects Explained: Complete Restoration Guide – PuroClean of Northeast Sacramento