


Commercial property restoration checklist: 87% faster recovery
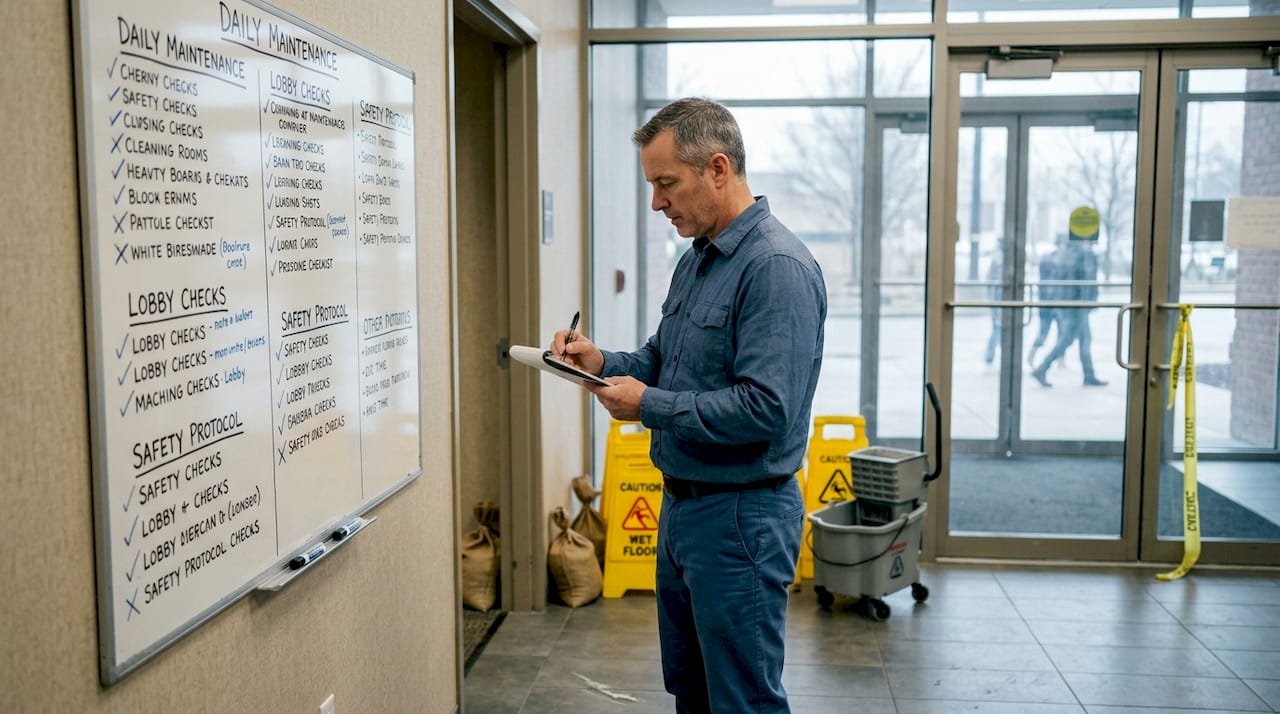
When disaster strikes your commercial property, every hour of downtime costs money. Property managers and insurance agents in Northeast Sacramento face mounting pressure to restore buildings quickly while ensuring thorough, compliant work. Without a structured restoration checklist, critical steps get missed, secondary damage spreads, and recovery timelines stretch from days into weeks. This guide delivers an actionable, phase-by-phase checklist for both water and fire damage scenarios, helping you minimize business interruption and prevent costly oversights that derail recovery efforts.
Table of Contents
- Key takeaways
- Understanding restoration criteria: damage classification and standards
- Step-by-step restoration checklist for commercial water damage
- Essential steps in commercial fire damage restoration checklist
- Comparison of restoration approaches and situational recommendations
- Trusted restoration services for Northeast Sacramento commercial properties
- Common questions about commercial property restoration
Key Takeaways
| Point | Details |
|---|---|
| IICRC phase standards | Restoration follows categorized phases per IICRC S500 and S700 for water and fire respectively. |
| Damage classifications guide methods | Accurate water categories and fire residue types determine cleaning, replacement, and drying strategies. |
| Document and mitigate promptly | Proper documentation and timely mitigation prevent secondary damage and keep recovery on schedule. |
| Targeted drying plan | Drying must be staged with monitoring and equipment based on material category and porosity. |
Understanding restoration criteria: damage classification and standards
Before you can execute an effective restoration checklist, you need to understand how damage gets classified. Commercial property restoration follows phases per IICRC S500 and S700 standards, which establish protocols for water and fire damage respectively. These frameworks aren’t just industry best practices; they’re the foundation insurance adjusters use to evaluate claims and determine coverage.
Water damage breaks down into three categories based on contamination level. Category 1 represents clean water from supply lines or rain. Category 2 involves gray water with some contamination, like washing machine overflows. Category 3 means black water from sewage or flooding, requiring the most aggressive treatment. Beyond categories, water damage classes 1-4 measure evaporation load and affected materials. Class 1 affects minimal porous materials with slow evaporation. Class 4 involves specialty drying for hardwood, concrete, or stone with deep moisture penetration.
Fire damage classification focuses on smoke residue types, which dictate cleaning chemistry and methods:
- Wet smoke from smoldering, low-heat fires leaves sticky, pungent residues requiring specialized solvents
- Dry smoke from fast-burning, high-heat fires creates powdery soot that spreads easily through HVAC systems
- Protein residues from kitchen fires are nearly invisible but cause persistent odors
- Fuel oil soot from furnace malfunctions demands aggressive cleaning to prevent permanent staining
Correct damage assessment determines whether materials get cleaned or replaced, which drying equipment gets deployed, and how long restoration takes. Misclassifying Category 2 water as Category 1, for example, leads to inadequate antimicrobial treatment and potential mold growth. Similarly, treating wet smoke residue with dry smoke methods leaves behind sticky films that attract dirt and worsen over time. Your commercial water damage checklist must begin with accurate classification to guide every subsequent decision.
Step-by-step restoration checklist for commercial water damage
Water damage demands immediate action because mold risk doubles within 24-48 hours and structural damage accelerates as materials stay saturated. Commercial spaces typically require 3 to 7 days for complete drying, but that timeline depends on starting the process correctly. Here’s your phase-by-phase checklist:
- Secure the property immediately. Shut off the water source if possible, turn off electricity in affected areas, and document all visible damage with photos and video before touching anything. Insurance adjusters need to see the initial state.
- Extract standing water within 24 hours. Deploy truck-mounted or portable extractors to remove bulk water. The faster you extract, the less water migrates into walls, subfloors, and insulation. Document water levels and extraction volumes for insurance records.
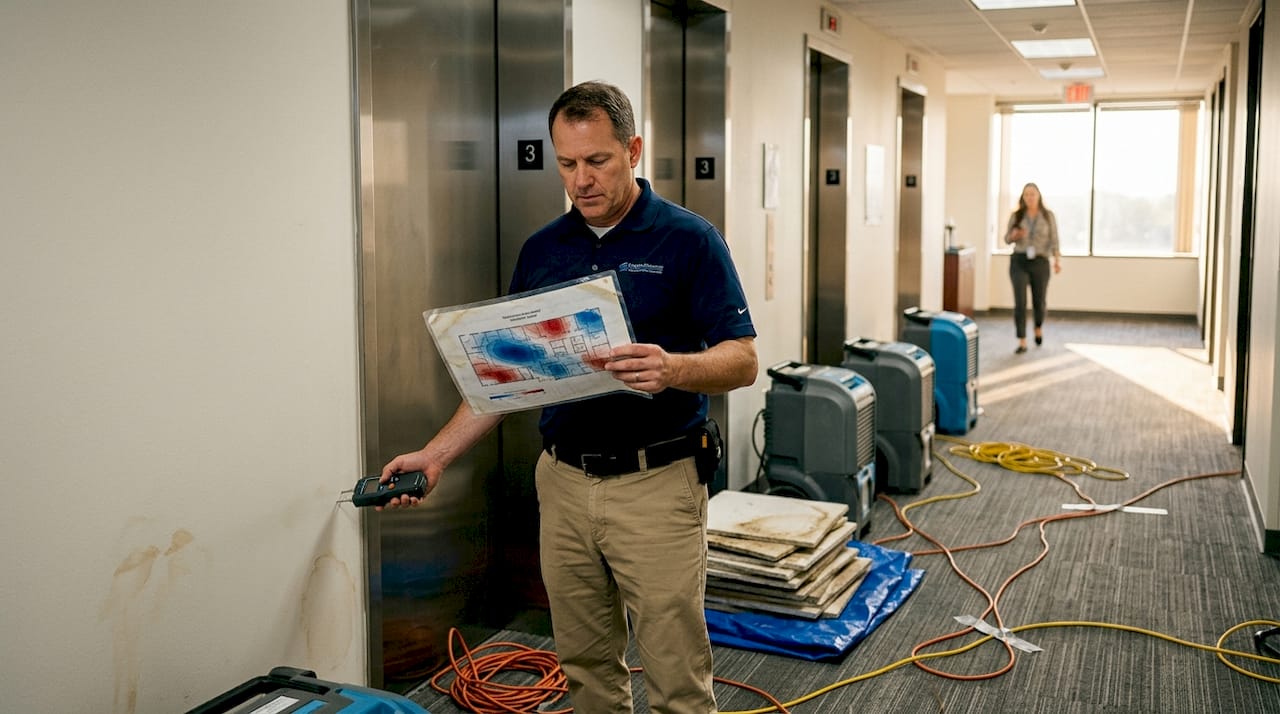
- Set up drying equipment with psychrometric monitoring. Position air movers to create airflow across all wet surfaces. Place dehumidifiers to remove moisture from the air. Use moisture meters and thermal imaging to track progress daily. Drying isn’t complete when surfaces feel dry; it’s complete when moisture readings return to normal.
- Handle materials according to category and porosity. Category 1 water allows cleaning of most materials. Category 2 requires removing porous materials like carpet padding and drywall below the waterline. Category 3 demands aggressive removal of all porous materials that contacted contaminated water, plus antimicrobial treatment of structural elements.
- Monitor continuously until verification. Check moisture readings twice daily. Adjust equipment placement as drying progresses. Don’t rush reconstruction; hidden moisture causes mold, rot, and odor problems that cost far more to fix later.
- Document everything for insurance. Maintain daily logs of moisture readings, equipment placement, and work performed. Photograph each phase. Insurance claims get paid faster with thorough documentation that proves the scope and necessity of work.
Pro Tip: Create a moisture map on day one showing readings at multiple points throughout affected areas. Update this map daily to prove drying progress and identify problem spots that need additional attention. This visual documentation strengthens insurance claims and protects you from disputes over thoroughness.
Your approach must adapt to building complexity. Multi-story buildings need vertical drying strategies. Buildings with crawl spaces or basements require vapor barriers and specialized airflow. Following these commercial water damage restoration steps systematically prevents the shortcuts that lead to callbacks and liability. Speed matters, but thoroughness matters more. These fast commercial restoration steps balance both priorities effectively.
Essential steps in commercial fire damage restoration checklist
Fire damage restoration involves more complexity than water damage because you’re addressing multiple damage types simultaneously: fire, smoke, soot, and water from firefighting efforts. Post-fire water damage gets overlooked frequently but causes serious secondary problems if ignored. Your fire restoration checklist must address all damage types:
- Secure the structure immediately. Board up broken windows and damaged entry points. Tarp roof penetrations. Secure utilities and verify electrical systems are safe. Fire-weakened structures pose collapse risks, so professional assessment comes first.
- Classify smoke residues to determine cleaning methods. Wet smoke requires solvent-based cleaners and may need multiple passes. Dry smoke responds to dry cleaning sponges and HEPA vacuuming. Protein residues need enzymatic cleaners and sealing. Fuel oil soot demands aggressive degreasing. Using the wrong chemistry makes damage worse.
- Deploy HEPA filtration and negative air pressure. Soot particles spread easily during cleaning. Set up air scrubbers with HEPA filters to capture airborne particles. Create negative pressure in work areas to prevent contamination of clean spaces. Change filters frequently as they load with soot.
- Address water damage from firefighting. Extract standing water, dry structural elements, and treat for potential mold growth. Fire hoses introduce thousands of gallons of water that saturate everything. Ignoring this moisture creates mold problems within days.
- Clean systematically from top to bottom. Start with ceilings and upper walls, work down to floors. Clean HVAC systems before running them to avoid spreading soot. Wipe down all surfaces multiple times as soot residue reappears during initial cleaning phases.
- Control odors through cleaning, sealing, and ozone or hydroxyl treatment. Smoke odor doesn’t disappear with air fresheners. It requires removing the source through thorough cleaning, sealing porous materials that absorbed smoke, and using professional deodorization equipment.
Pro Tip: Document smoke travel patterns with photos showing soot deposits on walls, ceilings, and contents. Smoke follows air currents and penetrates surprising distances from the fire origin. This documentation justifies cleaning costs for areas that appear undamaged but carry smoke contamination.
Business interruption claims require detailed timelines showing when areas became accessible, when cleaning started, and when spaces returned to usable condition. Your fire restoration checklist should include daily progress photos proving work continuity. Insurance carriers scrutinize business interruption claims closely, so documentation quality directly impacts claim outcomes. Review these fire damage restoration examples to see proper documentation and cleaning results.
Comparison of restoration approaches and situational recommendations
Restoration decisions often come down to balancing cost, time, and long-term effectiveness. Here’s how common approaches compare:
| Approach | Advantages | Disadvantages | Best for |
|---|---|---|---|
| Clean porous materials | Lower immediate cost, faster completion | Higher mold recurrence risk, potential odor retention | Category 1 water only, minimal exposure time |
| Replace porous materials | Eliminates contamination, prevents callbacks | Higher upfront cost, longer timeline | Category 2-3 water, any fire damage, mold present |
| Encapsulate ductwork | Seals contaminants, less invasive | Doesn’t remove source, limited lifespan | Light surface contamination, budget constraints |
| Replace ductwork sections | Complete contamination removal | Highest cost, requires HVAC rebalancing | Heavy mold growth, structural damage, Category 3 exposure |
IICRC and EPA favor replacing porous materials over cleaning when contamination or mold is present. The cost difference seems significant initially, but callbacks for persistent odors or mold growth often exceed replacement costs. Commercial property managers face liability if inadequate restoration leads to tenant health complaints or business disruption.
Special situations require tailored protocols:
- Large-loss mold projects demand containment barriers, negative air machines, and careful material handling to prevent cross-contamination. Workers need respiratory protection and disposable coveralls. Clearance testing verifies successful remediation before reconstruction begins.
- HVAC system mold follows NADCA standards for cleaning or requires replacement if growth is extensive. Running contaminated HVAC systems spreads mold spores throughout the building, so systems stay off until remediation completes.
- Historic properties need specialized approaches that preserve original materials when possible. This might mean custom drying chambers for wood elements, gentle cleaning methods for decorative surfaces, and consultation with preservation specialists before removing any historic fabric.
- High-value properties justify more aggressive testing and verification. Post-remediation testing, indoor air quality sampling, and third-party inspections provide documentation that protects property value and prevents future disputes.
Speed matters in restoration, but rushing leads to inadequate drying, incomplete cleaning, and expensive rework. Your property restoration best practices should prioritize doing it right the first time. Insurance carriers increasingly deny claims for inadequate initial restoration that creates preventable secondary damage.
Trusted restoration services for Northeast Sacramento commercial properties
When your commercial property faces water or fire damage, you need certified professionals who follow the protocols outlined in this checklist. PuroClean of Northeast Sacramento brings IICRC-certified expertise to every restoration project, ensuring your property receives compliant, thorough treatment that protects your investment and minimizes downtime.
Our team specializes in rapid-response commercial restoration throughout Folsom, Rancho Cordova, and Citrus Heights. We handle everything from initial damage assessment and emergency mitigation through complete reconstruction. Our fire damage restoration services address smoke, soot, and structural damage with systematic cleaning protocols. When Category 3 water damage strikes, our sewage cleanup and sanitization services protect occupant health through proper containment and antimicrobial treatment. We provide 24/7 mold mitigation and removal using negative air pressure, HEPA filtration, and thorough material removal when needed. Contact us for immediate response that gets your property back in service faster.
Common questions about commercial property restoration
How quickly should water damage be addressed to avoid mold?
Water damage requires response within 24 hours because mold spores begin germinating in 24 to 48 hours when conditions are right. Commercial properties with HVAC systems, insulation, and hidden cavities create ideal mold environments. Extraction and drying equipment should be operating within the first day to prevent mold establishment.
What documentation is critical for insurance after damage?
Photograph and video all damage before any cleanup begins. Document the water source or fire origin. Create daily logs showing moisture readings, equipment placement, and work performed. Save all invoices and material disposal records. Insurance adjusters need evidence proving damage extent and restoration necessity. Missing documentation leads to claim disputes and reduced payouts.
Can porous materials be cleaned or must they be replaced?
Category 1 water allows cleaning of most porous materials if drying begins quickly. Category 2 and 3 water, plus any fire or mold damage, typically requires replacing porous materials like drywall, insulation, and carpet padding. Cleaning contaminated porous materials saves money initially but risks mold growth, odors, and liability. Most restoration professionals recommend replacement when contamination is present.
How long does fire damage restoration usually take?
Fire restoration timelines vary dramatically based on damage extent. Minor smoke damage might take one to two weeks for cleaning and deodorization. Structural fire damage requiring demolition and reconstruction can take two to six months. The cleaning phase typically takes longer than expected because smoke residue requires multiple cleaning passes and thorough deodorization. Review these commercial restoration recovery steps to understand realistic timelines.
Are historic commercial properties restored differently?
Historic properties require specialized approaches that preserve original materials and architectural features when possible. Restoration teams consult preservation specialists before removing or altering historic fabric. Cleaning methods must be gentler to avoid damaging decorative surfaces. Drying may use custom chambers rather than aggressive airflow that could harm delicate materials. Documentation requirements are more extensive to satisfy historic preservation boards and specialized insurance policies.
Recommended
- Property Restoration Timeline: Achieve Fast Recovery Steps – PuroClean of Northeast Sacramento
- Critical Commercial Restoration Steps for Fast Recovery – PuroClean of Northeast Sacramento
- 7 Essential Property Restoration Best Practices – PuroClean of Northeast Sacramento
- Property Restoration Process Guide: Steps for Success – PuroClean of Northeast Sacramento