Table of Contents
After a mold remediation project is complete, many South Onslow homeowners and property managers breathe a sigh of relief—understandably so. Removing mold is no small feat, especially in a coastal region where high humidity and moisture intrusion are persistent challenges. But before a space can be safely reoccupied, there’s one crucial step that remains: post-remediation verification—also known as the mold verification process or mold clearance testing.
Think of it as the final exam for your mold remediation project. It’s not enough for mold to appear “gone.” This step ensures, through detailed inspection and scientific testing, that the mold has been properly removed, the moisture source resolved, and indoor air quality restored to safe levels.
Post-remediation verification gives you confidence that the problem is fully addressed—and that your home, rental property, or business is ready for safe, everyday use once again.
So what exactly happens during mold post-remediation verification? Let’s break it down.
Why Mold Verification Matters
Mold is notoriously persistent. Even after visible growth has been cleaned or removed, microscopic spores may remain, especially if hidden moisture wasn’t fully resolved. If not thoroughly addressed, mold can quickly return—bringing back health risks and property damage with it.
This is why post-remediation verification (PRV) is critical. It’s more than a checkbox. It’s how professionals confirm that:
- Mold levels are back to normal
- The environment is safe for people to return
- Moisture problems won’t cause a repeat infestation
In South Onslow, where humidity and storm activity create ideal conditions for mold, skipping this final step can be a costly mistake.

Inside the Mold Verification Process
The mold verification process typically begins only after remediation professionals have completed their work. At that point, a third-party inspector—someone independent from the remediation team—is brought in to conduct a full assessment of the space.
Let’s walk through each major step involved.
1. Visual Inspection
The first part of the process is relatively straightforward: a visual assessment of all remediated areas. However, this isn’t a quick glance. The inspector checks thoroughly to ensure no visible mold remains and that the remediation work meets recognized industry standards.
This involves evaluating surfaces, checking behind structural materials where possible, and confirming that containment zones were correctly maintained throughout remediation.
In some cases, especially in homes affected by coastal storms or high groundwater in the South Onslow area, special attention is given to crawlspaces, HVAC systems, and wall cavities—areas where moisture tends to linger and mold often hides.
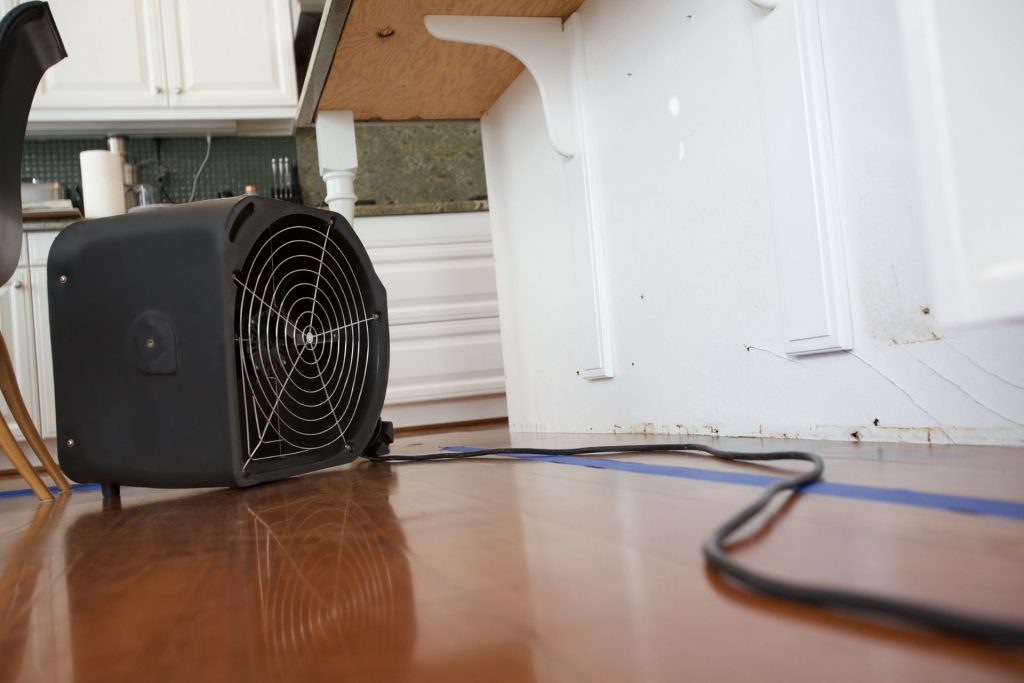
2. Moisture Testing
Once the visual inspection is complete, the next focus is on moisture. Mold can’t survive without water, so detecting and eliminating moisture is one of the most important post remediation steps.
Inspectors use specialized tools like:
- Moisture meters, which assess the water content of drywall, wood, and flooring
- Thermal imaging cameras, which reveal cooler areas that may indicate trapped moisture behind walls or ceilings
- Hygrometers, which measure indoor relative humidity
If elevated moisture is found, it signals that remediation is incomplete—even if the area looks clean.
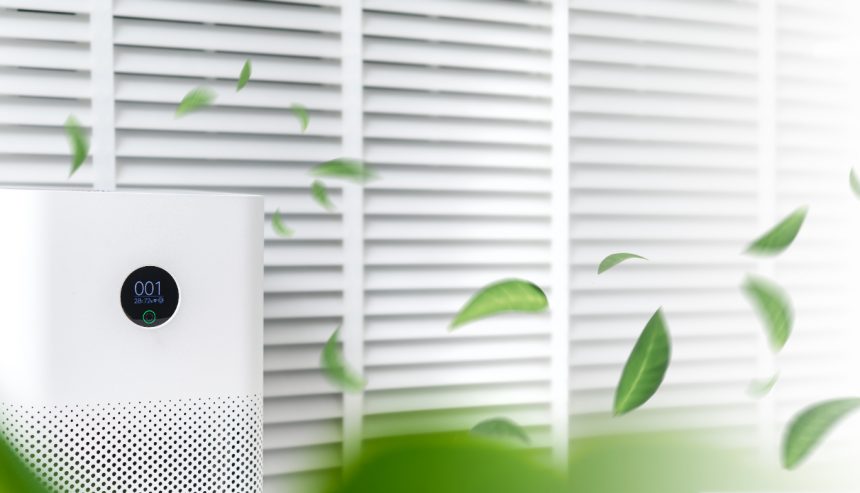
3. Air Sampling and Mold Clearance Testing
Perhaps the most scientific aspect of the mold verification process is air sampling. This is where the invisible threats—airborne mold spores—are put under the microscope.
Samples are taken from both inside the previously contaminated areas and from outdoor air (as a baseline). These are sent to a lab where analysts measure spore concentration, species type, and compare indoor vs. outdoor levels.
The goal is to ensure that indoor air is not only free of harmful mold types, but also has spore counts comparable to or lower than outdoor air—a recognized standard for successful clearance.
If spore levels indoors are elevated, or if problematic species like Stachybotrys (black mold) are detected, the property will not receive clearance. Further remediation would be needed.
4. Surface Sampling (When Needed)
In some cases, surface samples are also taken—especially if there are porous materials, or if the inspector suspects areas may have been missed during cleaning.
Surface samples can involve tape lifts, swabs, or dust wipes, and are especially useful when:
- Remediation was performed on carpet, drywall, or wood
- The area includes HVAC ducts or vents
- Visual evidence is inconclusive, but concerns remain
While not always required, surface sampling adds another layer of certainty to the verification process.
What If the Property Fails Clearance?
It happens. Sometimes, despite thorough remediation, the property may not pass the mold verification process. This can result from overlooked contamination, incomplete cleaning, or unresolved moisture issues.
When a space fails mold clearance testing, the inspector will issue a comprehensive report detailing the deficiencies and required corrections. After these adjustments are made, the post-remediation verification process is repeated to ensure all standards are met.
This isn’t a failure—it’s a protective measure. Identifying problems now is far better than facing a mold recurrence that could impact health and property integrity down the line.
Life After Remediation: Next Steps for Homeowners
Once your property passes verification, it’s officially cleared. But keeping it that way takes ongoing diligence—especially in a humid coastal community like South Onslow.
Here are a few key recommendations to maintain a mold-resistant environment:
- Control indoor humidity year-round, ideally keeping levels below 50%.
- Ventilate bathrooms and kitchens properly, using exhaust fans or dehumidifiers.
- Inspect and maintain HVAC systems to avoid hidden moisture buildup.
- Address leaks immediately, whether from roofs, plumbing, or foundations.
- Schedule periodic inspections, especially if your property has a history of moisture issues.
South Onslow’s proximity to the coast makes it particularly susceptible to water intrusion, so mold prevention is an ongoing process—not a one-time fix.
Don’t Skip the Final Step
Remediation may remove mold, but only post-remediation verification can prove it’s truly gone. The mold verification process—including inspection, moisture testing, and mold clearance testing—is the final step that ensures a property is safe, dry, and ready for normal use.
In a high-humidity area like South Onslow, this step is especially important. Whether you’re dealing with mold in a residential home, commercial property, or vacation rental, getting independent clearance after remediation is the only way to be sure the job was done right.
Call us today at (910) 787-1881 or visit our website to schedule your mold clearance assessment.
You may also like these related articles:
- Indoor Air Purifiers vs. Professional Post-Remediation Testing: What’s More Effective?
- Top 10 Mold Prevention Tips After Remediation in South Onslow
- Why Air Quality Testing Is Essential After Mold Removal
Frequently Asked Questions – Mold Verification Process
Q: How long does the mold verification process take?
A: Most inspections and air sampling during the mold verification process can be completed in just a few hours. However, accredited lab results may take 1–3 business days to confirm whether the environment meets safe air quality standards.
Q: Is clearance testing always required?
A: Not by law in North Carolina, but it’s often required for real estate transactions, insurance claims, and commercial properties. Even for homeowners, it’s strongly recommended.
Q: Can I skip post-remediation testing if the area looks clean?
A: No—mold spores are invisible to the naked eye. The mold verification process provides scientific evidence that remediation was effective and confirms your indoor air meets acceptable safety levels.