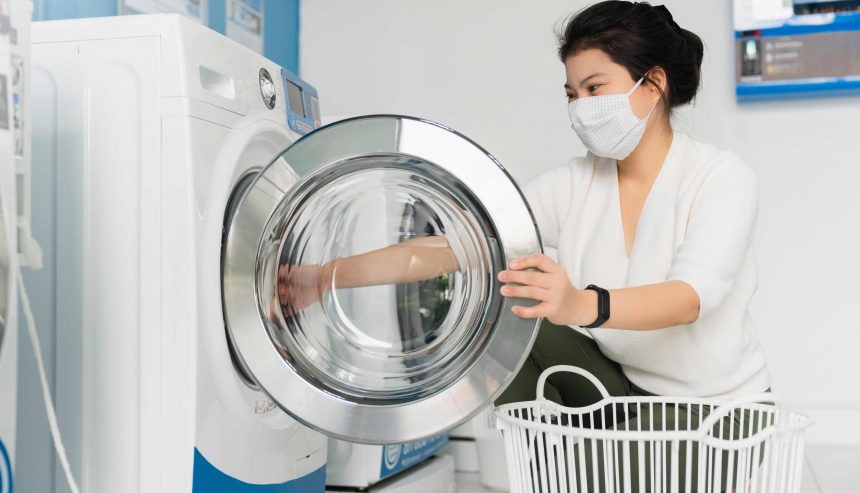
Are you dealing with a front load washing machine leaking from the bottom? If so, addressing this issue promptly is essential to avoid potential damage and inconvenience. A leaking washing machine can lead to water damage to your floors, mold growth, and even electrical hazards. However, with the right knowledge and a few simple steps, you can fix the problem and restore your appliance’s functionality.
In this article, we will guide you through the process of identifying the causes of a front load washing machine leak and provide practical solutions to help you fix the issue effectively. So without further ado, let’s get started!
Causes of Leaking
Several factors can cause the front load washing machine leaking from bottom. These unexpected water escapes can create quite a mess and cause inconvenience to homeowners. Here are the three main factors that can contribute to leaks:
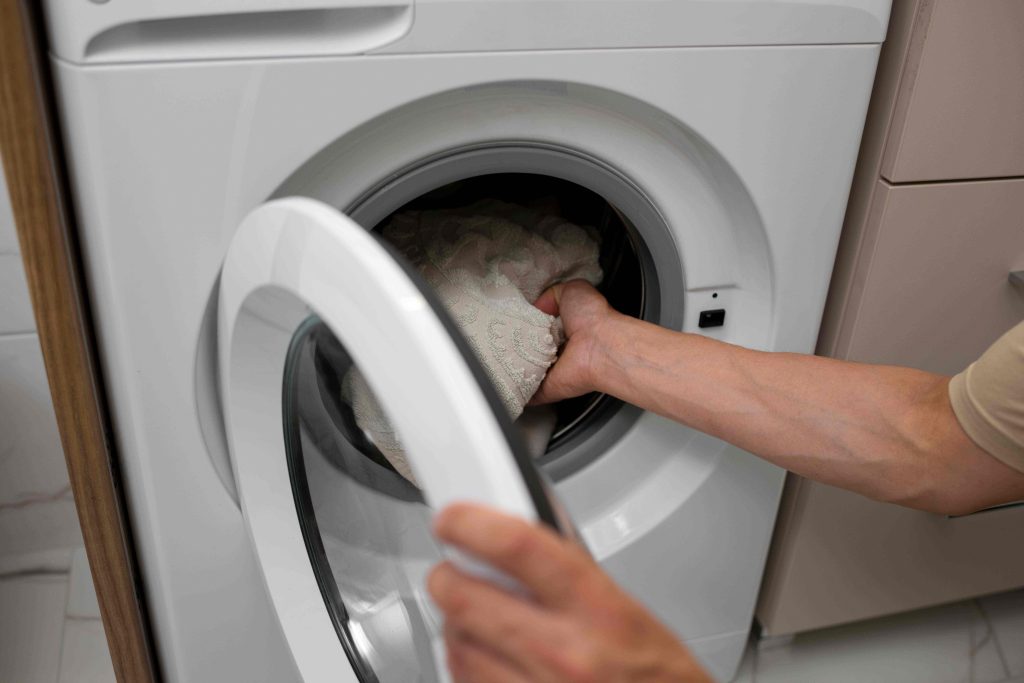
- Faulty Door Seal: The seal around the door of the washer may be damaged, worn out, or not properly aligned. That can result in water escaping inside the drum and leaking outside the appliance. Over time, the seal can degrade due to wear and tear or the accumulation of debris.
- Worn or Loose Hoses: The hoses that connect to the inlet ports of the washing machine may become worn or loose over time. If these hoses are not securely attached or their connections are damaged, water can seep through and cause leaks. Regular inspection and maintenance of the hoses are important to prevent this issue.
- Internal Problems: Leaking can also be caused by internal issues within the washing machine. These problems may include a malfunctioning water pump, a clogged drain hose, or a cracked or damaged tub. Internal leaks can result in water pooling at the bottom of the unit and eventually leaking out.
It’s worth noting that these causes are not exhaustive, and other factors may contribute to leaking in specific cases. If you’re experiencing a front load washing machine leaking from bottom, it’s recommended to consult the manufacturer’s manual or contact a professional technician for assistance in identifying and resolving the issue.
Troubleshooting Steps
Now that we have established the possible causes of a front load washing machine leaking from bottom, it’s time to take steps towards fixing it. We recommend troubleshooting the issue by starting with leak diagnosis and following these steps:
- Inspect Hoses: Check all hoses connected to the washing machine for signs of wear, damage, or leaks. Examine both the hot and cold water supply lines, as well as the drain hose. If you find any worn or damaged hoses, replace them with new ones before proceeding.
- Check Seals: Inspect all seals around the door and drum of the washer to ensure they are securely fastened and in good condition. Look for cracks or tears in the rubber gasket, as these can cause water to escape. If you find any worn-out seals, replace them with new ones that are designed for your specific washing machine model.
- Test for Leakage: After completing the previous steps, it’s time to test your washing machine. Run a cycle with only a few items inside and observe if water is still leaking from underneath the unit. That will help you determine if the issue has been resolved or if further action is required.
Following these troubleshooting steps, you can identify and address common causes of leaks in front-load washing machines. If the problem persists after performing these steps, it may be best to seek the help of a professional appliance repair technician to diagnose and fix the issue accurately.
Checking the Drain Hose
Checking the drain hose is an important step in troubleshooting water leakage from the bottom of a washing machine. Here’s a comprehensive breakdown of the steps to follow:
- Ensure the drain hose is securely attached and free from kinks or bends. A loose or improperly connected hose can cause water to leak.
- Inspect the drain hose for any signs of damage, such as cracks or splits. If you notice any damage, it’s necessary to replace the hose to prevent leaks.
- Check for signs of corrosion on the drain hose. Excessive corrosion can lead to blockages and cause water to leak from the bottom of the washing machine.
- Examine the connections where the drain hose attaches to the back wall and the outlet pipe. Ensure that the connections are tight and there are no visible leaks. If necessary, tighten the connections or replace any faulty parts.
- Verify the integrity of the seal between the drain hose and the outlet pipe. If the seal is damaged or worn out, it should be replaced to prevent leaks.
- Look for any debris or residue around the connection point of the drain hose and the outlet pipe. The presence of debris could indicate a drainage problem or blocked filter screens inside the washing machine. Clean the area and remove any obstructions if necessary.
- Check under the washing machine for pools of standing water. If you find evidence of persistent leaks at the base, further investigation is needed to identify the cause before proceeding with repairs or replacements.
Remember, addressing underlying issues causing the leakage is crucial. Merely replacing door seals without resolving the root cause can lead to recurring problems and increased expenses.
Replacing the Door Seal
Replacing the door seal on your front-load washing machine can be a tricky task. But with the right tools and instructions, you’ll have it done quickly. Here’s what you need to do:
- Detach the washing machine from the power supply to ensure safety during the replacement process.
- Remove the top cover of the washer. You may require a screwdriver to complete this step.
- Carefully pry up the old door seal using a flathead screwdriver or putty knife at each end. Take your time to avoid damaging any other parts.
- Set aside the old door seal and prepare the new one for installation, following the seal replacement guide provided.
- Pay close attention to the details during installation to ensure the new seal fits properly without any gaps or misalignments along its length.
- Once the new seal is correctly installed, reassemble everything in reverse order, ensuring all screws are secured tightly.
Following these steps should result in a fully functioning washing machine with a new door seal, preventing leaks during future cycles. Remember, if you encounter any difficulties or uncertainties during the process, don’t hesitate to consult the manufacturer’s manual or seek assistance from a professional. Safety first!
Cleaning the Filter and Pump Assembly
Now that the door seal has been replaced, it is time to clean the filter and pump assembly. It will help prevent further leakage in your front-load washing machine. Cleaning these components regularly is important for keeping your appliance running efficiently and avoiding future problems.
| First Step | Second Step |
| Unplug the washer from the wall outletDetach the access panel on the back of the washerLocate filter area | Carefully remove debris or lint buildup. Use a small brush to scrub away stubborn dirt. Rinse off with warm water |
| Inspect pump housing for wear/tear/cracksLook for signs of corrosion/rust | If necessary, replace corroded parts (or hire a professional). Reinstall the access panel & plug in power cord again a wash cycle to ensure proper functionality. |
To thoroughly fix your front load washing machine leaking from bottom, it’s recommended you take some preventive cleaning measures as well. Ensure you check all hoses connected to the washer for any cracks, leaks, or bulges, including hot and cold water lines. Also, inspect the drain pipe connection at the unit’s base, which connects to the standpipe or laundry tub drain line. Lastly, if any loose wires or electrical connections are within your washer’s control console, ensure they are securely tightened up before using them again.
With regular maintenance and care taken when inspecting various parts inside your front-load washing machine, you should avoid any additional problems, such as unwanted moisture damage or costly repairs due to neglectful practices.
The Bottom Line
Front load washing machine leaking from bottom is a problem that requires identifying and addressing the cause. You can troubleshoot by inspecting the drain hose, door seal, filter, and pump assembly and replacing worn or damaged parts. After repairs, implement preventative maintenance, clean filters, and hoses, and regularly check the drainage system. By following these steps, you can address the issue and maintain the proper functioning of your appliance long-term.
At PuroClean Zephyrhills, our professional team is here to help fix your leaking front-load washing machine. Contact us today for expert repairs and maintenance to keep your appliance running smoothly.