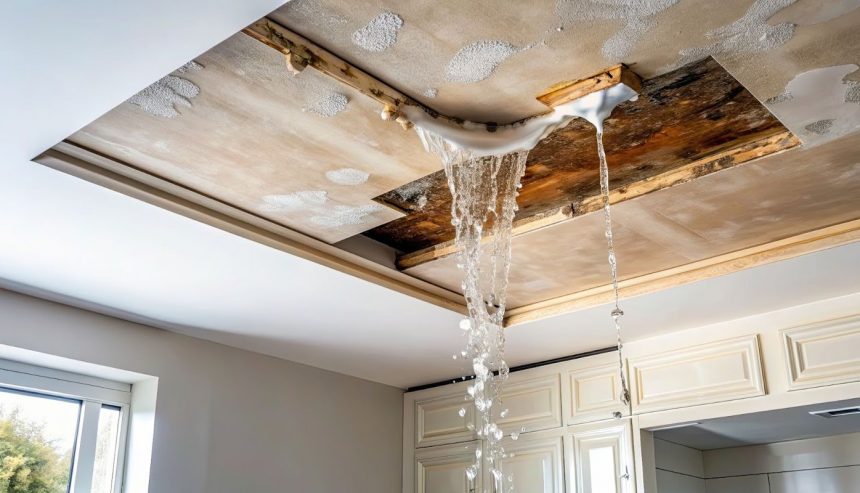
A water-damaged ceiling isn’t just an eyesore. It can lead to bigger structural problems if it’s not taken care of quickly and thoroughly. In many homes across Michigan, drywall ceilings are common, and when water damage hits, it tends to show itself through stains, sagging, and sometimes even an unpleasant smell. From heavy snow on a leaky roof to plumbing mishaps from above, the cause might vary, but the impact can be serious.
Fixing a ceiling with water damage means more than patching things up. You have to make sure that the area is truly dry, safe, and mold-free before sealing it back up. That’s why knowing what to look for, how to work safely, and what steps come next can make a big difference. Whether the leak came from a busted pipe or a poorly sealed vent, acting early can help prevent a bigger problem down the road.
Identifying The Extent Of Damage
Before doing any repairs, you need to understand how bad the damage is. Water doesn’t always show up right away, so by the time you spot a stain or water bubble, the problem may have already spread. You don’t want to fix just what’s visible and miss hidden moisture that could lead to mold.
Here are some signs your drywall ceiling may have water damage:
– Yellow or brown stains forming rings or spots
– Bubbling, peeling paint, or cracked drywall
– Sagging or drooping areas
– A musty smell coming from the ceiling
– Presence of mold or mildew, usually dark or fuzzy patches
If you’re noticing any of these signs, you’ll want to check the area above the ceiling too. Often, the leak source is higher up. It could be a slow pipe leak, perhaps in a bathroom above, or water seeping in from the roof during heavy weather. The sooner you locate the source, the less damage you’ll have to deal with.
Some damage may be isolated to one corner, while other cases can cover a larger section. If the drywall feels soft to the touch or crumbles when gently pressed, that’s a clear sign that replacement is needed.
Preparing The Area For Repair
Once you’ve figured out the full extent of the ceiling water damage, it’s time to set up your space. You want to keep the area safe, contain any further mess, and make sure you’ve got what you need before you begin any actual work.
Start by turning off electricity to the affected space. Water and wiring don’t mix, and you never know if the leak reached an overhead fixture. Next, clear out any furniture or valuables from the room. Cover the floor with a tarp or drop cloth to catch any falling debris or dust from the ceiling. Wearing a mask and safety goggles is wise, especially if there’s evidence of mold or if you’ll be cutting into drywall.
Keep this checklist nearby when prepping for the job:
– Protective gear (goggles, gloves, face mask)
– Waterproof tarp or drop cloth for floors
– Ladder or scaffold for ceiling access
– Utility knife or drywall saw
– Buckets or containers if the leak is still active
– Flashlight or portable work light
Even if the damage seems small, it’s smart to approach the repair cautiously. The ceiling may not feel damp on the outside but could still be holding moisture inside. If you’re unsure about the extent or source of the issue, that’s often a sign to call in professionals to assess it.
Repairing Water-Damaged Drywall Ceilings
Once the prep is done and you’re sure the area is safe, the repair work can begin. Start by removing any drywall that’s too damaged to keep. If it’s sagging, flaking, or crumbling, there’s no saving it. Use a utility knife or saw to cut out the affected section cleanly. Be careful not to cut through electrical wires that may run behind the ceiling. It’s usually best to remove a bit more material than seems necessary just to be certain that any hidden damage is taken out.
When removed, dry the exposed area completely. Even if it feels dry to the touch, hidden moisture could still be trapped above or behind the drywall. Dehumidifiers or fans can help speed things up. If there’s any sign of mold like dark spots or musty smells, it needs to be treated right away using antifungal products meant for construction surfaces.
With everything dry and clean, it’s time to put in new drywall. Cut a patch that fits the opening, screw it into place with drywall screws, and add joint tape along the seams. Cover the seams and screws with joint compound, feather it out thinly, and let it dry. This might need a few coats with sanding in between to make it smooth and help it blend with the rest of the ceiling. Then, prime and paint it to match the original finish. If the original ceiling had texture, like a knockdown or swirl pattern, take time to match it closely so the repair doesn’t stand out.
Matching textures can be more challenging than you’d think. A Michigan homeowner once tried patching a small stained square in their living room ceiling. The patch looked cleaner and newer than the rest of the ceiling, so they ended up patching a larger area to make it look even. That extra effort at the start can save frustration later on and make for a cleaner finish overall.
Preventing Future Water Damage
After the ceiling looks good again, it’s time to make sure the issue doesn’t come back. Water damage often begins small with a loose shingle, dripping pipe, or even condensation from poor airflow. These things turn into big repairs when ignored.
Here are some simple ways to reduce future risk:
– Look for roof leaks after big rainstorms, especially near vents or chimneys
– Check plumbing in bathrooms above the damaged spot often
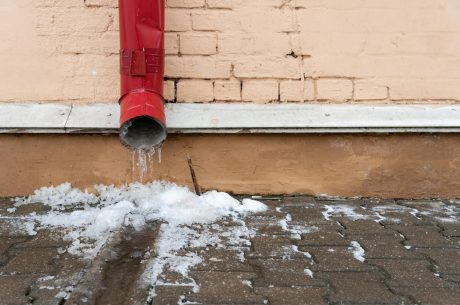
– Add insulation around pipes in winter to stop freeze risks
– Make sure your attic has good airflow to avoid damp buildup
– Keep gutters clear in fall so rain drains away properly
Doing regular checks like these helps you find slow leaks early. If your home had ceiling water damage before, keep a closer eye on that spot. Past leaks can come back if the fix wasn’t done right the first time.
Bringing in someone for a full inspection once or twice a year can also help you spot things early. Professionals may find issues in crawl spaces or attic corners that aren’t easy to check on your own.
How to Keep It From Happening Again
Fixing ceiling water damage takes more than a quick drywall patch. You have to dry hidden moisture, match textures carefully, and keep up with maintenance. Drywall may look fine on the outside, but if it stays wet inside, mold and structure damage can start quietly.
When you act fast and fix it right, you lower your chances of future issues. Michigan homes take a beating from tough weather and plumbing wear. Keeping tabs on changes, leaks, and signs of damage gives you a head start on repairs.
Things like yearly inspections or sealing pipes before winter aren’t just chores. They help stop the next big ceiling water damage repair before it even starts. Taking that time now helps keep everything in good shape from roof to floor.
Protecting your home from unexpected repairs doesn’t have to feel overwhelming. Taking simple steps now can save you major headaches down the road. If leaks or stains have already started to show, our ceiling water damage repair services are here to help. PuroClean of Bloomfield Hills is dedicated to restoring your peace of mind with quick, reliable solutions.