


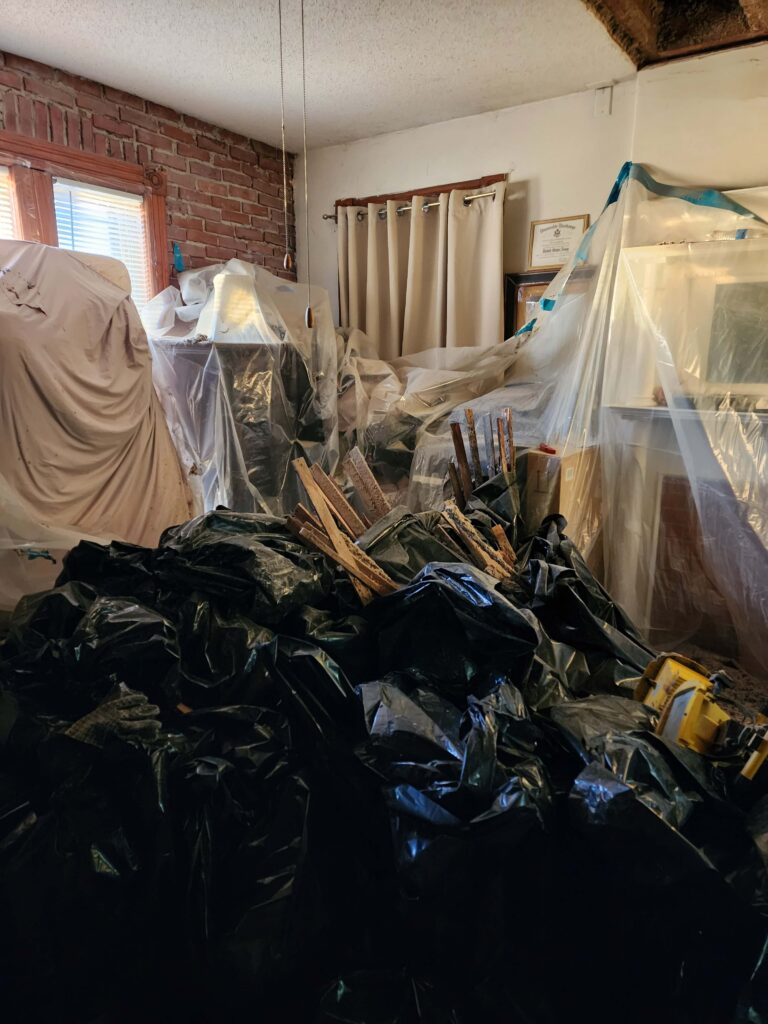
When a pipe bursts at 2 a.m. or a roof leak starts dripping into your office after a storm, your first instinct is usually to stop the water and protect what you can. That is the right move. But once the immediate danger is under control, knowing how to document water damage can make a major difference in your insurance claim, repair timeline, and ability to prove what happened.
Good documentation does two things at once. It creates a clear record for your insurer, and it helps restoration professionals understand how far the damage may have spread. Water moves beyond what you can see. A wet ceiling tile may be the least serious part of the problem if moisture has already entered insulation, drywall, subflooring, or wall cavities.
Why documentation matters so much
Water damage claims often come down to details. Insurers want to know when the damage happened, what caused it, what materials were affected, and what steps were taken to reduce further loss. If those details are incomplete, the claim process can slow down or become more difficult than it should be.
Thorough records also help prevent disputes later. For example, a homeowner may remember that only one room looked wet on day one, but photos taken from multiple angles may show swelling along baseboards in the hallway too. For a commercial property, documentation may also support business interruption concerns, tenant communication, and maintenance records.
There is a practical side as well. Restoration teams use this information to compare visible damage with moisture readings, thermal imaging findings, and drying progress. The more accurate the starting record, the easier it is to build an effective mitigation plan.
How to document water damage step by step
The best documentation starts early, ideally before cleanup and before damaged items are moved. If safety is an issue, handle that first. Shut off electricity to affected areas if it is safe to do so, stop the water source if possible, and keep people away from hazardous conditions.
Start with wide photos of every affected area
Begin by taking clear, well-lit photos of the entire scene. Stand back and capture each room from more than one angle. If water entered from above, photograph ceilings, light fixtures, walls, floors, furniture, and any visible staining or sagging.
Do not focus only on the most dramatic damage. Insurance carriers and restoration contractors need context. A wide shot of the room shows where the damage is located and how it relates to nearby materials and contents.
If the property is commercial, take photos of affected offices, hallways, inventory areas, restrooms, and mechanical rooms separately. The goal is to show the scope, not just the obvious impact.
Then take close-up photos and video
After the wide shots, move in closer. Photograph bubbling paint, warped hardwood, soaked carpet, swollen cabinets, damaged drywall, peeling laminate, stained insulation, and any personal property or business contents affected by water.
Video can help too, especially if water is actively dripping, spraying, or pooling. Narrating the date, time, and location while filming can add useful context. Keep the video steady and simple. You are creating evidence, not a presentation.
Document the source of the water if you can
If the source is visible, photograph it. That could be a broken supply line under a sink, an overflowing appliance, a failed water heater, a roof penetration, or a backed-up drain line.
This matters because the source may affect both coverage questions and cleanup procedures. Clean water from a supply line is different from contaminated water involving sewage or storm intrusion. If there is any sign of contamination, avoid contact and leave removal to trained professionals.
Make a written damage log
Photos are strong evidence, but written notes fill in the gaps. Create a simple log on your phone or on paper. Include the date and time you discovered the damage, when you believe it started if known, and what you observed in each area.
Write down details such as water depth, musty odor, visible staining, soft drywall, flooring changes, and whether water reached contents like electronics, files, upholstered furniture, or stock. If you shut off a valve, called a plumber, contacted your insurer, or scheduled emergency drying, record that too.
A timeline is often one of the most helpful parts of a claim file. It shows that you acted promptly and responsibly.
What to include in your water damage records
If you are trying to figure out how to document water damage in a way that actually helps your claim, think in categories. You want to capture structural damage, contents damage, cause, timeline, and mitigation efforts.
For the structure, record what building materials were affected. That includes drywall, insulation, trim, flooring, ceilings, cabinetry, and subfloors. For contents, note furniture, electronics, appliances, inventory, paper files, and personal items.
You should also keep copies of emergency service invoices, plumber reports, leak detection findings, and any recommendations provided on site. If a restoration company uses moisture meters or thermal imaging, ask for copies of the readings or documentation when available. That kind of technical record can support the fact that moisture extended beyond what was visible on the surface.
Save damaged items before disposal when possible
People naturally want to start throwing ruined items away. Sometimes that is necessary for safety, especially if materials are contaminated or structurally unstable. But when possible, wait until the damage has been documented thoroughly.
Photograph each item before disposal and, if practical, group damaged items by room. If you have receipts, product manuals, model numbers, or past photos showing the item in your home or business, save those as well.
This is especially useful for high-value items and for commercial losses involving tools, equipment, or inventory. A quick phone photo of a soaked rug is helpful. A photo plus brand, size, age, and estimated replacement cost is much stronger.
Do not forget hidden moisture and less obvious damage
One of the biggest mistakes people make is documenting only what they can see. Water often migrates under flooring, behind baseboards, into wall cavities, and inside cabinets. A room may look mostly dry while moisture remains trapped where it can lead to swelling, odor, or mold growth.
That is why professional assessment matters. Certified restoration teams use moisture meters, thermal imaging, and targeted drying equipment to identify where water has traveled. If the loss involves hardwood floors, built-in cabinets, insulation, or shared walls, hidden moisture is especially common.
In East Bridgeport, Shelton, and Milford, many properties also face weather-related water intrusion, older plumbing systems, and mixed-use building layouts that make water movement less predictable. Documentation should reflect that uncertainty rather than assume the problem is limited to one visible spot.
Common mistakes that weaken a claim
The most common issue is delayed documentation. People are overwhelmed, cleanup starts fast, and by the time photos are taken, wet materials have already been removed. That does not ruin a claim, but it can leave important questions unanswered.
Another mistake is taking too few photos. One or two pictures of a damaged room rarely tell the full story. The same goes for vague notes like kitchen leak or office flood. Be specific about locations, materials, and what changed over time.
It also hurts when property owners repair too much too soon without records. Emergency steps to prevent further damage are necessary. Full reconstruction before inspection, though, can make it harder to verify the extent of the original loss.
When to call professionals
If the affected area is large, the water has been present for more than a day, the source involves sewage or stormwater, or materials like drywall and flooring are saturated, professional help is the safest next step. Fast mitigation protects the structure, but it also creates stronger documentation through moisture mapping, drying records, and detailed job notes.
For many property owners, this is where a company like PuroClean of East Bridgeport can make the process less chaotic. You are not just getting extraction and drying. You are getting a team that understands how to stabilize the property, document conditions carefully, and help you move forward with clarity.
A simple rule to remember
If you are unsure whether something should be photographed or written down, document it anyway. Water damage changes quickly. What looks minor in the first hour can turn into swelling, staining, or microbial growth within a short time. A thorough record gives you options later, and options matter when you are trying to protect your property, your finances, and your peace of mind.
The best time to document water damage is before the scene changes. The second-best time is right now.

