Table of Contents
If your home in Coral Gables experiences flood damage, acting immediately can make the difference between a manageable repair and a major, costly disaster. This step-by-step guide will help you take the right actions before professionals arrive — from ensuring safety and stopping the water source to documenting damage, cleaning up, and beginning restoration. By the end, you’ll know exactly how to respond and who to call for expert help.
Understanding Flood Damage in Coral Gables
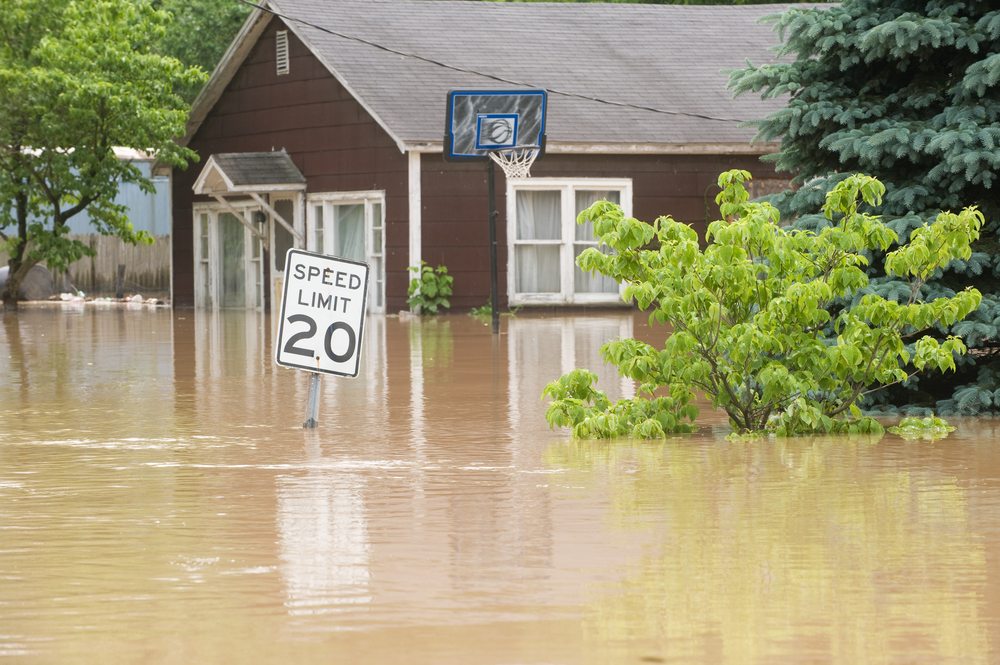
Flood damage is one of the most devastating events a homeowner can face. In a city like Coral Gables, where tropical storms, heavy rainfall, and occasional hurricanes are common, the risk is especially high. Water can infiltrate walls, flooring, furniture, and even the foundation of a home within minutes, leading to long-term problems such as mold growth, rot, and electrical hazards.
Immediate action is key. Knowing what to do in those first few hours after flood damage occurs can save thousands of dollars in repairs and protect your family’s health.
Step 1: Ensure Safety First
Safety must always come before cleanup. Floodwater can carry electrical current, bacteria, and hazardous debris that make your home unsafe to enter.
Before doing anything:
- Wait for authorities to confirm that it’s safe to re-enter your neighborhood or home.
- Avoid standing water if the electricity is still on — shut off the main breaker if possible.
- Be alert for gas leaks, structural instability, or sharp debris.
- Use protective gear such as gloves, boots, and an N95 mask.
- Use flashlights instead of candles to avoid fire hazards.
Your goal in this first step is not to save belongings, it’s to make sure no one is injured while assessing the situation.
Step 2: Stop the Source and Assess the Extent of Flood Damage
Once safety is ensured, focus on controlling the source of water. If a burst pipe, roof leak, or appliance malfunction caused the flood damage, turn off the main water supply immediately. If the water came from a storm or natural flood, do what you can to block additional entry using sandbags, plastic barriers, or by diverting flow away from your foundation.
Next, assess the extent of the flood damage. Take note of:
- How deep the water is in each area.
- Which parts of the home (walls, floors, ceilings) are affected.
- Visible signs of damage to furniture, wiring, and structural materials.
- Possible mold growth or discoloration already forming.
At this stage, you are collecting information, not cleaning yet. A clear understanding of the damage will help with insurance claims and professional restoration later.
Step 3: Document Everything for Insurance
When it comes to flood damage, documentation is your best friend. Insurance adjusters will need to see proof of the damage to process your claim.
Here’s what to do:
- Take photos and videos of all affected areas before you start cleaning or removing anything.
- Include multiple angles, close-ups, and wide shots.
- Write notes describing what each photo represents and the time it was taken.
- Keep receipts for any temporary repairs or emergency supplies you purchase.
- Contact your insurance provider as soon as possible and report the flood damage.
Avoid throwing away damaged items until your adjuster has seen them. Even ruined furniture and flooring can help prove your losses.
Step 4: Remove Standing Water Quickly
Once you’ve documented the damage, the next priority is to remove any standing water. Water that lingers can seep deeper into flooring, walls, and insulation, causing structural deterioration and mold growth within 24–48 hours.
If it’s safe, begin by:
- Using a wet/dry vacuum or water pump to remove as much water as possible.
- Mopping and blotting areas where you can’t use equipment.
- Moving furniture and belongings to a dry area or outside to prevent further absorption.
- Checking closets, crawl spaces, and under furniture for hidden pools of water.
For severe flooding, professional extraction services are recommended. They have high-powered pumps and industrial equipment to remove water more efficiently and completely than standard household tools.
Step 5: Begin Drying and Dehumidifying
After removing visible water, the drying process must begin immediately. Even a small amount of trapped moisture can lead to hidden damage and mold growth.
To dry your home effectively:
- Open windows and doors if weather permits to improve ventilation.
- Use fans, air movers, and dehumidifiers to speed up drying.
- Lift carpets and remove padding if they are saturated.
- Wipe down walls and furniture to prevent moisture stains.
- Monitor humidity levels with a moisture meter if available.
Remember: drying should continue for several days. Walls, wood, and subflooring may feel dry to the touch but can still hold damaging amounts of moisture deep inside.
Step 6: Clean and Sanitize Thoroughly
Floodwater often contains bacteria, sewage, and other contaminants. Cleaning is not just about removing dirt, it’s about making your home safe again.
Steps for proper cleaning:
- Wear protective gear such as gloves and masks to avoid exposure.
- Remove mud and debris from all surfaces using soap and water.
- Disinfect with a bleach-based or EPA-approved cleaner to kill bacteria and mold spores.
- Wash and disinfect hard, non-porous items like metal, glass, and plastic.
- Discard porous materials such as carpet, insulation, and mattresses if they were soaked.
This stage is where flood damage transitions from a visible mess to a potential health hazard. Be thorough, but if contamination is severe, call professionals immediately.
Step 7: Prevent Mold and Structural Damage
Mold begins to grow within 24 to 48 hours after flood damage. Once mold sets in, it spreads quickly and compromises indoor air quality, triggering respiratory problems and allergic reactions.
To prevent mold:
- Keep dehumidifiers running for several days after water removal.
- Inspect baseboards, drywall, and furniture for discoloration or musty odors.
- Use anti-fungal sprays on susceptible surfaces.
- Discard items that can’t be fully dried.
- Avoid reinstalling flooring or drywall until moisture readings confirm the area is completely dry.
By focusing on prevention, you save yourself from a second disaster after the water is gone.
Step 8: Repair and Restore Your Home
Once your home is dry and sanitized, the restoration phase begins. This includes rebuilding or replacing damaged structures and making improvements to prevent future flood damage.
Common repairs include:
- Replacing drywall, flooring, and insulation.
- Repainting walls with moisture-resistant paint.
- Repairing electrical systems and HVAC components.
- Upgrading to flood-resistant materials such as ceramic tiles or vinyl planks.
- Installing sump pumps or improved drainage systems around your property.
This stage can take time, but it’s also an opportunity to rebuild stronger than before.
Step 9: Monitor and Maintain
Even after the visible damage is gone, continue to monitor your home for weeks afterward. Some flood damage reveals itself slowly — warped wood, peeling paint, or a lingering odor might indicate trapped moisture.
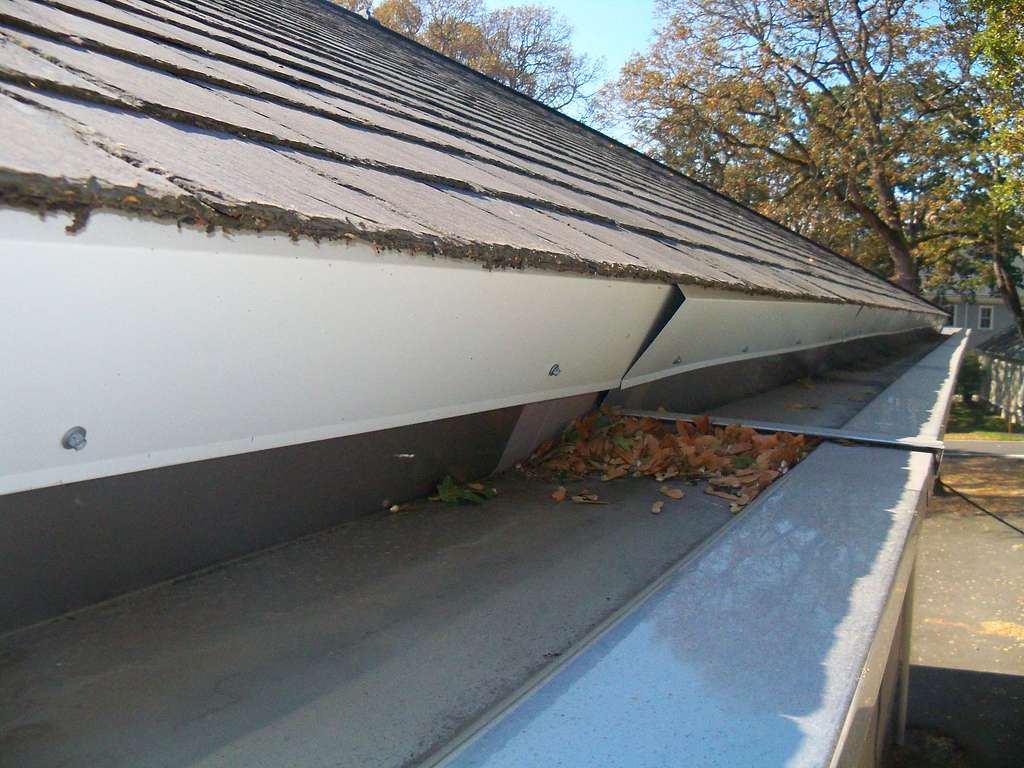
Schedule follow-up inspections and consider installing smart sensors that detect leaks or humidity increases. Regular maintenance, such as gutter cleaning and roof checks, can reduce your risk of future flooding.
Step 10: Call the Experts at PuroClean of Coral Gables
Flood damage restoration is a complex, multi-step process that requires experience and professional-grade equipment. While DIY efforts can help with minor incidents, large-scale flooding calls for experts who know how to extract water, dry structures, and sanitize safely.
PuroClean of Coral Gables specializes in comprehensive flood damage cleanup and restoration. Their certified technicians respond 24/7 to water emergencies, providing:
- Rapid water extraction and drying.
- Mold prevention and air purification.
- Structural drying with advanced dehumidifiers.
- Full repair and reconstruction services.
- Direct assistance with insurance claims.
Don’t wait until minor flood damage turns into major mold or structural problems. Call PuroClean of Coral Gables today at (305) 894-4343 for immediate professional help.
FAQs: Flood Damage in Coral Gables
1. How soon should I start cleaning after flood damage?
You should begin cleanup as soon as it’s safe to enter your home. Acting within 24 hours helps prevent mold growth and additional damage.
2. Does homeowners insurance cover flood damage?
Most standard policies don’t cover flooding caused by natural events. You’ll need separate flood insurance, especially if you live in a high-risk area like Coral Gables.
3. Can I just let my house air-dry after flooding?
No. Air drying alone is not effective. Hidden moisture inside walls and flooring can cause mold and rot. Professional drying ensures all moisture is eliminated.
4. How long does flood damage restoration take?
The timeline depends on the extent of the damage. Minor flooding may take a few days to dry and clean, while major cases can take several weeks, including repairs.
5. How can I prevent flood damage in the future?
Maintain gutters and drainage, elevate electrical components, and consider installing sump pumps or waterproof barriers. Regular inspections can also help catch issues early.
Final Summary
Flood damage in Coral Gables can strike without warning, leaving homeowners overwhelmed and unsure where to start. But by following these essential steps — ensuring safety, stopping the source, documenting for insurance, removing water, drying thoroughly, sanitizing, and monitoring for mold — you can minimize damage and recover faster.
When the situation becomes too large to handle alone, PuroClean of Coral Gables is your trusted local partner. Their certified flood damage specialists have the tools, training, and experience to restore your home safely, efficiently, and completely.
Act fast. Protect your home. Restore your peace of mind. Call PuroClean of Coral Gables today at (305) 894-4343.


