Table of Contents
When you spot stains, sagging, or peeling paint on your ceiling, that’s a sign of ceiling water damage—and fixing it early is crucial. A professional approach ensures the root cause is addressed, moisture is removed, repairs are done correctly, and future risk is minimized. In this post, we walk you through each stage of the repair process, explain why DIY often falls short, and show how PuroClean of Coral Gables restores your ceiling with precision and care.
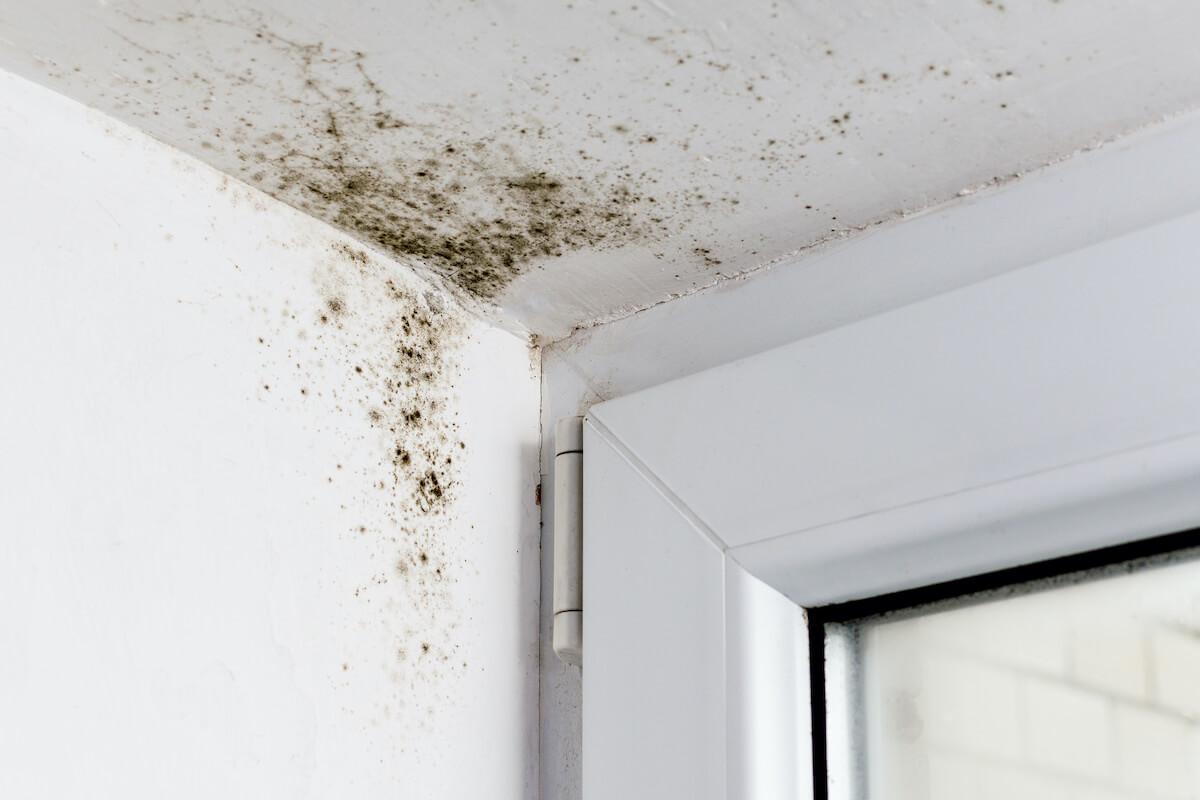
What is Ceiling Water Damage?
Ceiling water damage can arise from many sources: leaky roofs after storms, bathroom plumbing failures above, clogged gutters forcing water back into the roof or soffits, or HVAC condensation issues. If ignored, damage spreads into structural elements or causes mold.
Before any repair begins, professionals inspect not just the visible damage but hidden moisture behind drywall, in ceiling cavities, or in insulation. Accurate diagnosis is critical to avoid repeating repairs. Many guides (like Home Depot’s ceiling repair instructions) emphasize first cutting away all compromised material and ensuring the area is fully dry before rebuilding.
The 7 Steps of Professional Ceiling Water Damage Repair
Here’s how a seasoned restoration team approaches ceiling water damage in a methodical way:
1. Inspection & Assessment
Using moisture meters and often infrared imaging, technicians map out wet zones—sometimes far beyond the visible stain. They check structural integrity, ceiling joists, insulation, and surrounding materials to see where the water has spread.
2. Safety Precautions & Preparation
Before any work: water supply is shut off if plumbing is involved, circuits to affected zones are deactivated, and spaces below are protected (tarps on floors/furniture). Safety gear like goggles, masks, and gloves are used, especially if mold is suspected.
3. Stopping the Leak
Repairing the source is essential. Whether a damaged roof shingle, failing pipe, or clogged gutter, the leak must be sealed before restoration. Without that, repaired ceilings will just fail again.
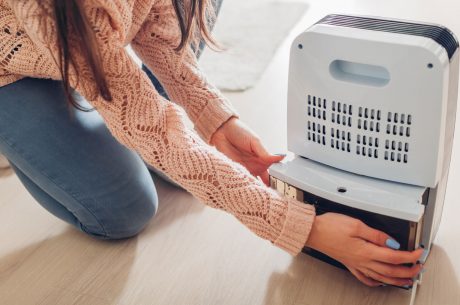
4. Drying & Dehumidification
All affected areas—ceiling cavities, drywall backsides, insulation—must be dried thoroughly. Professionals deploy air movers, industrial dehumidifiers, and sometimes inject warm air behind cut sections. The goal: bring moisture levels to safe thresholds, often under 15%.
5. Removal of Damaged Material
All failing drywall, saturated insulation, warped lath, or compromised plaster is removed. The cut is extended into clean, sound ceiling structure to ensure a good join. This often means cutting back to joists or adding backing strips.
6. Rebuild & Finish
New drywall or plasterboard is installed, fastened securely. Joints are taped and layered with compound, edges feathered carefully. Once cured, the surface is primed (often with stain-blocking primer), repainted, and matched to the existing ceiling texture if needed.
7. Final Inspection & Monitoring
After the repair, the area is monitored for lingering moisture or signs of mold. Technicians may return to verify drying stability. Preventive measures (e.g. maintaining roofing, cleaning gutters, ensuring ventilation) are recommended to reduce future risk.
Why DIY Repairs Often Fail
- Incomplete moisture removal: Even small residual dampness leads to recurring stains or mold.
- Hidden mold or structural decay: You may patch the surface without addressing deeper damage.
- Poor matching of texture or finish: Repairs often stand out visually if not expertly blended.
- Liability and safety: Mistakes near wiring or structure pose hazards.
Only professionals bring the diagnostic tools, drying capability, structural knowledge, and restoration expertise to fully fix ceiling water damage reliably.
FAQs
Q1: How quickly should I call a professional if I see ceiling water damage?
A: As soon as possible—within 24–48 hours ideally. Delay leads to mold, sagging, and more costly repairs.
Q2: Can ceiling stains always be fixed without replacing drywall?
A: If stain is superficial and not accompanied by softness or sagging, sometimes priming and painting suffice—but only after ensuring everything is fully dry.
Q3: Will insurance cover ceiling water damage repair?
A: Often yes, if the cause (like burst pipe or storm damage) is covered in your policy. Hiring a professional helps ensure claims are documented properly.
Q4: How long does full repair typically take?
A: Small repairs may take 1–3 days; full ceiling overhauls—especially with structural or mold issues—can take a week or more, depending on complexity.
Q5: What materials are best to rebuild ceilings in water-damaged areas?
A: Moisture-resistant drywall, quality joint compounds, stain-blocking primers, and ceiling-grade paints or texture materials.

Conclusion
Ceiling water damage demands more than a paint job—it requires expert diagnosis, drying, structural repair, and finishing for lasting results. This step-by-step process ensures every layer is addressed so your ceiling looks great and lasts.
At PuroClean of Coral Gables, our Professional Ceiling Water Damage Repair service handles the entire process from leak detection to final finishing with precision, speed, and care. Let us restore your ceiling the right way.
Contact us today for restoration, don’t let hidden water damage turn into a headache. (305) 894-4343