Biohazard Cleanup Instructions for Safe Property Restoration
Did you know that improper handling of biohazard materials can increase infection risk by up to 40 percent according to leading health studies? Every step in biohazard cleanup matters because even the smallest oversight can threaten your safety and the health of those around you. By understanding the right sequence of actions and using proven methods, you gain the confidence to control hazards and protect everyone nearby from serious danger.
Table of Contents
- Step 1: Assess Hazards And Secure The Area
- Step 2: Gather Protective Gear And Cleanup Supplies
- Step 3: Isolate The Contaminated Zones
- Step 4: Remove Biohazard Materials Safely
- Step 5: Sanitize And Deodorize All Surfaces
- Step 6: Verify Complete Cleanup And Restore Access
Quick Summary
| Key Point | Explanation |
|---|---|
| 1. Assess hazards before cleanup | Thoroughly evaluate the contaminated area and identify biohazard materials to ensure safety. |
| 2. Gather appropriate protective gear | Assemble personal protective equipment such as gloves, masks, and goggles for protection during cleanup. |
| 3. Create clear isolation zones | Establish physical barriers and post signage around contaminated areas to prevent unauthorized access. |
| 4. Use proper removal and disposal techniques | Safely collect biohazard materials using absorbents and secure disposal methods to minimize exposure risks. |
| 5. Sanitize surfaces thoroughly | Apply EPA registered disinfectants and allow sufficient contact time to eliminate pathogens and control odors. |
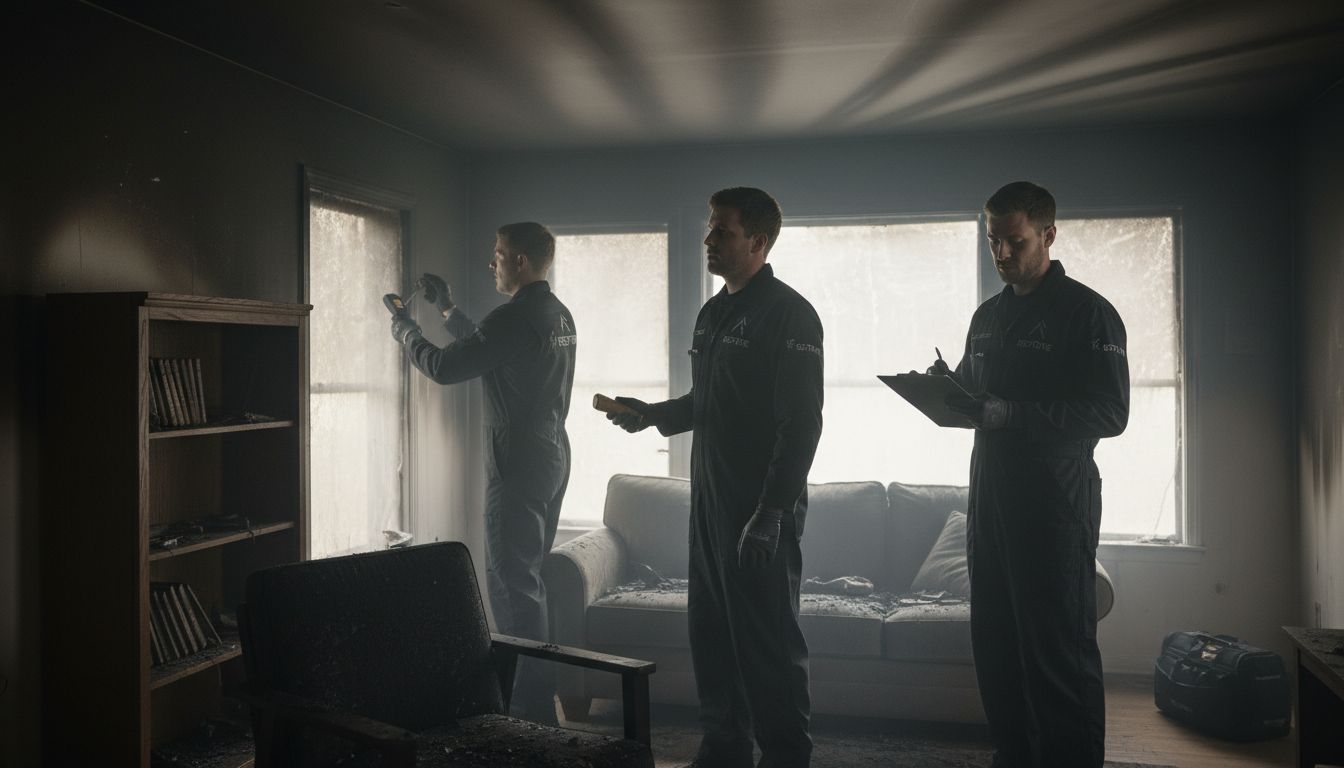
Step 1: Assess Hazards and Secure the Area
Before diving into biohazard cleanup, your first critical task is thoroughly assessing potential risks and preventing further contamination. According to research from Stanford University, your initial actions will determine the safety of everyone in the vicinity.
Start by quickly scanning the contaminated area and identifying the type and extent of the biohazardous material. Look for visible biological substances like blood, bodily fluids, or other potentially infectious materials. Your goal is understanding what you are dealing with before taking any action.
Immediate communication is crucial. Alert everyone nearby about the contaminated zone and establish a clear perimeter. According to emergency preparedness guidelines from the New Jersey Institute of Technology, you should restrict access to prevent potential spread of hazardous materials. Create a physical barrier using caution tape, signs, or temporary barriers to keep unauthorized individuals away.
Pro Tip: Always assume any biological material could be infectious and treat the area with maximum caution.
Before entering the contaminated space, ensure you have appropriate personal protective equipment including disposable gloves, protective eyewear, and a face mask or respirator. Evaluate whether the cleanup requires professional intervention or if it is safe for you to handle.
If the spill seems extensive or you are uncertain about proper cleanup protocols, contact professional biohazard restoration experts immediately. Your safety and the safety of others should always be the primary concern.
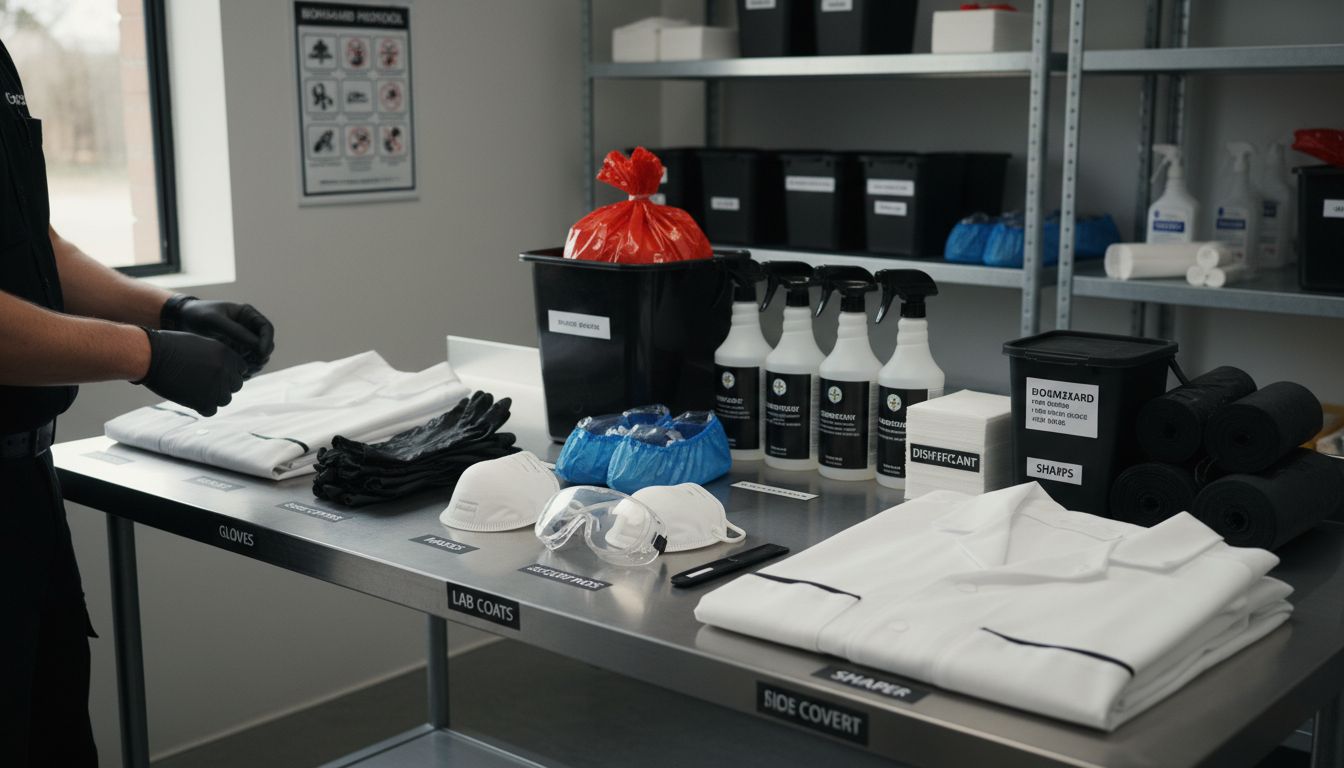
Step 2: Gather Protective Gear and Cleanup Supplies
Before tackling a biohazard cleanup, you will need to collect the right protective equipment and specialized cleanup materials. According to Michigan State University’s Environmental Health and Safety guidelines, proper preparation is crucial for safe and effective decontamination.
Start by assembling your personal protective equipment. Research from Vanderbilt University Medical Center recommends a comprehensive PPE kit including fluid resistant disposable gloves multiple pairs are best so you can double glove for extra protection. You’ll also want safety glasses or splash goggles to protect your eyes, a disposable lab coat or protective coverall, and shoe covers to prevent cross contamination.
Next focus on gathering your cleanup supplies. You will need specialized materials like chemical disinfectants specifically designed for biohazard neutralization. Look for EPA registered hospital grade disinfectants that can effectively kill pathogens. Absorbent materials such as specialized medical spill pads or granular absorbents will help contain and remove liquid biohazards quickly and safely.
Pro Tip: Always have a designated biohazard waste bag ready to immediately dispose of contaminated materials and PPE after cleanup.
Include additional supplies like paper towels, plastic trash bags, plastic scraper or dustpan, and a sealed container for sharp objects. Having everything organized and within reach before starting will make the cleanup process smoother and safer.
Once you have all your supplies ready, double check that your protective gear fits correctly and provides complete coverage. You are now prepared to move forward with the biohazard cleanup process.
Here’s a quick summary of essential personal protective equipment (PPE) and cleanup supplies needed for safe biohazard remediation:
| Item Type | Examples | Purpose |
|---|---|---|
| PPE | Disposable gloves Safety glasses/goggles Lab coat/coverall Face mask/respirator Shoe covers | Prevent direct exposure |
| Cleanup Supplies | EPA registered disinfectant Absorbent pads/granules Paper towels Plastic trash bags Sharps container | Contain/neutralize hazards |
| Disposal Materials | Biohazard waste bag Sealed containers (for sharps) | Safe removal of contaminants |
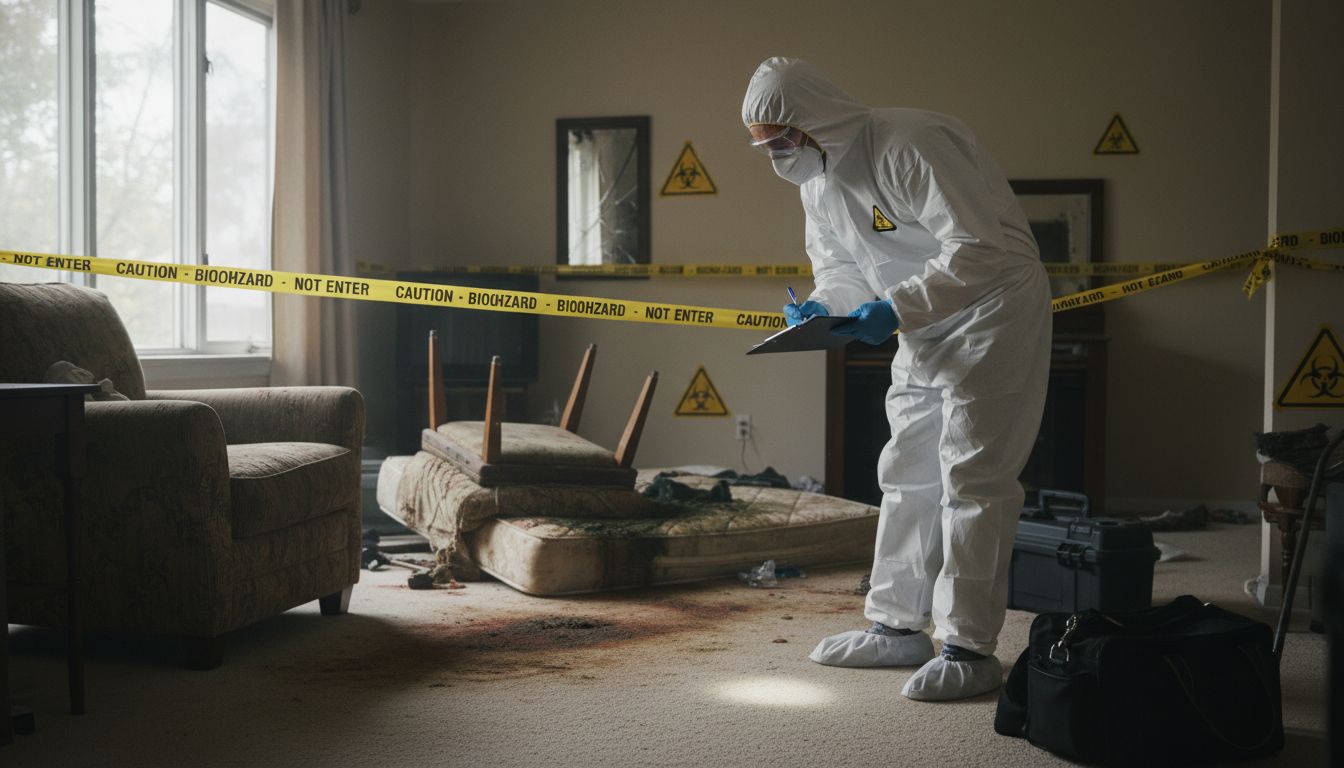
Step 3: Isolate the Contaminated Zones
Creating a clear boundary around the biohazard area is your next critical step in preventing potential contamination spread. According to emergency response guidelines from Stanford University, properly isolating the contaminated zone will protect both people and surrounding environments from potential exposure risks.
Begin by establishing a comprehensive physical barrier around the affected area. Use caution tape or plastic sheeting to create a visible perimeter that clearly marks the contaminated space. As research from the New Jersey Institute of Technology indicates, this barrier serves two crucial purposes preventing accidental entry and visually signaling potential danger to others.
Post clear warning signs that communicate the biohazard risk. These signs should be large, visible, and include specific instructions like “Biohazard Area Do Not Enter” or “Contaminated Zone Keep Out.” Place signs at multiple entry points to ensure maximum visibility and prevent unauthorized access.
Pro Tip: When establishing your isolation zone, create a buffer area around the contaminated space to provide additional safety margin.
Consider additional containment strategies depending on the specific biohazard. For indoor spaces, close air vents and seal doorways to prevent potential aerosol transmission. If the contamination is in a larger area, you might need to use plastic sheeting to create more comprehensive containment zones.
Your goal is creating a clear physical and visual barrier that protects people from accidental exposure while preparing for safe cleanup procedures. With the area now properly isolated, you are ready to move forward with the next steps of biohazard remediation.
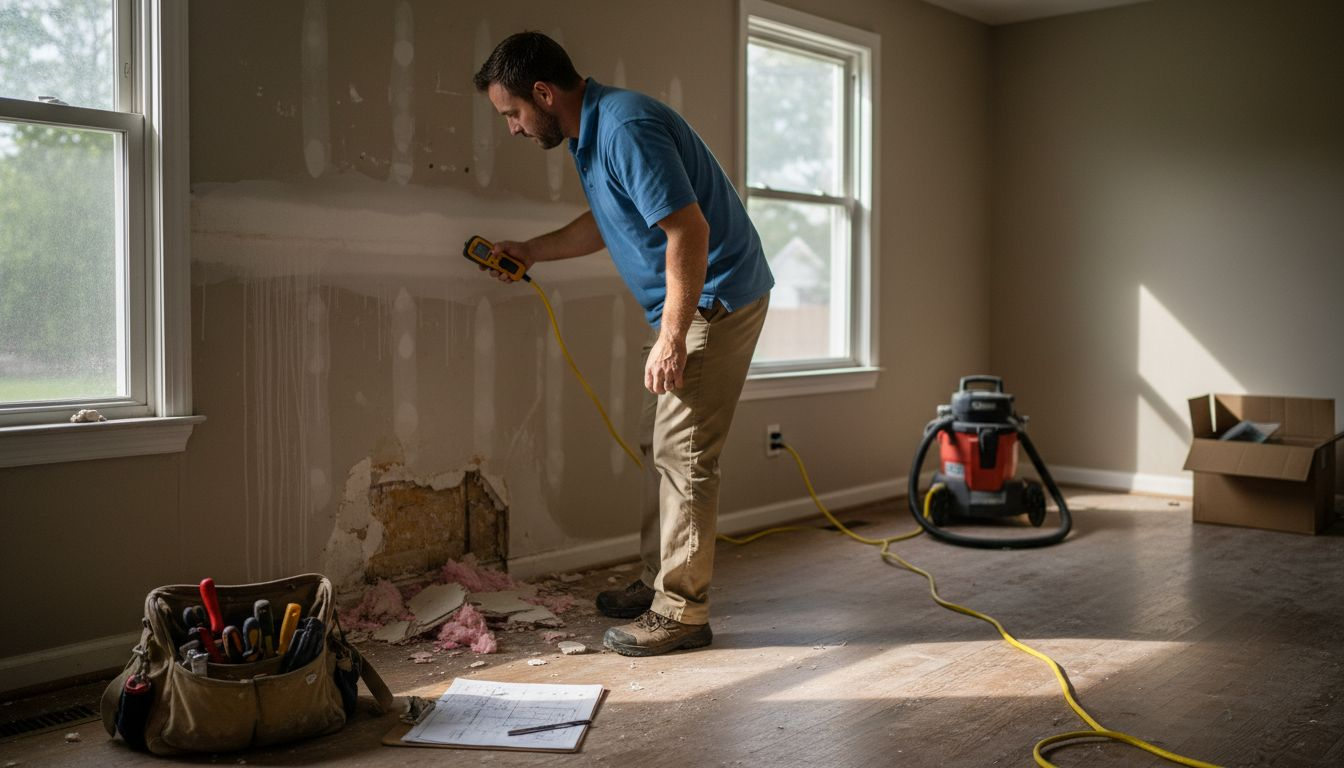
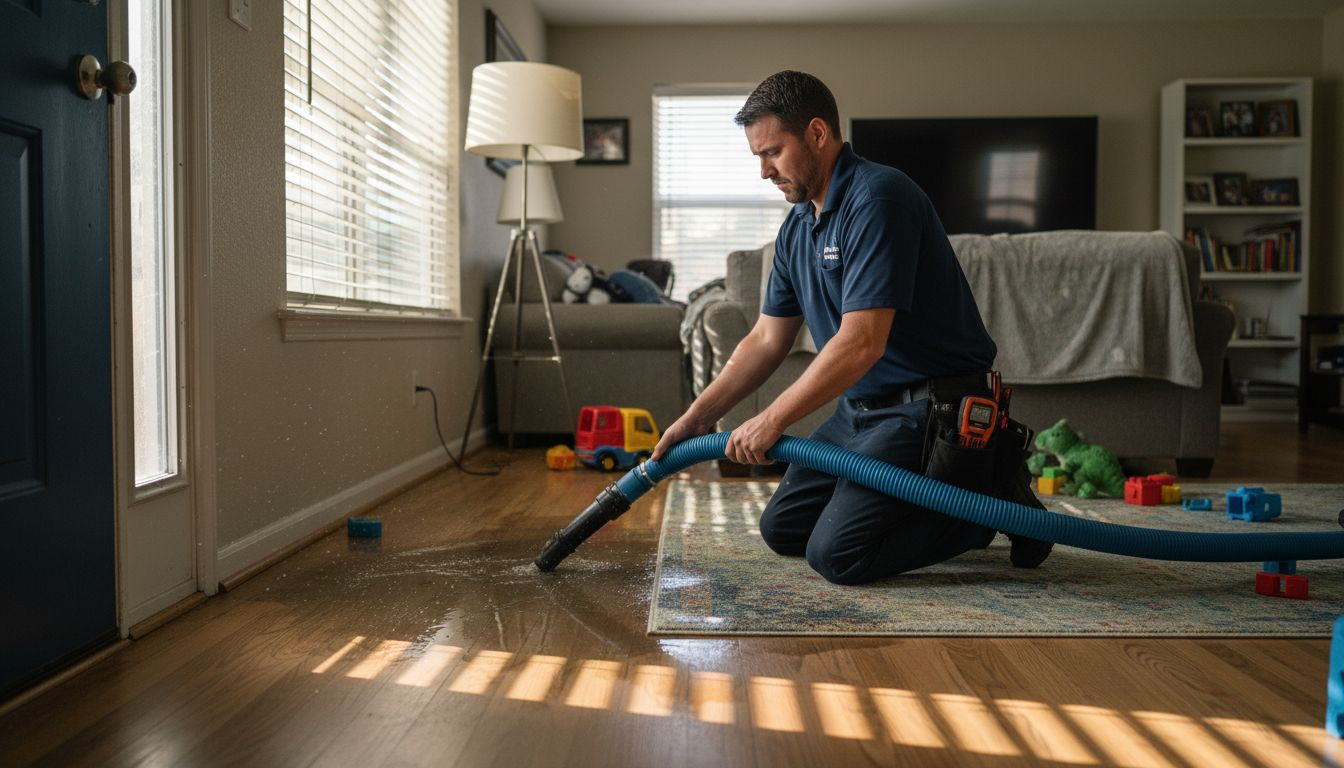
Step 4: Remove Biohazard Materials Safely
Removing biohazardous materials requires precision, caution, and a systematic approach. According to research from Michigan State University’s Environmental Health and Safety guidelines, your primary goal is to minimize exposure while ensuring complete contamination removal.
Start by covering the contaminated area with absorbent materials. As recommended by Vanderbilt University Medical Center, use specialized medical spill pads or granular absorbents to contain liquid biohazards. Gently apply the absorbent material to soak up the contaminated substance without spreading it further.
For solid or sharp contaminated objects, use long handled tongs or specialized forceps to carefully pick up materials. Place sharps like broken glass or needles directly into a designated sealed sharps container. Your movements should be slow and deliberate to prevent accidental splashing or additional contamination.
Pro Tip: Always use a scooping motion away from your body when removing biohazardous materials to minimize potential splash back.
After initial material removal, apply an EPA registered hospital grade disinfectant to the area. Allow the disinfectant sufficient contact time to effectively neutralize potential pathogens. Collect all used materials including absorbents and protective gear into designated biohazard waste bags, sealing them securely.
Learn more in our comprehensive guide to biohazard cleanup risks to understand the critical safety considerations during this process. With materials safely removed, you are prepared for the next decontamination steps.
Step 5: Sanitize and Deodorize All Surfaces
The sanitization process is critical for completely eliminating potential biological hazards and preventing future contamination. According to guidelines from the Centers for Disease Control, thorough disinfection requires more than just surface cleaning.
Start by selecting an EPA registered hospital grade disinfectant specifically designed for biohazard neutralization. As research from Stanford University indicates, the key is ensuring the surface remains wet with disinfectant for the entire recommended contact time. This means applying the solution generously and allowing it to sit for the manufacturer specified duration typically between 5 to 10 minutes.
Work systematically across all affected surfaces using disinfectant soaked paper towels or disposable cleaning cloths. Pay extra attention to porous materials like carpets, fabrics, and wooden surfaces which can retain biological contaminants more readily than hard surfaces. Use consistent wiping motions to ensure complete coverage and avoid cross contamination.
Pro Tip: Use separate cleaning cloths for different surface areas to prevent potential pathogen transfer between zones.
After the initial disinfection, address any lingering odors that might remain. Learn more about controlling bad odors with our comprehensive guide to understand advanced deodorization techniques. Rinse surfaces with clean water if required by the disinfectant instructions, and allow all areas to air dry completely before considering the sanitization process complete.
Step 6: Verify Complete Cleanup and Restore Access
The final stage of biohazard cleanup involves carefully confirming the thoroughness of your decontamination efforts and safely preparing the area for future use. According to emergency preparedness guidelines from the New Jersey Institute of Technology, proper verification is crucial before resuming normal activities.
Begin by conducting a comprehensive visual inspection of the entire cleaned area. Look for any remaining traces of biological material, discoloration, or potential contamination spots you might have missed during initial cleanup. Use good lighting and take your time examining every surface methodically.
Properly dispose of all personal protective equipment you used during the cleanup process. As recommended by Michigan State University Environmental Health and Safety guidelines, remove PPE carefully to prevent cross contamination. Immediately place used protective gear into designated biohazard waste bags and seal them securely.
Pro Tip: Wash your hands thoroughly with antibacterial soap for at least 20 seconds after removing protective equipment, even if you wore gloves during the entire process.
Document the entire cleanup process including the areas cleaned, materials used, and time spent.
Learn more about incident documentation with our comprehensive coronavirus cleaning guidelines to understand best practices for recording restoration efforts. Notify any relevant personnel about the completed cleanup and ensure the area is safe for future use.
Trust PuroClean of Northeast Sacramento for Expert Biohazard Cleanup and Property Restoration
Dealing with biohazard cleanup is complex and risky. This article highlights critical steps like hazard assessment, donning proper personal protective equipment, isolating contaminated zones, and using EPA registered hospital grade disinfectants. You want to ensure complete safety, thorough decontamination, and peace of mind for your family or business. Avoid the dangers of improper cleanup by relying on professionals who understand these challenges and have the right equipment and expertise.
At PuroClean of Northeast Sacramento, we specialize in prompt and comprehensive biohazard remediation and property restoration. Our certified technicians follow all recommended protocols from hazard containment to safe material disposal and sanitization that meets CDC and other safety guidelines. We provide 24/7 emergency response because preventing contamination spread cannot wait. Learn more about our extensive services including biohazard cleanup, water damage, fire restoration, and mold removal. Don’t wait until small contamination risks become bigger threats. Contact us now for trusted restoration that protects your health and property.
Frequently Asked Questions
What are the initial steps in biohazard cleanup?
Before starting biohazard cleanup, assess hazards and secure the area. Scan for visible contaminants and communicate the danger by creating a perimeter to restrict access.
How can I gather the right protective gear for biohazard cleanup?
Assemble a personal protective equipment (PPE) kit including disposable gloves, safety goggles, lab coats, and shoe covers. Ensure you have enough gear to fully cover exposed skin and double-glove for extra safety.
What should I do to isolate contaminated zones effectively?
To isolate the contaminated zone, establish a clear physical barrier using caution tape or plastic sheeting. Post warning signs at multiple entry points to alert others and prevent unauthorized access.
What is the proper method for removing biohazard materials?
Remove biohazardous materials by applying absorbent materials to soak up liquids first. Use long-handled tongs for sharp objects to minimize exposure and place them directly into a sealed sharps container.
How should I sanitize and deodorize after biohazard cleanup?
Choose an EPA registered hospital grade disinfectant and ensure surfaces remain wet for the recommended contact time. After disinfecting, address any lingering odors before allowing surfaces to air dry completely.
How can I verify complete cleanup before restoring access?
Conduct a comprehensive visual inspection to check for any remaining contamination and properly dispose of all used PPE. Document the cleanup process and notify relevant personnel to confirm safety before resuming normal activities.
Recommended
Eco Friendly Cleaning Tips For Busy European Mums – The Zoofamily
Guide to Biohazard Cleanup Alexandria VA for Owners
Crime Scene Cleanup – PuroClean of Walnut Creek
Biohazard & Hoarding Cleanup Services in Walnut Creek, CA
Why Certified Biohazard Cleanup Alexandria Matters for Safety