Critical Commercial Restoration Steps for Fast Recovery
Every minute counts after water or fire damage disrupts your Northeast Sacramento commercial property. Quick action protects tenants, limits structural issues, and lays the groundwork for successful insurance claims. By following the ANSI/IICRC S500 Standard for Professional Water Damage Restoration and proven FEMA guidelines, you can identify hazards, document losses, and secure your building fast, setting the stage for efficient cleanup and full recovery.
Table of Contents
- Step 1: Evaluate Damages And Secure The Property
- Step 2: Remove Water And Dry Affected Areas
- Step 3: Coordinate Repairs And Structural Restoration
- Step 4: Verify Restoration Quality And Complete Documentation
Quick Summary
| Key Insight | Explanation |
|---|---|
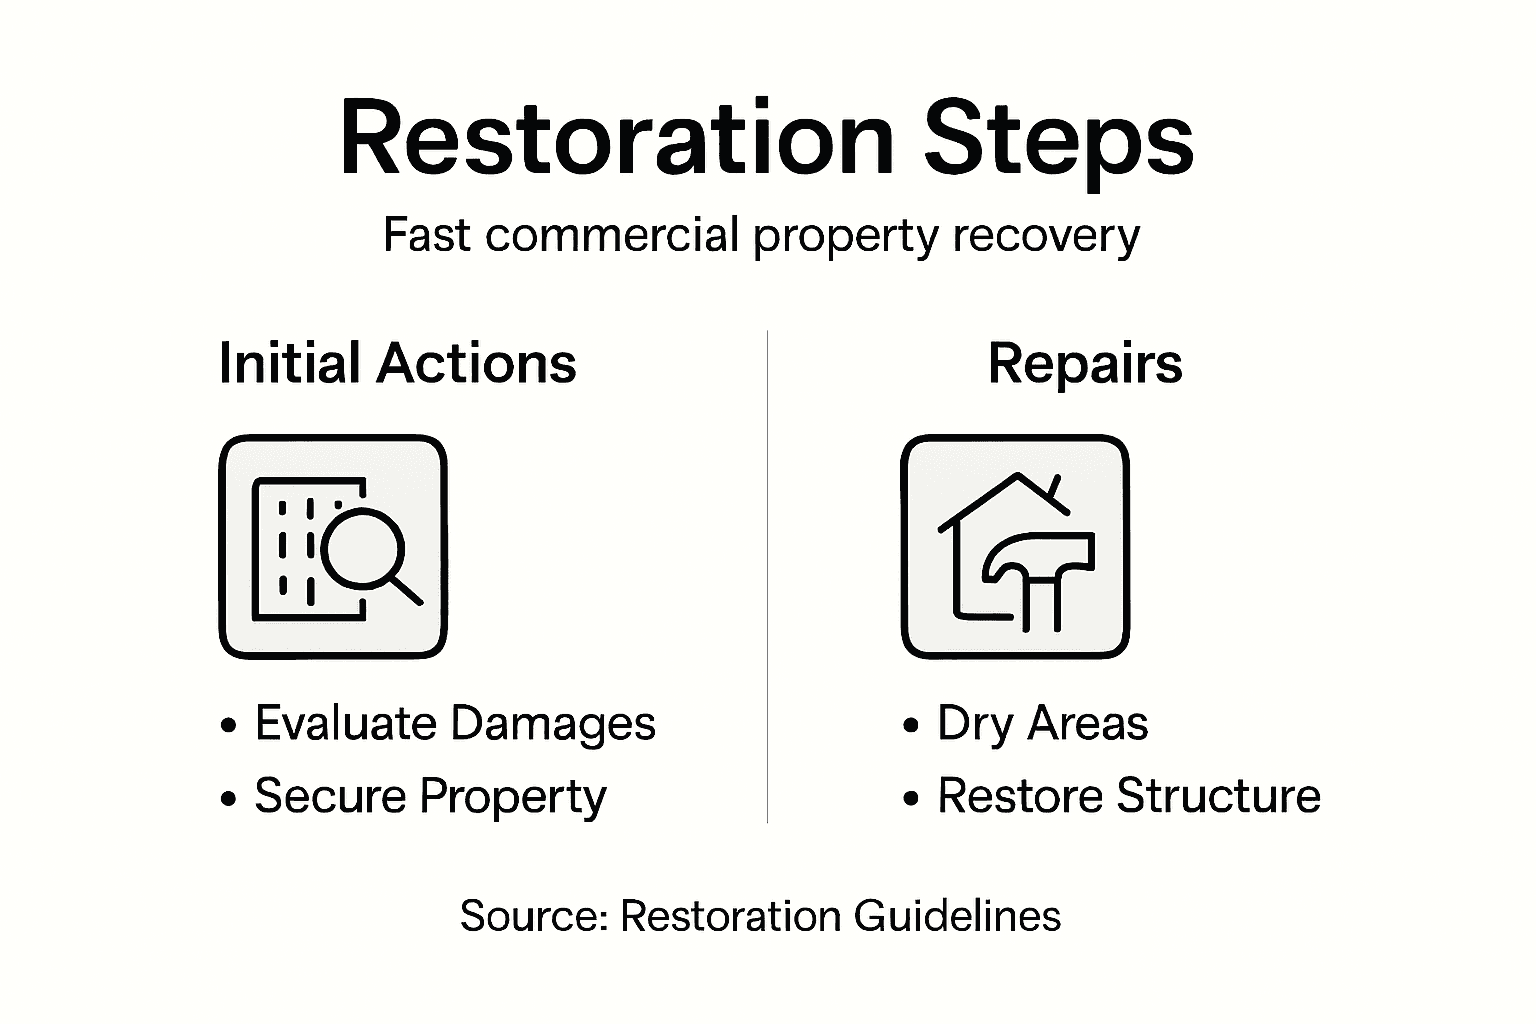
| 1. Assess Damage Immediately | Evaluate structural integrity and hazards to protect tenants and support insurance claims. Document damage thoroughly for effective recovery. |
| 2. Remove Water Promptly | Extract standing water quickly using pumps and dehumidifiers to prevent mold growth and further damage. Aim to stabilize humidity levels. |
| 3. Coordinate Skilled Repairs | Engage licensed contractors for repairs based on structural assessments. Proper coordination prevents delays and ensures compliance with safety codes. |
| 4. Verify Quality of Work | Conduct thorough inspections and collect documentation from contractors to ensure that repairs meet standards and support insurance claims. |
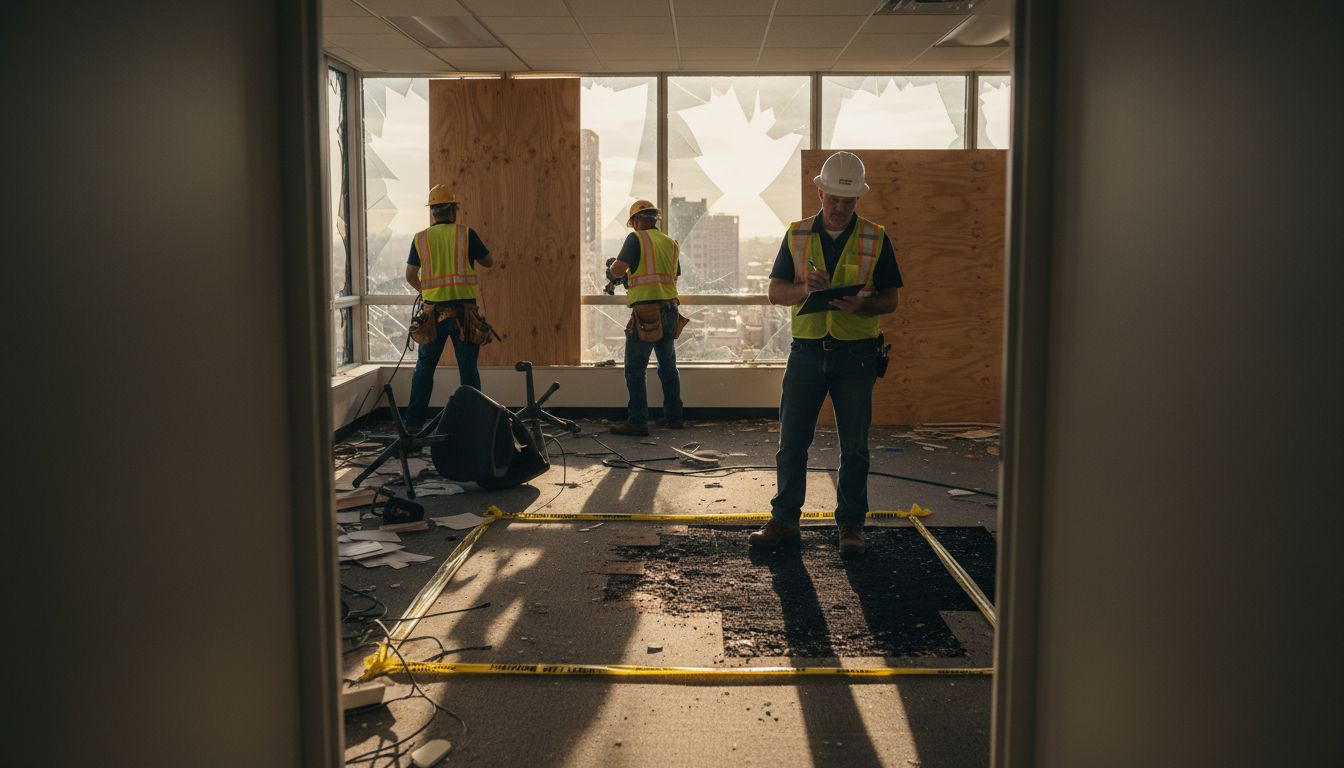
Step 1: Evaluate damages and secure the property
Your first hours after water or fire damage determine how quickly you recover. A thorough initial evaluation protects your tenants, preserves evidence for insurance claims, and prevents secondary damage like mold growth or structural failure. You’ll assess the extent of damage, identify immediate hazards, and take action to secure the building.
Start by entering the property only when it’s physically safe to do so. Look for obvious structural damage, electrical hazards, gas leaks, or standing water that could be hazardous. According to IICRC water damage assessment standards, initial inspections must evaluate structural integrity and identify safety concerns before any restoration work begins. Don’t touch electrical panels, wet appliances, or contaminated materials. If you suspect structural compromise or active hazards, call your local fire department or emergency responders first.
Document everything with photos and video from multiple angles. Capture damaged areas, water lines on walls, affected inventory, and equipment. These records are critical for your insurance claim. Take close-ups of labels, serial numbers, and product damage. Walk through systematically, room by room, noting what’s damaged and what’s salvageable. This creates a clear timeline of the event and shows the extent of loss when adjusters arrive.
Next, identify and eliminate ongoing threats. Turn off water at the main source if flooding is active. Cut power to affected areas if water exposure is present. Open windows and doors to begin air circulation if weather permits. Remove standing water where possible using pumps or extraction equipment. Proper damage assessment procedures include documenting hazard control steps taken immediately after the event.
Secure the property to prevent further loss or unauthorized entry. Board broken windows, lock accessible doors, and place caution tape around hazardous areas. If the building is uninhabitable, arrange temporary closures. Contact your insurance agent and document when you began mitigation efforts. This shows good faith and prevents coverage disputes.
You might also want to understand how insurance claim documentation impacts your recovery timeline and reimbursement.
Pro tip: Create a damage assessment checklist specific to your property type and keep it accessible at all times, so your team responds consistently during emergencies and captures all critical information before conditions worsen.
Step 2: Remove water and dry affected areas
Once the property is secure and documented, your focus shifts to water extraction and drying. Speed matters here. Standing water causes structural damage, promotes mold growth, and increases your recovery costs. The faster you remove water and dry materials, the faster your business returns to normal operations.
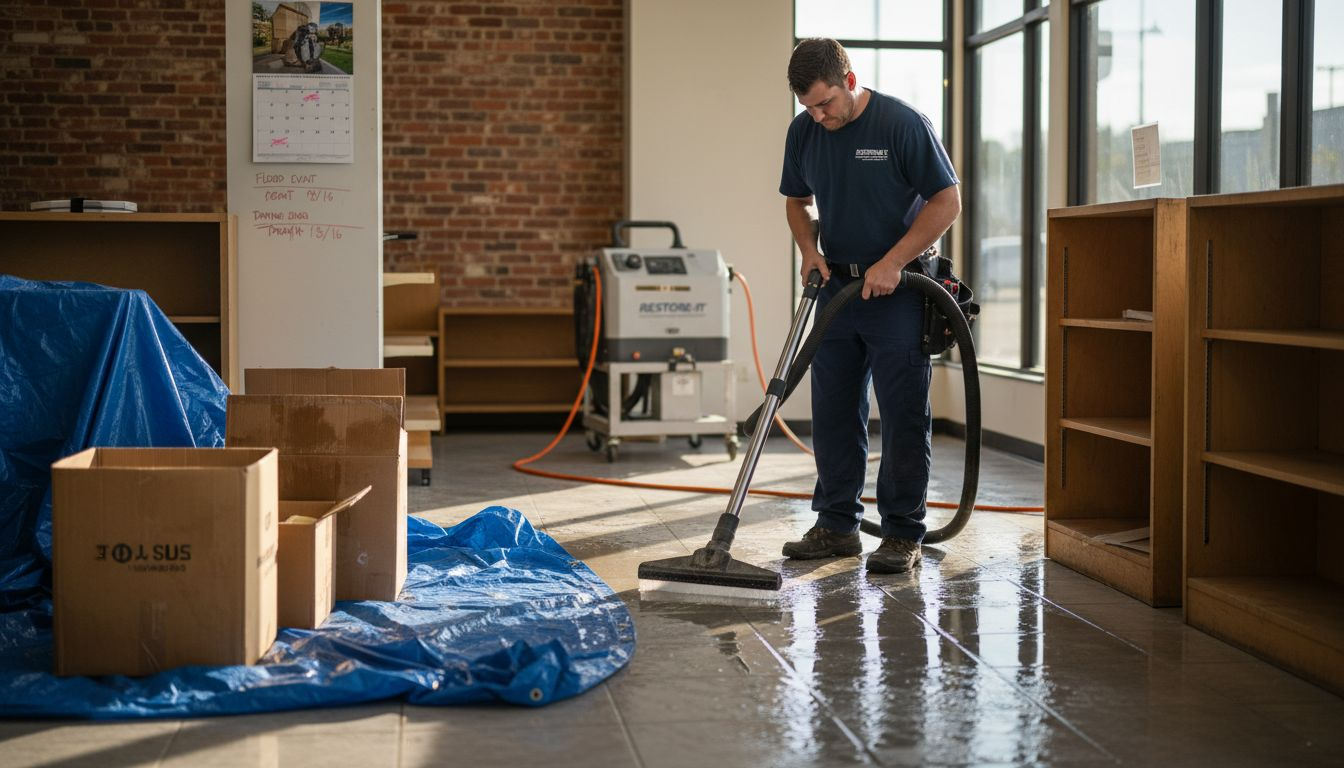
Begin with water extraction using industrial pumps and wet vacuums. Your team should remove standing water from floors, basements, and low lying areas first. This prevents saturation of structural elements and reduces the moisture load in the air. Open windows and doors if weather permits to increase air circulation. Position extraction equipment strategically to move water toward drains or collection areas. Work systematically from the most affected zones outward.
After bulk water removal, deploy drying equipment. According to water extraction and drying procedures, commercial restoration requires comprehensive moisture monitoring and specialized drying technologies to prevent microbial growth and further deterioration. Set up dehumidifiers throughout the property to remove moisture from the air. Position air movers to create directional airflow across wet surfaces, which accelerates evaporation from walls, floors, and contents. The goal is to reduce humidity levels to normal ranges within 24 to 72 hours, depending on the extent of damage.
Monitor moisture levels constantly using moisture meters and hygrometers. Check walls, floors, and structural cavities to track drying progress. You might find that proper wall drying techniques make a significant difference in preventing hidden moisture pockets that lead to mold problems later. Wet drywall absorbs water and takes longer to dry than hard surfaces, so focus extra attention here. If moisture remains trapped behind walls or under flooring, problems emerge weeks later when it becomes expensive to address.
Adjust equipment placement as conditions change. Move air movers to target newly exposed areas. Increase dehumidifier capacity if humidity remains elevated. Continue extraction in hidden spaces like crawl spaces and wall cavities. The key is maintaining aggressive drying until moisture readings stabilize at acceptable levels.
Compare two core moisture removal tools commonly used in water damage restoration:
| Equipment | Primary Function | Best Use Case | Business Impact |
|---|---|---|---|
| Air Mover | Increases airflow, speeds drying | Wet floors, walls, and carpets | Accelerates recovery, limits closure time |
| Dehumidifier | Removes air moisture | Moist, enclosed or humid spaces | Prevents mold, protects structures |
Pro tip: Run dehumidifiers and air movers for at least 48 hours after visible water is gone, as residual moisture in structural materials causes more damage than the initial event itself.
Step 3: Coordinate repairs and structural restoration
With water removed and the property dried, you shift focus to repairing structural damage and restoring building systems. This phase determines whether your property functions safely and meets code requirements. Coordination between contractors, engineers, and inspectors prevents delays and ensures quality work.
Start by hiring a structural engineer to assess damage to the building frame, foundation, walls, and load-bearing elements. The engineer examines compromised materials, calculates reinforcement needs, and recommends repair methods. Have them document findings in a detailed report that guides your contractors and satisfies insurance adjusters. This inspection often reveals hidden damage that casual observation misses, such as weakened joists, compromised connections, or foundation shifting.
Develop a repair timeline that sequences work logically. Structural repairs typically come first because they stabilize the building and make other work possible. Foundation issues, wall reinforcement, and roof repairs should be addressed before finishing work begins. According to building condition assessments and repair strategies, coordinating structural renovation requires careful planning that respects building integrity while ensuring all systems function properly and safely.
Engage licensed contractors who specialize in restoration work. They understand how water damage affects different materials and apply appropriate techniques. Request references from previous commercial projects and verify their insurance coverage. Coordinate schedules to avoid conflicts between electrical, plumbing, HVAC, and structural trades. A general contractor often manages this coordination, reducing your administrative burden and preventing costly mistakes.
Monitor progress through regular site visits and inspections. Verify that work meets building codes and matches the engineer’s specifications. Address issues immediately rather than waiting until work is complete. Schedule final inspections with your local building department before occupancy. These inspections confirm that repairs meet code requirements and protect you from liability.
Keep detailed records of all repair work, contractor invoices, and inspection reports. These documents support your insurance claim and create a paper trail showing proper restoration procedures.
Pro tip: Require all contractors to provide before and after photos of their work and written warranties covering repairs, which protects you if problems emerge after occupancy.
Step 4: Verify restoration quality and complete documentation
As repairs near completion, your focus shifts to verification and documentation. Quality assurance ensures that restoration meets standards and protects your investment. Thorough documentation supports insurance claims, satisfies regulatory requirements, and creates a record of the entire recovery process.
Conduct a final walkthrough with your restoration contractor and structural engineer. Inspect all repaired areas, test building systems, and verify that work matches the original scope. Check that electrical, plumbing, HVAC, and fire suppression systems operate properly. Look for cosmetic issues like paint finish, flooring alignment, and wall condition. According to restoration quality verification and monitoring processes, thorough evaluation against predefined standards ensures accountability and compliance throughout commercial restoration projects.
Request written reports from all contractors documenting completed work. These reports should detail what was repaired, materials used, labor hours, and any deviations from the original plan. Obtain certificates of completion for structural work, electrical upgrades, and code compliance inspections. Request warranties on repairs and materials. File these documents with your property records for future reference.
Collect and organize all documentation related to the restoration. This includes the initial damage assessment, engineer’s report, repair contracts, invoices, inspection certificates, before and after photos, and insurance correspondence. Create a comprehensive restoration file that demonstrates your recovery process to insurance adjusters, regulatory agencies, or future property buyers.
Schedule a final inspection with your local building department. The inspector verifies that all work meets current building codes and safety standards. This approval is essential before reoccupying the property. Address any code violations immediately to avoid penalties or liability.
Submit your complete documentation package to your insurance company. Include damage assessments, repair invoices, contractor credentials, inspection reports, and proof of code compliance. Organized documentation accelerates claim processing and maximizes reimbursement.
Pro tip: Create a digital backup of all restoration documents stored in cloud storage, ensuring you maintain records even if physical files are lost or damaged in future events.
Here’s a summary of critical actions for each recovery phase:
| Phase | Key Action | Why It Matters |
|---|---|---|
| Damage Evaluation | Assess structure, document losses | Ensures safety and accurate claims |
| Water Removal & Drying | Extract water, deploy dehumidifiers | Prevents mold and reduces repair costs |
| Structural Restoration | Coordinate licensed repairs | Ensures building safety and code compli. |
| Quality Verification & Docs | Inspect repairs, organize records | Maximizes reimbursement, proves recovery |
Fast Commercial Restoration Starts Here
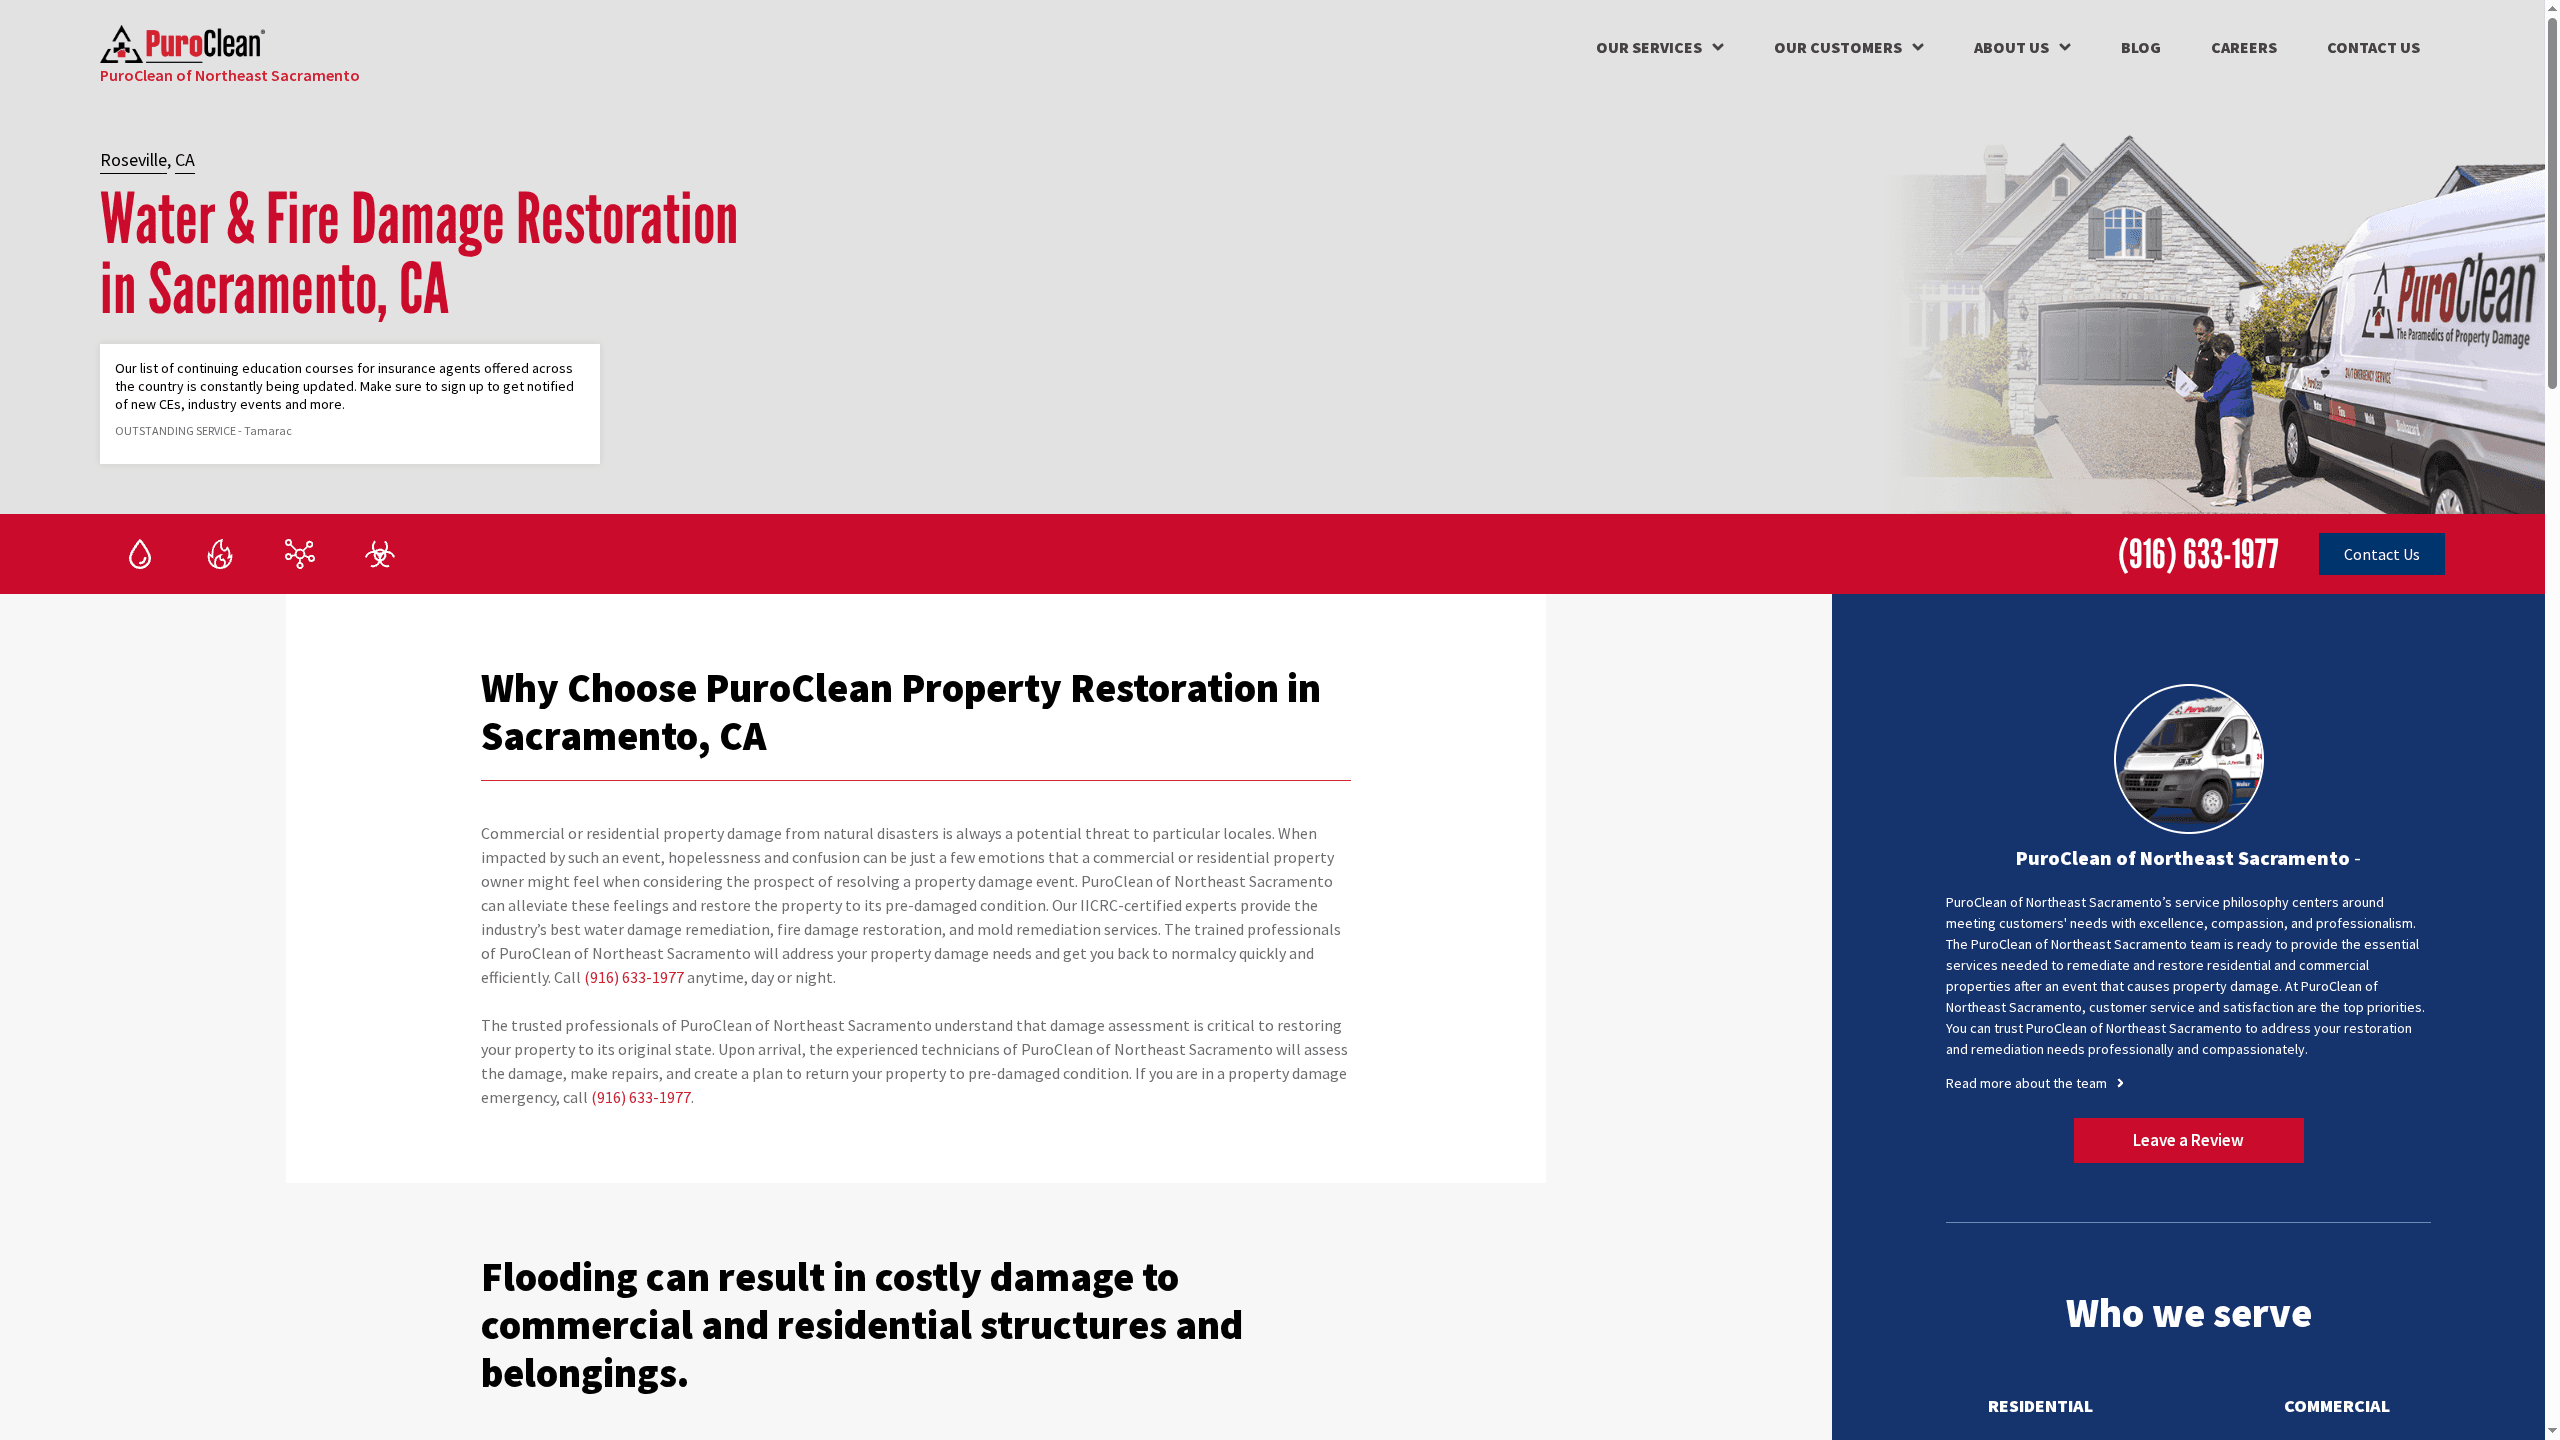
The critical steps in commercial restoration outlined in this article underscore the urgency of rapid water extraction, thorough drying, and precise structural repairs. If you face challenges like flooding, burst pipes, or fire damage, every moment counts to prevent secondary issues such as mold growth or structural compromise. You need a trusted restoration partner that understands these pain points and delivers swift, expert solutions tailored to Northeast Sacramento and surrounding areas.
At PuroClean of Northeast Sacramento, we specialize in fast-response water damage restoration, leak detection, and fire and smoke remediation designed to protect your property and reduce downtime. Our certified technicians use advanced drying technology and coordinate repairs efficiently to restore your building safely and compliantly. We help property managers, homeowners, and insurance professionals navigate emergency recovery with clear communication and insurance claim guidance.
Emergency Water Damage Restoration Services offer you peace of mind when crisis strikes.
Do not wait until hidden moisture creates costly problems or structural damage worsens. Contact PuroClean of Northeast Sacramento now for 24/7 expert restoration. Start your fast recovery and protect your investment today.
Frequently Asked Questions
What are the first steps to take after commercial water or fire damage?
Start by evaluating the damage and securing the property. Conduct a thorough inspection to identify immediate hazards and take action to prevent further loss, such as documenting the damage and ensuring safety before beginning any restoration work.
How can I effectively document damage for insurance claims?
Use photos and videos from multiple angles to capture the extent of the damage, including close-ups of labels and serial numbers. Create a detailed record that outlines what is salvageable and what needs to be replaced to support your insurance claim effectively.
What equipment should I use for water extraction and drying?
Utilize industrial pumps and wet vacuums for initial water extraction, followed by dehumidifiers and air movers for drying. Position equipment to maximize airflow and moisture removal, aiming to reduce humidity levels to normal within 24 to 72 hours after water removal.
How do I coordinate repairs and restoration after damage?
Engage a structural engineer to assess the damage and develop a repair timeline that prioritizes structural integrity. Hire licensed contractors specialized in restoration, and schedule regular site visits to monitor progress and ensure compliance with building codes.
What should I include in the final documentation after restoration?
Compile all reports from contractors, inspection certificates, invoices, and photographic evidence of the restoration process. Organizing these documents will support your insurance claims and provide a complete record of the recovery for future reference.
Why is it important to verify restoration quality before reopening?
Quality verification ensures that all repairs meet safety standards and prevents future liabilities. Conduct a final walkthrough with your contractors to confirm that all work is completed to specifications before submitting your documentation for insurance claims.
Recommended
Best Guide About Effective Drain Re-lining Techniques 2024
Property Restoration Process Guide: Steps for Success – PuroClean of Northeast Sacramento
Commercial Restoration Explained: Complete Restoration Guide – PuroClean of Northeast Sacramento
Top 5 Flood Restoration Mistakes Homeowners Make – PuroClean Emergency Restoration Specialists
