Water Damage Restoration Guide: Restore Property Fast
Did you know that water damage impacts nearly 14,000 Americans every day? Acting quickly after water intrusion is vital for saving your property and protecting your health. From hidden electrical hazards to fast-spreading mold, small mistakes can have lasting effects. With clear steps for assessing danger, removing water, and preventing further damage, you can face water emergencies with greater confidence and care.
Table of Contents
- Step 1: Assess Damage And Ensure Safety
- Step 2: Stop Water Source And Protect Property
- Step 3: Remove Standing Water And Dry Areas
- Step 4: Clean Surfaces And Prevent Mold Growth
- Step 5: Evaluate Repairs And Verify Restoration
Quick Summary
| Key Point | Explanation |
|---|---|
| 1. Professional inspection is essential | Always have a professional check for hazards before entering a water-damaged area to ensure safety. |
| 2. Document damage meticulously | Take photographs and videos of all visible damage for insurance claims and restoration planning. |
| 3. Prioritize water removal immediately | Remove standing water within 24 to 48 hours to prevent extensive damage and mold growth. |
| 4. Clean and disinfect thoroughly | Clean surfaces with soap and bleach solution to eliminate contaminants and prevent mold. |
| 5. Evaluate repairs and seek professional help | Assess the damage comprehensively for effective restoration, considering expert advice for complex issues. |
Step 1: Assess Damage and Ensure Safety
Before re-entering your water-damaged property, your primary goal is to evaluate the damage while protecting your personal safety. This critical first step involves carefully inspecting the building and understanding potential hazards that could put you at risk.
Professional inspection is mandatory before attempting any personal restoration efforts. According to the Minnesota Department of Health, you must have a professional thoroughly examine the structure for potential electrical, structural, and environmental risks. Do not attempt to enter the space without expert clearance.
Once professionals confirm the initial safety, you will need comprehensive protective equipment. The recommended protective gear includes an N95 respirator, rubber boots, protective gloves, long pants, long-sleeved shirts, and protective eye goggles. These items shield you from dangerous contaminants like mold, bacteria, and potential viruses that often accompany water damage.
Pro Tip: Always turn off electricity at the main breaker before entering a water-damaged area to prevent electrical shock risks.
Carefully document all visible damage with photographs and videos. This visual record will be crucial for insurance claims and professional restoration planning. Avoid touching or moving items until you have professional guidance.
Here’s a summary of essential steps and safety measures for assessing water damage:
| Step | Actions | Required Safety Gear |
|---|---|---|
| Professional Inspection | Check for structural, electrical, and environmental hazards | None (wait for clearance) |
| Personal Entry | Only after safety is confirmed | N95 respirator Rubber boots Gloves Pants & long sleeves Eye protection |
| Documentation | Take photos and videos of damage | Gloves (for safety) |
| Power Safety | Turn off main breaker before entry | Dry hands Insulated tools |
As you prepare for the next steps in water damage restoration, your methodical approach to safety and damage assessment will set the foundation for successful property recovery. The goal is not just restoration but ensuring your health and structural integrity are protected throughout the process.
In the next section, we will explore how to start the water removal and drying process with professional precision.
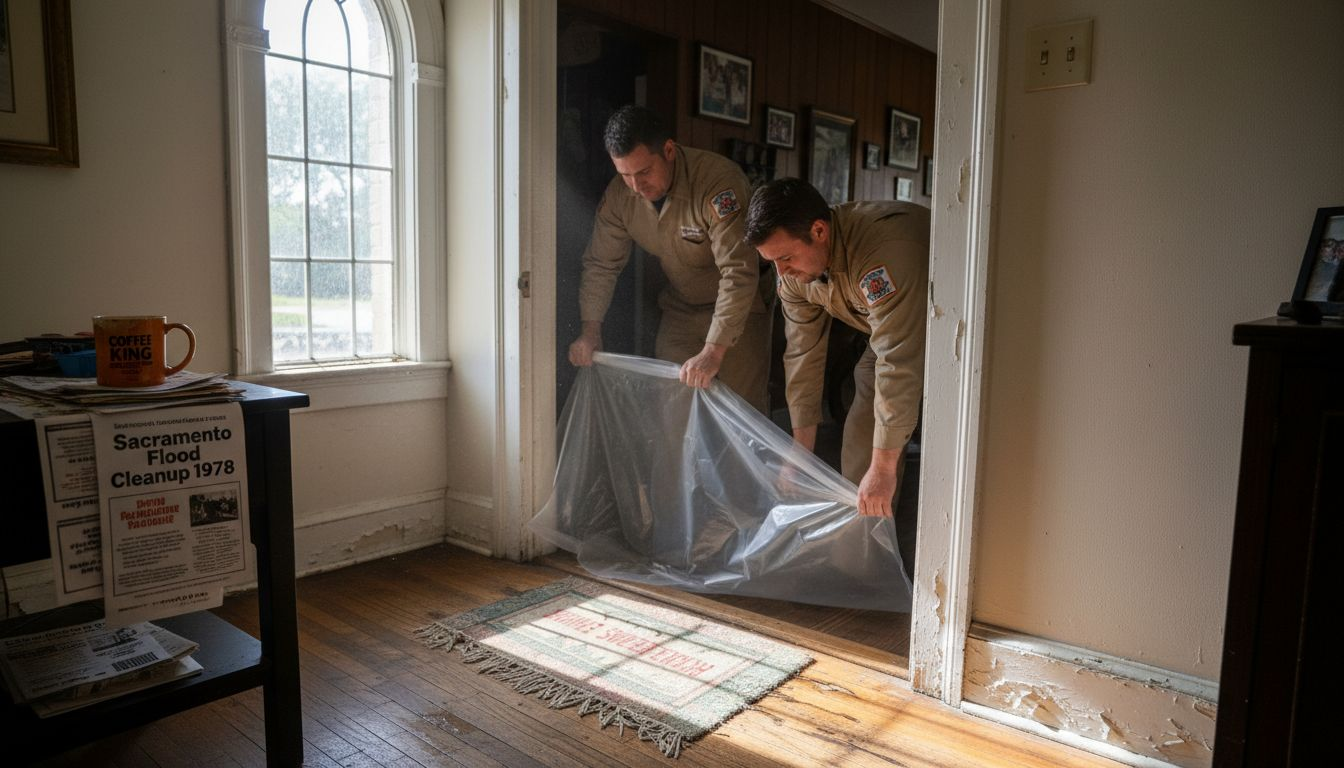
Step 2: Stop Water Source and Protect Property
Your next critical mission is to halt water intrusion and minimize potential damage to your property. This step involves quickly identifying and stopping the water source while implementing immediate protective measures.
First, locate and shut off the primary water supply to prevent additional water from entering your property. According to North Dakota State University, electrical safety is paramount during this process. Turn off electricity by standing on a dry spot and using a wooden stick or plastic pipe to pull the fuse box handle to the off position. If water surrounds the electrical box, contact an electrician or your power company immediately.
If water is coming from a burst pipe or other controllable source, shut off the main water valve. Preventing water damage starts with quick and decisive action.
Remove standing water using buckets, mops, or wet vacuums. The North Carolina Historic Preservation Office recommends using drainage pumps if power is available. Temporarily repair potential entry points like roofs and windows by covering them with tarpaulin or plywood wrapped in building protective materials.
Pro Tip: Always prioritize safety over property preservation. Do not risk personal injury while attempting to stop water damage.
Carefully document the water source and damage for insurance purposes. Take clear photographs and notes about the extent and origin of water intrusion. This documentation will be crucial for both insurance claims and professional restoration services.
As you complete these initial protective steps, you are setting the stage for effective water damage mitigation. The next phase will focus on comprehensive water removal and property drying techniques.
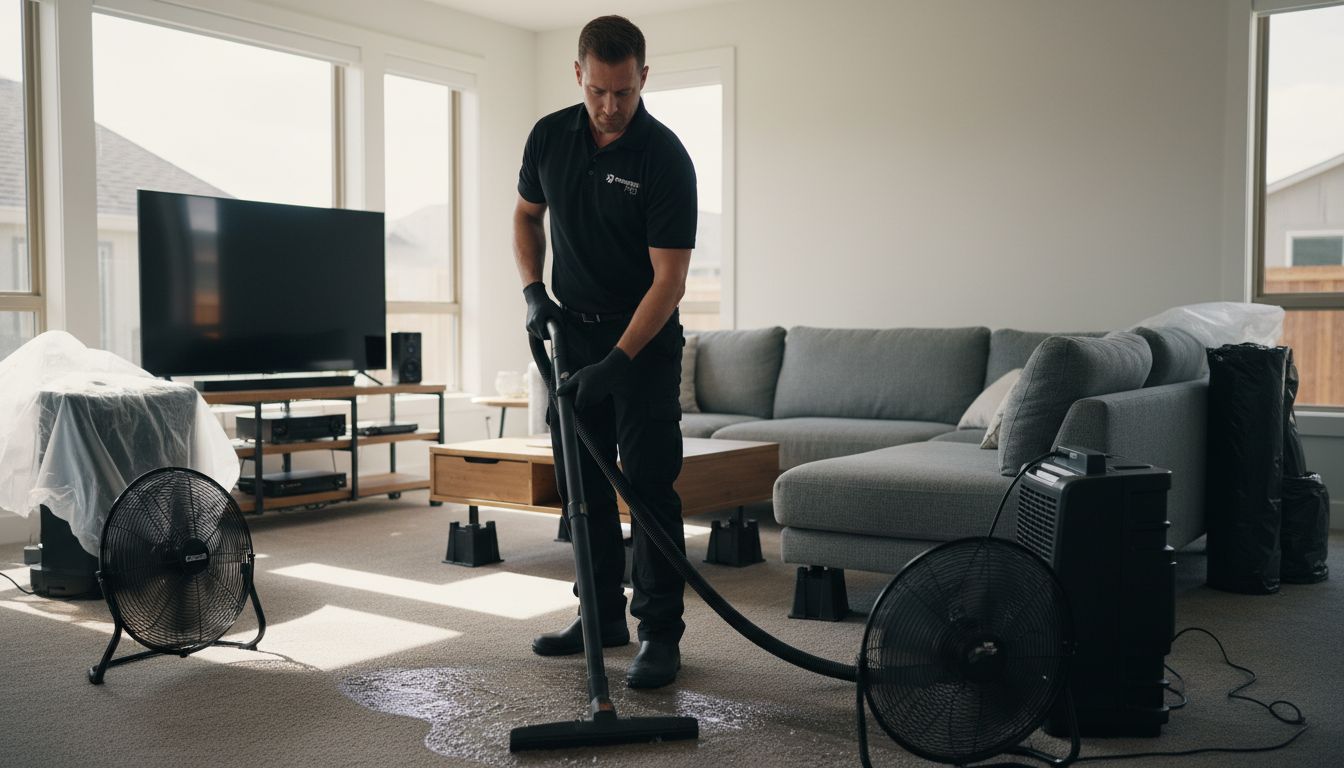
Step 3: Remove Standing Water and Dry Areas
After stopping the water source, your focus shifts to removing standing water and initiating the critical drying process. This step is crucial in preventing extensive property damage and potential mold growth.
According to North Dakota State University, begin by removing water systematically using pumps, wet vacuums, or buckets. Focus on extracting as much standing water as possible from floors, carpets, and surrounding areas. Hardwood floor drying requires special attention to prevent warping and long term damage.
Open all windows and doors to promote maximum air circulation. The North Carolina Historic Preservation Office recommends positioning fans at exterior doors and windows to exhaust damp air outdoors. Use multiple dehumidifiers to accelerate moisture removal and create an environment less hospitable to mold and bacterial growth.
Remove wet materials immediately to prevent further damage. This includes carpets, furniture, and any impervious floor coverings that might trap moisture underneath. Place these items in a well ventilated area to dry or consider professional restoration services for valuable pieces.
Pro Tip: The first 24 to 48 hours are critical in preventing permanent water damage and mold development.
Monitor humidity levels and continue running fans and dehumidifiers until all surfaces are completely dry.
 Use moisture meters if available to confirm thorough drying.
As you complete this water removal process, you are preparing your property for the next crucial restoration steps. The upcoming phase will focus on comprehensive cleaning and sanitization.
Step 4: Clean Surfaces and Prevent Mold Growth
After removing standing water, your next critical mission is thoroughly cleaning and sanitizing all surfaces while implementing strategic mold prevention techniques. This phase is crucial in protecting your property from long term damage and potential health risks.
According to the Minnesota Department of Health, begin by cleaning all hard surfaces with soap and safe water. Rinse thoroughly before applying a disinfectant solution. Create a recommended bleach solution by mixing ½ cup of household bleach per gallon of water. Apply this solution and let it sit for approximately 30 minutes before rinsing again.
Mold cleaning dos and don’ts become essential in preventing potential health hazards. Focus on removing wet insulation and addressing wet plaster and sheetrock carefully. For historic plaster, use plaster washers to retain and repair cracked sections. When dealing with sheetrock, remove wet sections in clean rectilinear portions.
Ensure proper ventilation throughout the cleaning process. Open windows and doors to promote air circulation and reduce chemical inhalation risks. Dry systematically from the attic downward, using fans and dehumidifiers to accelerate the process.
Pro Tip: Always wear protective gear including gloves, masks, and eye protection when cleaning water damaged areas.
Remove and separately clean any salvageable fabric materials like clothing or curtains. Dispose of items that cannot be thoroughly cleaned and sanitized to prevent potential mold spread.
As you complete this critical cleaning phase, you are setting the foundation for successful property restoration. The next steps will focus on final assessment and potential professional restoration services.
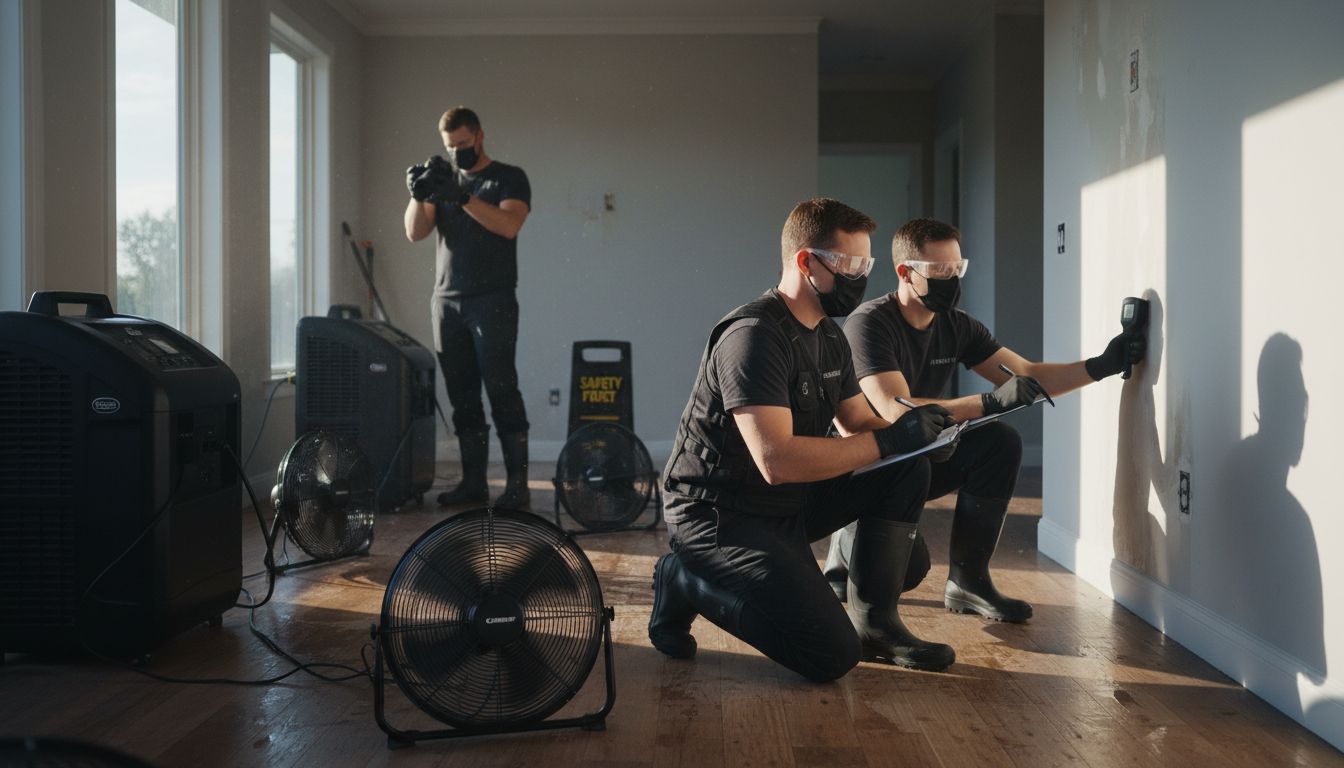
Step 5: Evaluate Repairs and Verify Restoration
After completing the cleaning and drying process, your focus shifts to comprehensively evaluating the damage and determining the most effective restoration strategy. This critical phase will help you understand the full extent of water damage and plan appropriate repairs.
According to the National Archives, thorough inspection and ongoing monitoring of materials are essential in calculating the degree of loss and determining necessary restoration steps. Call a professional for an expert assessment if you encounter complex damage or feel uncertain about the restoration process.
Develop a systematic restoration plan that considers multiple approaches. The Department of Interior recommends creating a comprehensive plan that lists potential alternatives including restoration, rehabilitation, replacement, and acquisition of equivalent resources. Carefully document all damage through detailed photographs and written descriptions to support insurance claims and restoration efforts.
Inspect each affected area methodically. Check walls, floors, ceilings, and structural elements for signs of ongoing moisture, warping, discoloration, or potential structural compromise. Pay special attention to less visible areas like subflooring, wall cavities, and electrical systems.
Pro Tip: Use moisture meters and thermal imaging cameras to detect hidden water damage that might not be visible to the naked eye.
Consider the long term implications of water damage. Some materials may appear dry but could harbor moisture that leads to future problems like mold growth or structural weakness.
As you complete this evaluation phase, you are preparing to make informed decisions about final restoration and potential professional intervention. The next steps will involve implementing your restoration strategy and addressing any remaining concerns.
Act Fast to Restore Your Property and Peace of Mind
Experiencing water damage is overwhelming and time-sensitive. The article highlights serious challenges like assessing structural safety, stopping the water source, removing standing water, and preventing mold growth. You want quick, reliable solutions to protect your home or business while safeguarding your health. Delaying restoration puts your property at greater risk of costly damage and health hazards.
Water Damage Restoration specialists at PuroClean of Northeast Sacramento are here to support you every step of the way.
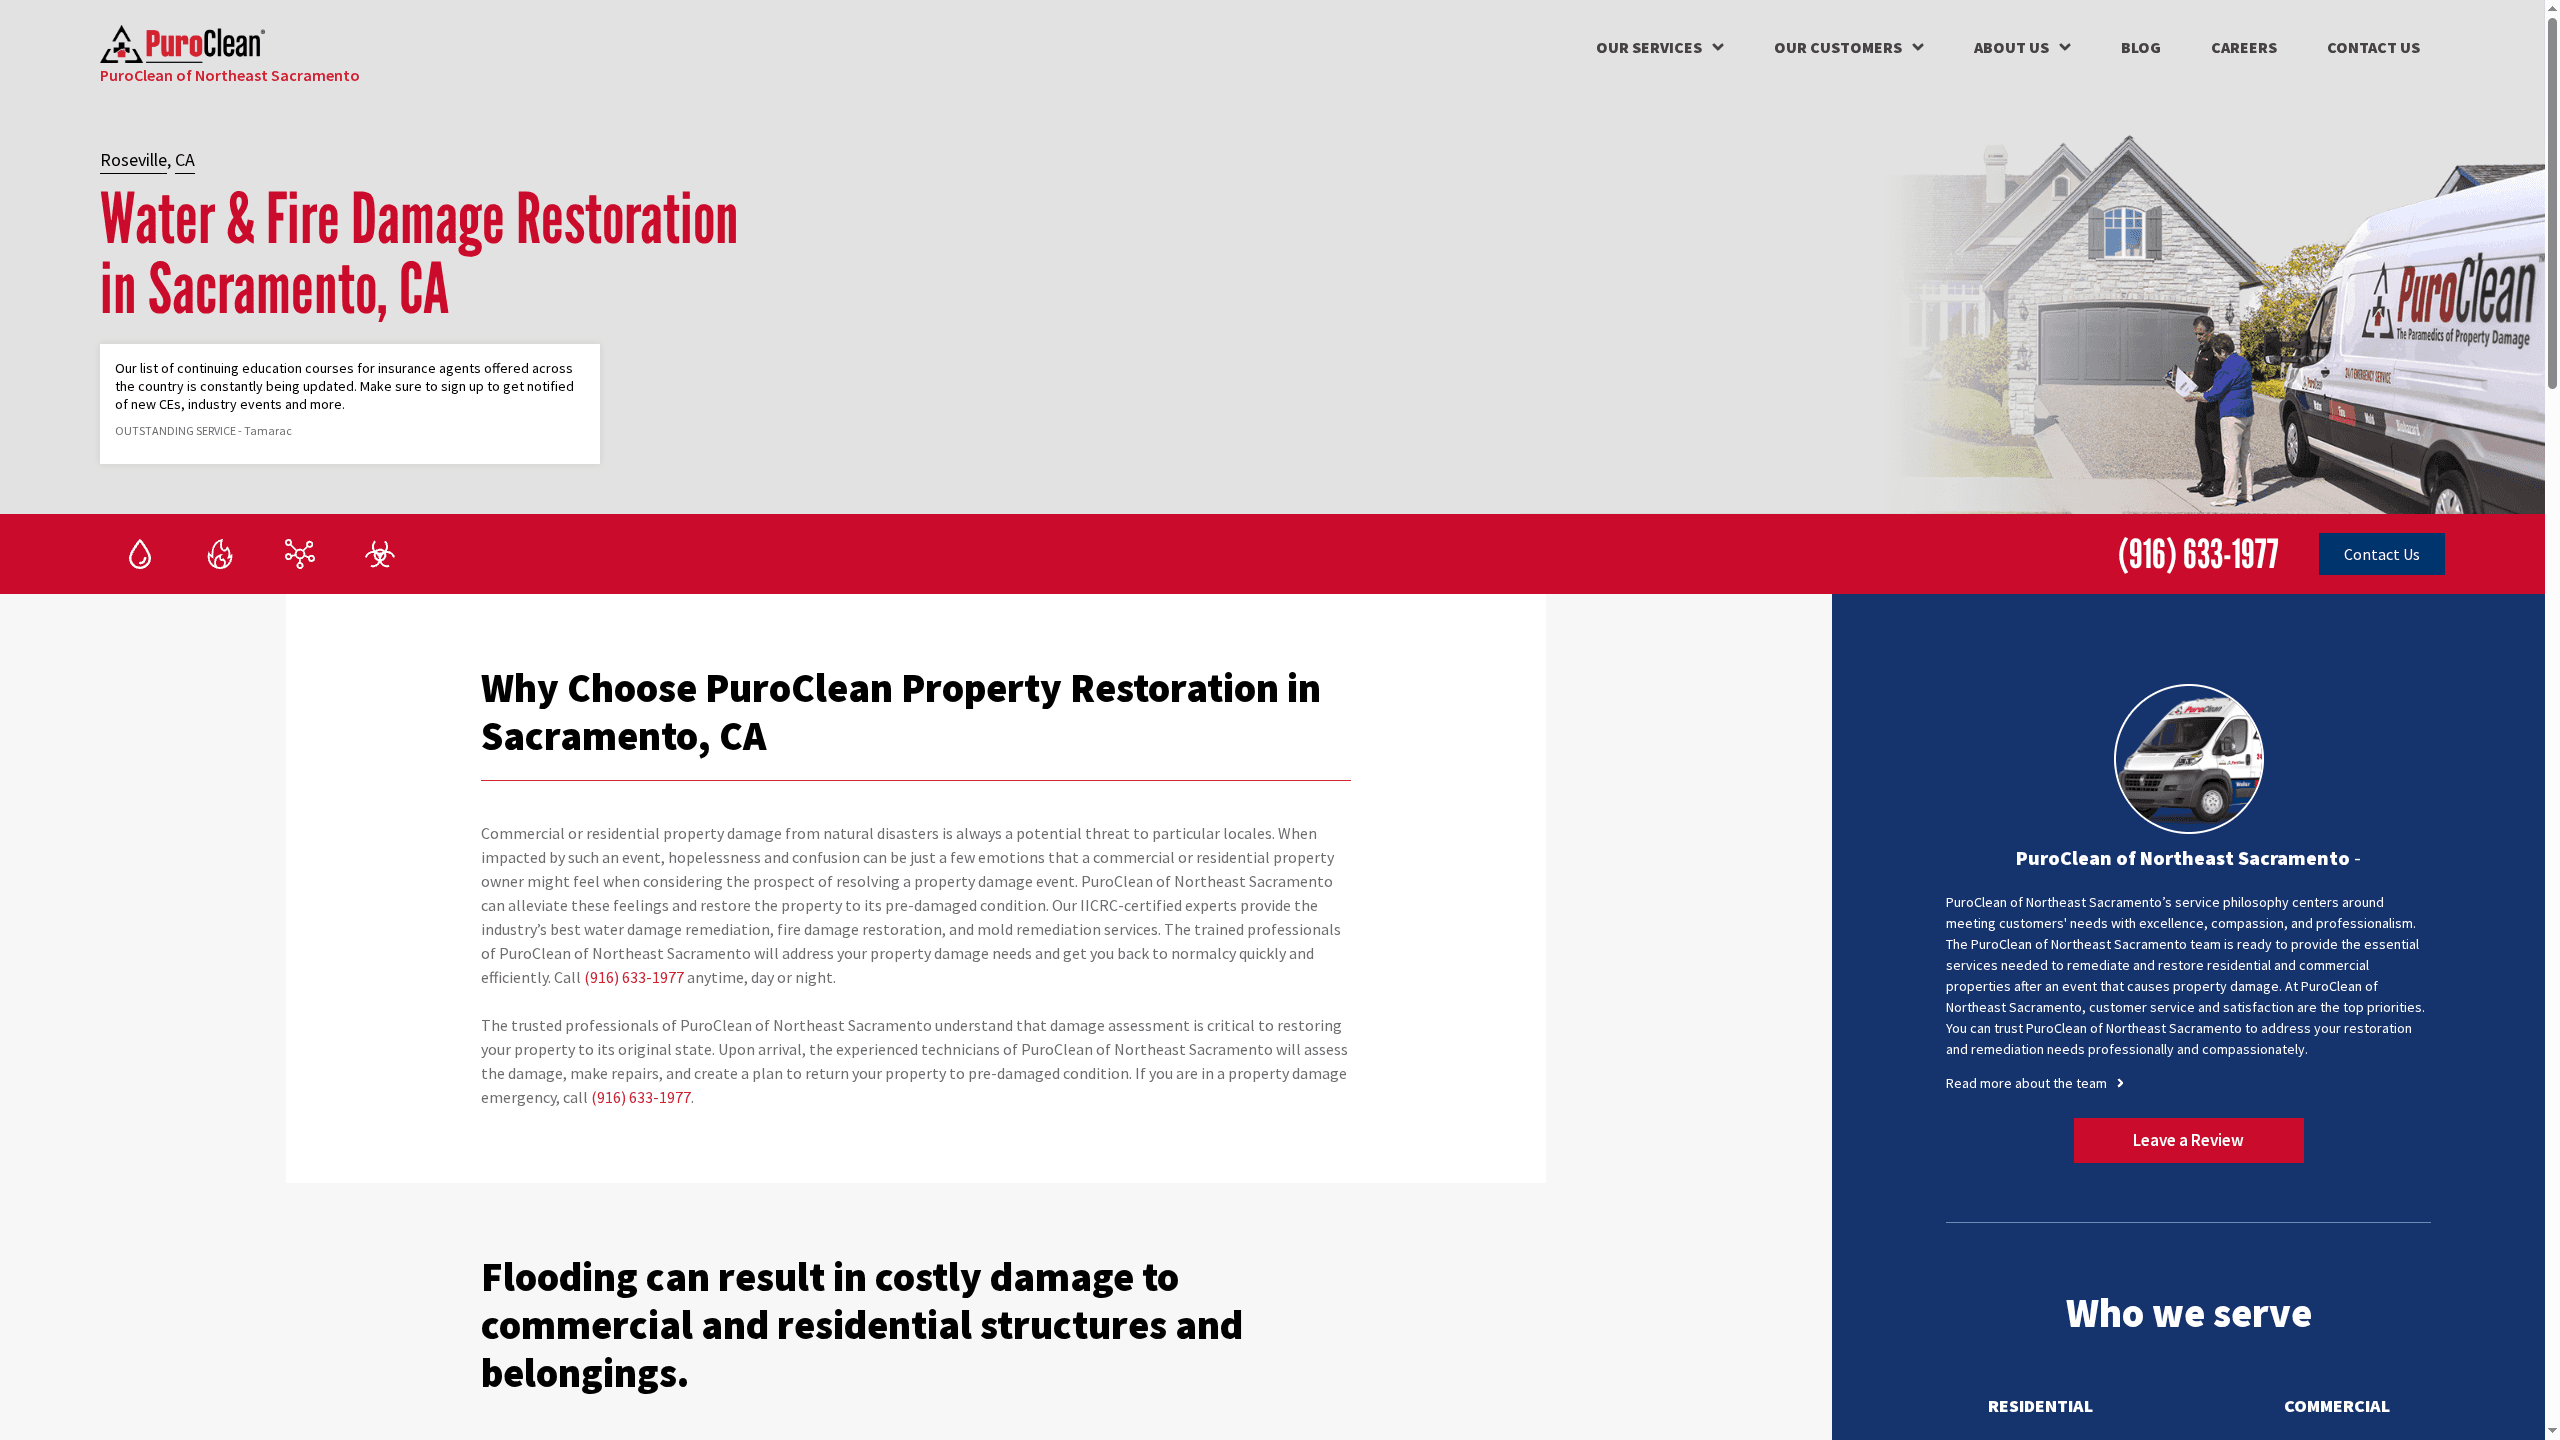
Don’t wait until the damage worsens. Contact PuroClean now for 24/7 emergency response, expert water extraction, thorough drying, and proven mold prevention techniques. Visit PuroClean of Northeast Sacramento to schedule your fast, professional restoration service and regain control over your property’s recovery today.
Frequently Asked Questions
How do I assess water damage in my property?
To assess water damage, start by inspecting the property for visible signs of damage while ensuring your safety. Document any visible damage with photographs and videos for insurance claims and wait for a professional to clear the area before entering.
What should I do first if I find water damage?
First, ensure your safety by having a professional inspect the property for hazards. After clearance, shut off electricity at the main breaker and locate the primary water source to stop further intrusion.
How can I effectively remove standing water from my home?
Remove standing water using buckets, mops, or wet vacuums as soon as possible. Aim to extract as much water as you can within 24 to 48 hours to prevent mold growth and extensive damage.
What steps should I take to clean surfaces after water damage?
Clean all hard surfaces with soap and water, followed by a disinfectant solution like bleach. Ensure proper ventilation while cleaning, and wear protective gear to avoid exposure to harmful contaminants.
When should I consider professional help for water damage restoration?
Consider calling a professional if you encounter complex damage or are unsure about the restoration process. They can provide an expert assessment and guide the most effective restoration strategy for your property.
How can I prevent mold growth after water damage?
To prevent mold growth, ensure the affected areas are dried completely within 24 to 48 hours by using fans and dehumidifiers. Regularly monitor humidity levels and inspect for any hidden moisture in less visible places.
Recommended
Dry Water-Damaged Walls – PuroClean of Alexandria
DIY Water Damage Cleanup Alexandria: Dos & Don’ts
Water Damage Restore: Key Actions in First 24 Hours
WATER DAMAGE – Prevention is the Best Medicine – PuroClean of Alexandria