Why Mold Sampling Matters
Mold is a silent threat that can compromise indoor air quality, trigger health issues, and cause structural damage in homes and buildings. From respiratory problems to costly repairs, mold in home environments demands attention. Mold sampling is the key to accurately identifying the presence, type, and extent of mold contamination, enabling effective mold remediation. This comprehensive 2025 guide outlines 10 essential techniques and expert tips to help homeowners, property managers, and inspectors ensure a safe, healthy environment.
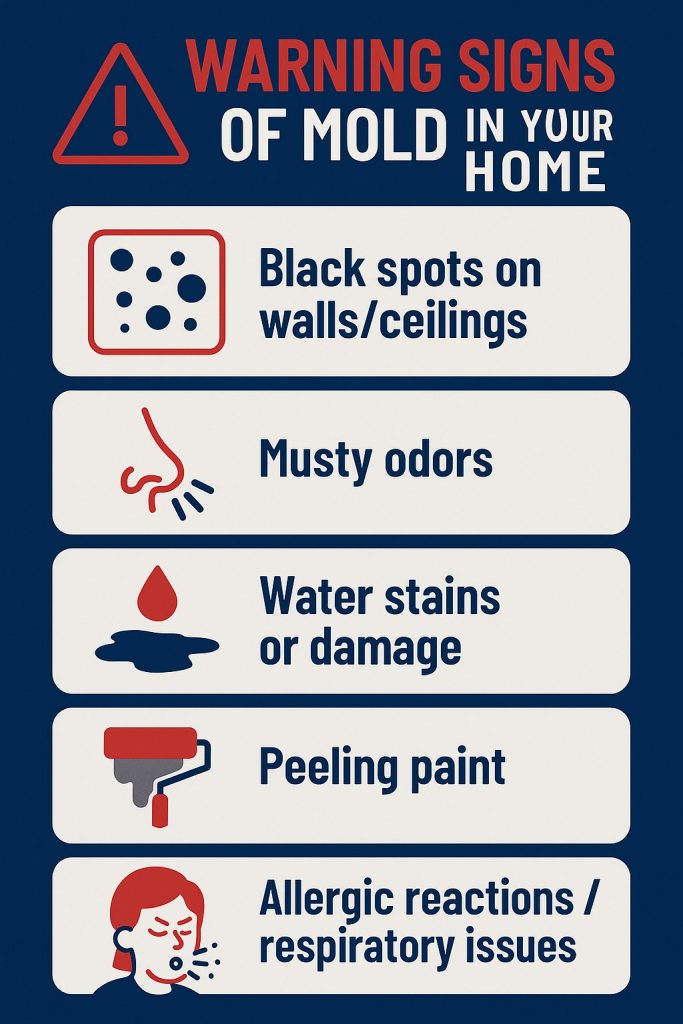
Table of Contents
1. Why It’s Essential
Mold sampling involves collecting samples from air, surfaces, or materials to analyze mold presence and concentration. This process is critical for:
- Confirming mold identification in suspected areas.
- Assessing indoor air quality and potential health risks.
- Guiding mold remediation efforts with precise data.
- Verifying successful cleanup after remediation.
Improper sampling can lead to inaccurate results or even spread mold spores, worsening the problem. A professional approach to mold testing ensures reliable outcomes and informed decisions.
Pro Tip: If you suspect mold in home environments, avoid disturbing affected areas before sampling to prevent spreading toxic mold spores.
2. Recognizing Signs of Mold in Your Home
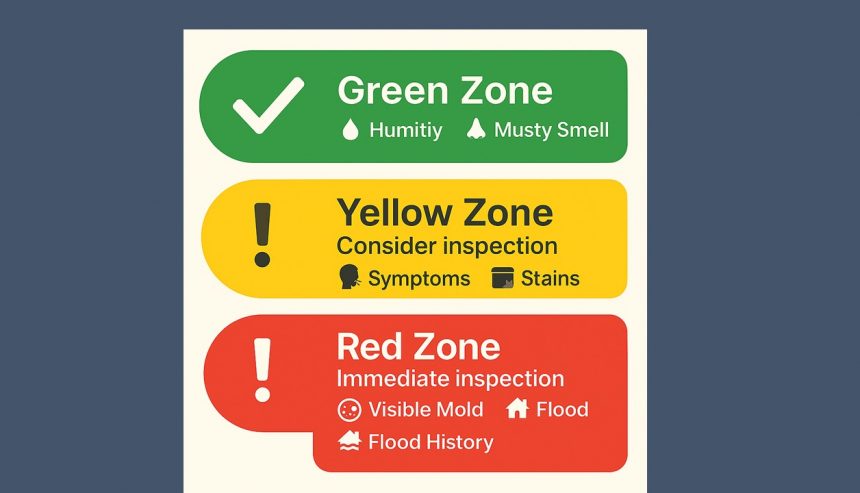
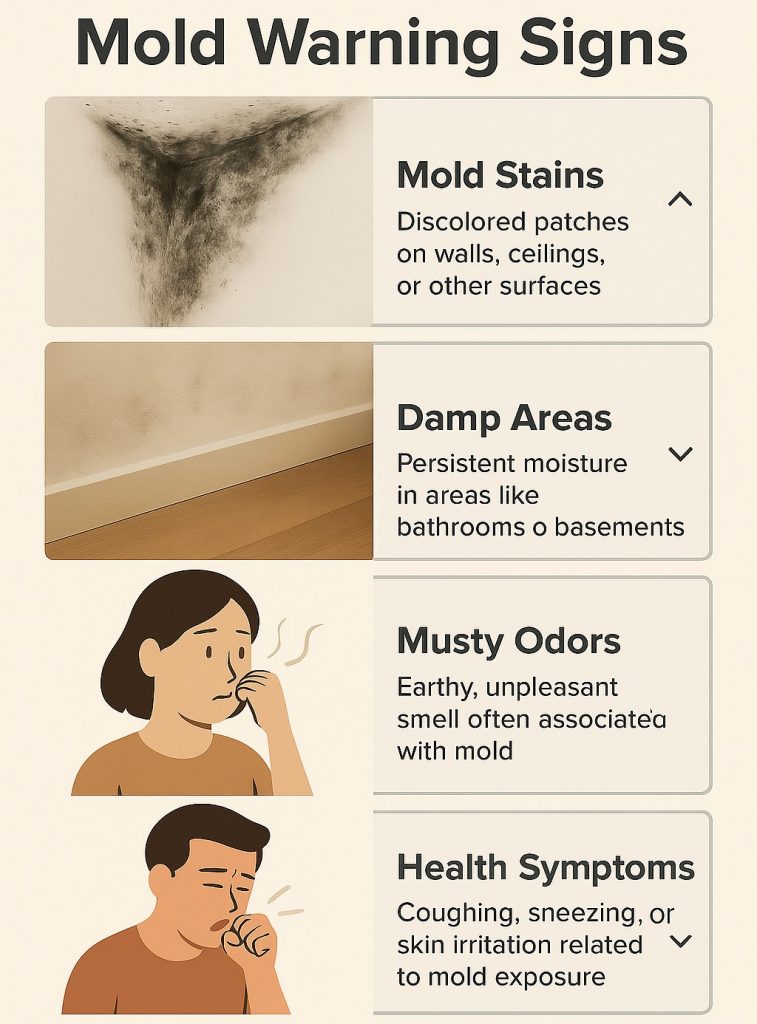
- Water Damage: Stains or dampness on walls, ceilings, or floors.
- Musty Odors: Persistent “moldy” smells in specific areas.
- Discoloration: Black, green, or white patches on surfaces.
- Health Symptoms: Unexplained coughing, sneezing, headaches, or allergies.
If these signs are present, a mold inspection is necessary to confirm whether mold in home settings is active and requires mold testing.
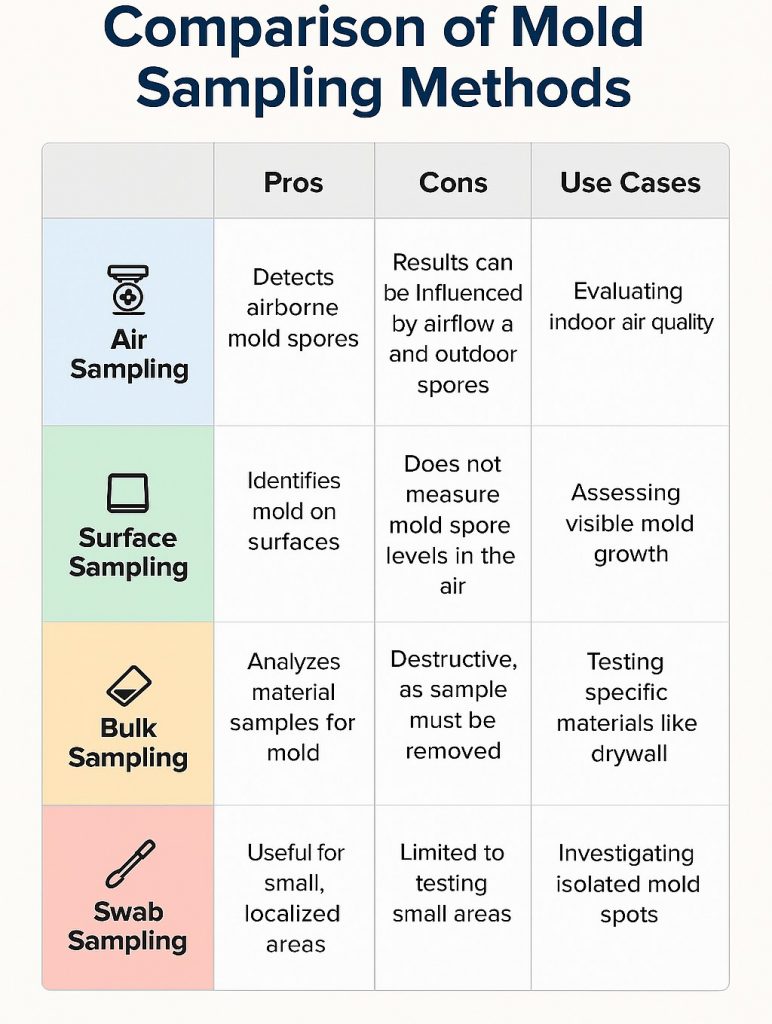
3. Types of Methods
Accurate sampling requires choosing the right method for your needs. Below are the most common techniques for mold identification:
3.1. Indoor Air Sampling
- Purpose: Measures airborne mold spores to assess indoor air quality.
- Techniques:
- Spore Trap Sampling: Air is drawn through a cassette (e.g., Air-O-Cell) to capture spores on a sticky surface.
- Viable Sampling: Collects live spores on agar plates for culturing and analysis.
- When to Use: To detect hidden mold or verify post-remediation air quality.
- Pros: Identifies invisible spores in the air.
- Cons: Results vary based on environmental factors like ventilation.
3.2. Surface Sampling
- Purpose: Confirms mold growth on visible surfaces.
- Techniques:
- Tape Lift: Clear adhesive tape is pressed onto surfaces to collect spores.
- Swab Sampling: A sterile swab wipes a defined area (e.g., 10 cm²) for lab analysis.
- When to Use: When visible mold is present on walls, furniture, or ceilings.
- Pros: Simple, cost-effective, and quick.
- Cons: Limited to surface-level mold, not hidden growth.
3.3. Bulk Sampling
- Purpose: Analyzes materials like drywall, wood, or insulation for internal mold.
- Technique: A small piece of material is removed and sent for lab testing.
- When to Use: To confirm mold in porous materials or HVAC systems.
- Pros: Detects hidden mold within materials.
- Cons: May damage the sampled material.
3.4. Swab Sampling
- Purpose: Targets small, specific areas for precise mold testing.
- Technique: A sterile swab collects spores from a localized spot.
- When to Use: For confirming visible mold in confined areas.
- Pros: Highly targeted and accurate for small surfaces.
- Cons: Not suitable for large-scale sampling.
4. Step-by-Step Process
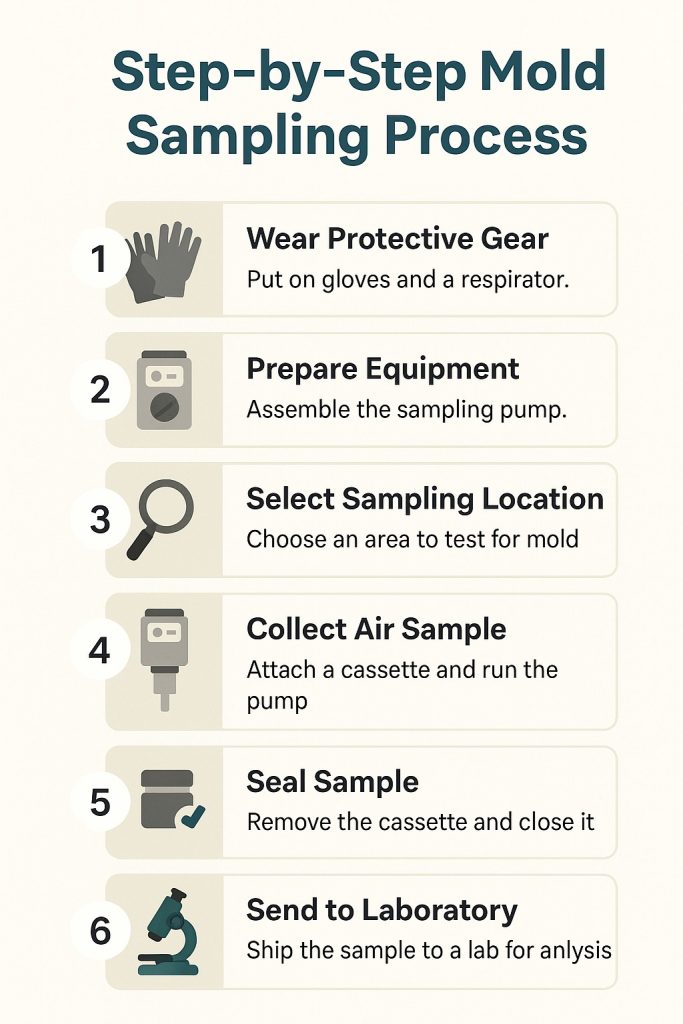
To ensure accurate sampling, follow these steps:
⭕Plan Your Sampling:
Define the goal: mold identification, indoor air quality assessment, or post-remediation verification.
Select sampling locations based on visible mold, water damage, or musty odors.
⭕Collect Samples:
- Air Sampling: Use a calibrated air pump (15 L/min) for 5–10 minutes per sample. Include an outdoor control sample.
- Surface Sampling: Apply sterile swabs or adhesive tape to affected areas.
- Bulk Sampling: Carefully cut a small piece of material and seal it in a sterile container.
⭕Label and Store Samples:
- Label each sample with date, time, and location.
- Store in a cool, dry place and ship to a lab within 24–48 hours.
⭕Send to an Accredited Lab:
- Choose a lab certified by AIHA EMLAP for reliable mold testing.
- Request both qualitative (mold species) and quantitative (spore count) results.
⭕Interpret Results:
Compare indoor and outdoor spore counts (indoor levels should be lower).Identify hazardous molds like Stachybotrys (toxic mold) or Aspergillus.
5. Safety Tips
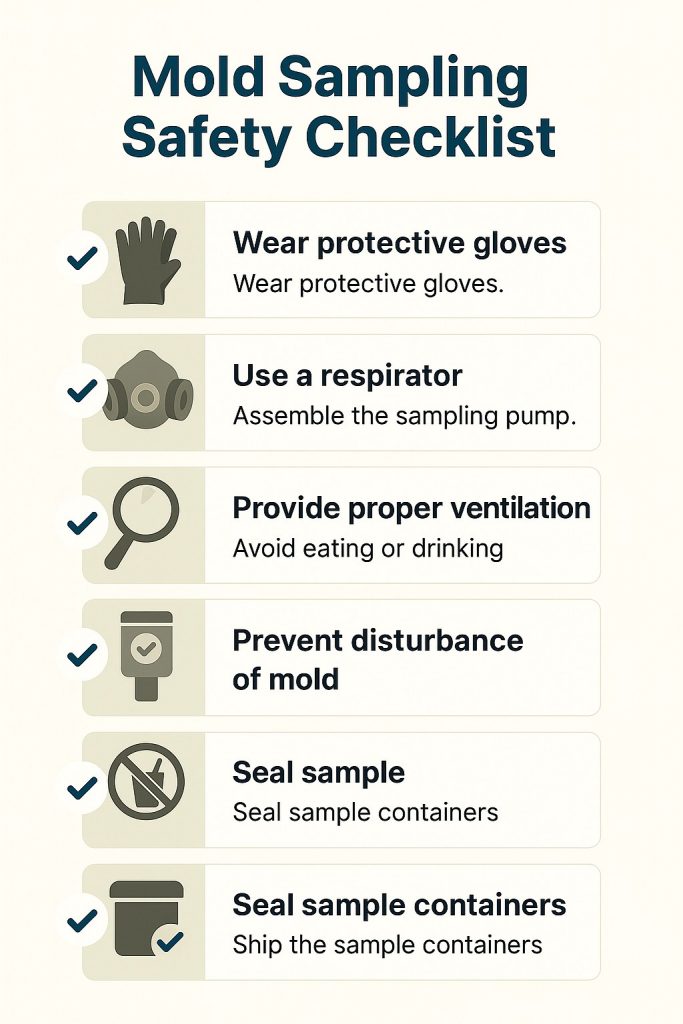
Mold sampling can expose you to harmful spores, so prioritize safety with these tips:
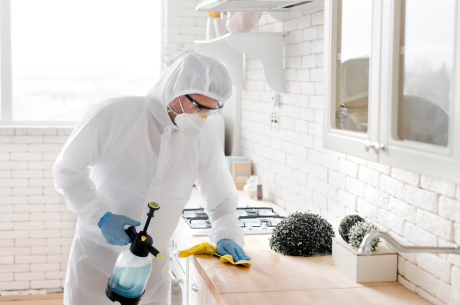
- Wear Proper PPE: Use an N95 respirator, gloves, and goggles to avoid inhaling toxic mold spores.
- Avoid DIY Test Kits: Consumer mold testing kits often lack accuracy. Opt for professional-grade equipment.
- Take Control Samples: Outdoor samples provide a baseline for comparison.
- Document Everything: Photograph sampling areas and keep detailed notes for reference.
- Control Environmental Factors: Record humidity and temperature, as they influence results.
- Hire Professionals for Complex Cases: Certified inspectors (e.g., CIEC or CMR) ensure accurate mold inspection and sampling.
6. Analyzing Results
Once samples are collected, lab analysis provides critical insights. Here’s how to interpret results:
- Air Sampling: Indoor spore counts should be lower than or similar to outdoor levels. Elevated counts of molds like Stachybotrys or Aspergillus indicate a problem.
- Surface Sampling: Confirms active mold growth on visible surfaces, especially hydrophilic molds like toxic mold.
- Bulk Sampling: Reveals hidden mold within materials, guiding remediation efforts.
Work with a certified lab or mold remediation professional to interpret results and develop a cleanup plan. Results inform decisions about treatments, preventive measures, and safety protocols.
Pro Tip: If results show high levels of toxic mold, prioritize professional mold remediation to protect your health.
7. Common Mistakes to Avoid
To ensure accurate testing, steer clear of these pitfalls:
- Sampling Without a Plan: Random sampling leads to inconclusive results.
- Contaminating Samples: Use sterile tools to avoid skewing lab results.
- Skipping Outdoor Samples: Without a baseline, air sampling results are harder to interpret.
- Misinterpreting Results: Consult a professional to understand the context of spore counts.
- Delaying Lab Submission: Send samples within 24–48 hours to prevent degradation.
8. Tools and Equipment
For effective mold sampling, use these tools:
- Air Sampling: Calibrated air pump (e.g., Zefon Bio-Pump), spore trap cassettes, or agar plates.
- Surface Sampling: Sterile swabs, clear adhesive tape, or microscope slides.
- Bulk Sampling: Sterile containers, cutting tools, and sealable bags.
- General: PPE (N95 mask, gloves, goggles), labels, and a cooler for sample transport.
9. When to Call a Professional
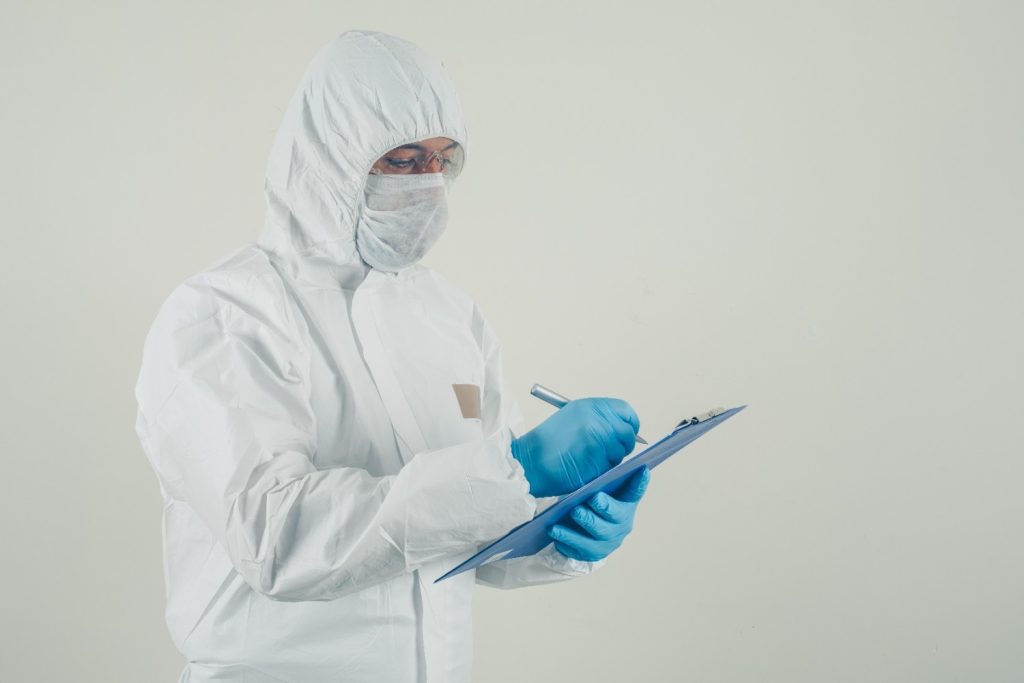
While DIY mold testing is possible, professional help is recommended for:
- Large areas of visible mold
- Suspected hidden mold in walls, HVAC systems, or crawlspaces.
- Health symptoms linked to mold in home environments.
- Legal or insurance-related documentation needs.
10. Conclusion: Take Control of Mold in Your Home
Mold sampling is a powerful tool for identifying and addressing mold in home environments, but it requires precision, safety, and expertise to deliver reliable results. By following the 10 techniques and tips in this 2025 guide, you can accurately assess mold issues, ensure indoor air quality, and protect your health. However, for the most accurate and safe mold testing, we strongly recommend hiring a professional mold inspector. Here’s why:
Why Choose a Professional Mold Inspector?
- Expertise and Accuracy: Certified mold inspectors (e.g., CIEC or CMR) are trained in mold identification and use industry-standard tools to collect and analyze samples. Their expertise ensures precise results, avoiding common DIY mistakes like cross-contamination or misinterpretation.
- Advanced Equipment: Professionals use calibrated air pumps, sterile swabs, and accredited labs for mold testing, delivering results far more reliable than consumer-grade kits.
- Safety First: Mold in home settings, especially toxic mold like Stachybotrys, poses health risks. Inspectors follow strict safety protocols, using proper PPE and containment methods to prevent spore dispersal.
- Comprehensive Assessment: A mold inspector can identify hidden mold in walls, HVAC systems, or crawlspaces.
- Legal and Insurance Support: Professional reports are detailed and admissible for insurance claims or legal disputes, providing documentation you can trust.
- Tailored Remediation Plans: Inspectors not only confirm mold but also recommend targeted remediation strategies, saving time and money.
DIY vs. Professional: While DIY testing kits are tempting, they often lack the accuracy and depth of professional services. Incorrect sampling can lead to false negatives, delaying action, or false positives, causing unnecessary panic. A professional mold inspector ensures peace of mind and a healthier home.
👉 Click here to schedule your Free Inspection
📞 Call 24/7 | 🗣️ Hablamos Español, Português, Deutsch & English (754) 732-8383
🛠️ PuroClean of Ft. Lauderdale South — Where Restoration Meets Compassion
Social Media🌐:
X | Facebook | Instagram | Google Maps | LinkedIn
