
Content protection in the context of water restoration refers to the measures taken to safeguard personal belongings, furniture, and other items in a property from damage during the restoration process. This involves both preventing further water damage and protecting items from debris, dust, and other hazards that might arise during the clean-up and repair work.
Why is Content Protection Essential Before Starting a Water Restoration Project?
1. Prevent Further Damage: Water can cause significant damage to furniture, electronics, documents, and other personal items. Protecting these contents minimizes the risk of additional damage.
2. Safety: Restoration projects often involve the use of chemicals, heavy machinery, and other potentially hazardous materials. Protecting contents ensures that these hazards do not affect personal belongings.
3. Efficiency: Properly protected contents allow restoration professionals to work more efficiently without the risk of causing damage to personal items, leading to a quicker and smoother restoration process.
4. Cost-Effectiveness: Preventing damage to personal belongings reduces the overall cost of restoration and replacement, which can be financially beneficial for property owners.
5. Customer Satisfaction: Properly handling and protecting a homeowner’s belongings fosters trust and satisfaction, which is crucial for the reputation of the restoration service provider.
How to Protect Contents in the House
- Using Plastic Barricading
1. Identify Areas to Protect: Determine which areas contain items that need protection and section off these areas.
2. Gather Materials:
– Heavy-duty plastic sheeting
– Painter’s tape or masking tape
– Stapler (for secure attachment if necessary)
– Scissors or a utility knife
3. Cover Items with Plastic Sheeting:
– Cut the plastic sheeting to the appropriate size to cover furniture, electronics, and other vulnerable items.
– Drape the plastic over the items, ensuring full coverage.
4. Secure the Plastic:
– Use painter’s tape or masking tape to secure the plastic sheeting around the base of the items. Ensure the tape does not leave residue or damage surfaces.
– For larger areas, you may staple the plastic sheeting to walls or floors if the surface is suitable and will not be damaged.
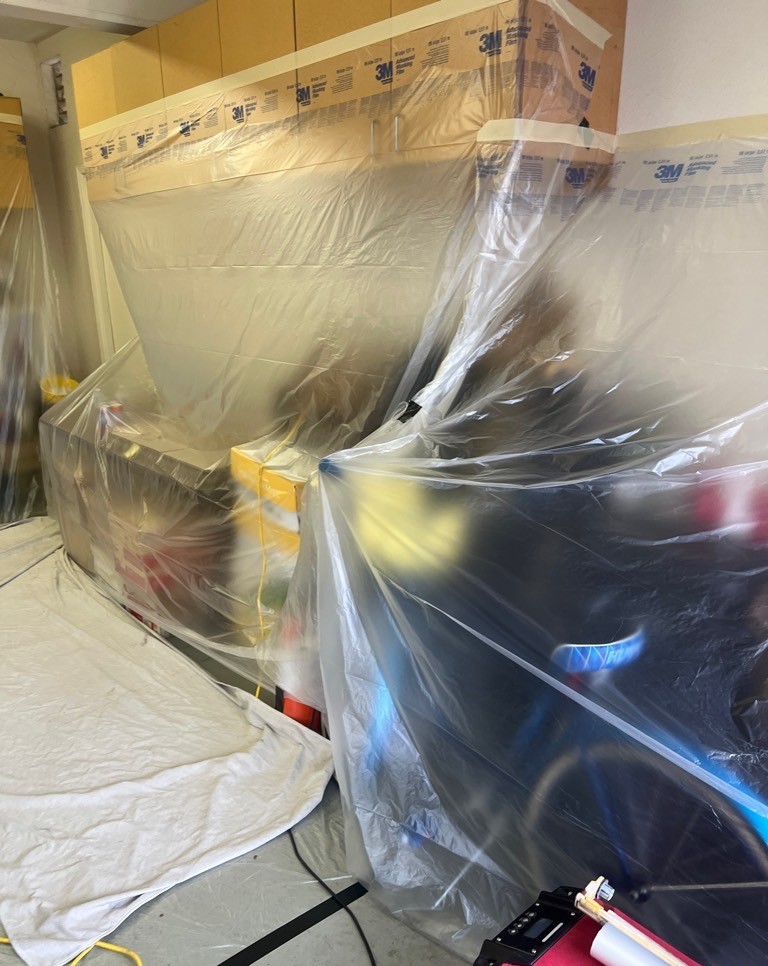
5. Create Barricades:
– For areas where restoration work will be heavy, create temporary plastic walls or barricades by hanging plastic sheeting from ceiling to floor.
– Secure the top and bottom with tape or adhesive strips, ensuring the plastic wall is taut and stable.

- Packing Out in Boxes
1. Sort Items:
– Sort items by type (e.g., electronics, documents, fragile items) and prioritize those most susceptible to damage.
2. Gather Packing Supplies:
– Sturdy cardboard boxes
– Packing tape
– Bubble wrap or packing paper
– Labels and markers
3. Pack Items:
– Wrap fragile items individually in bubble wrap or packing paper.
– Place items securely in boxes, filling any gaps with packing paper to prevent shifting.
– Do not overpack boxes to avoid damaging contents.
4. Label Boxes:
– Clearly label each box with its contents and indicate if the items inside are fragile.
– Note the room from which the items were taken to make unpacking easier.
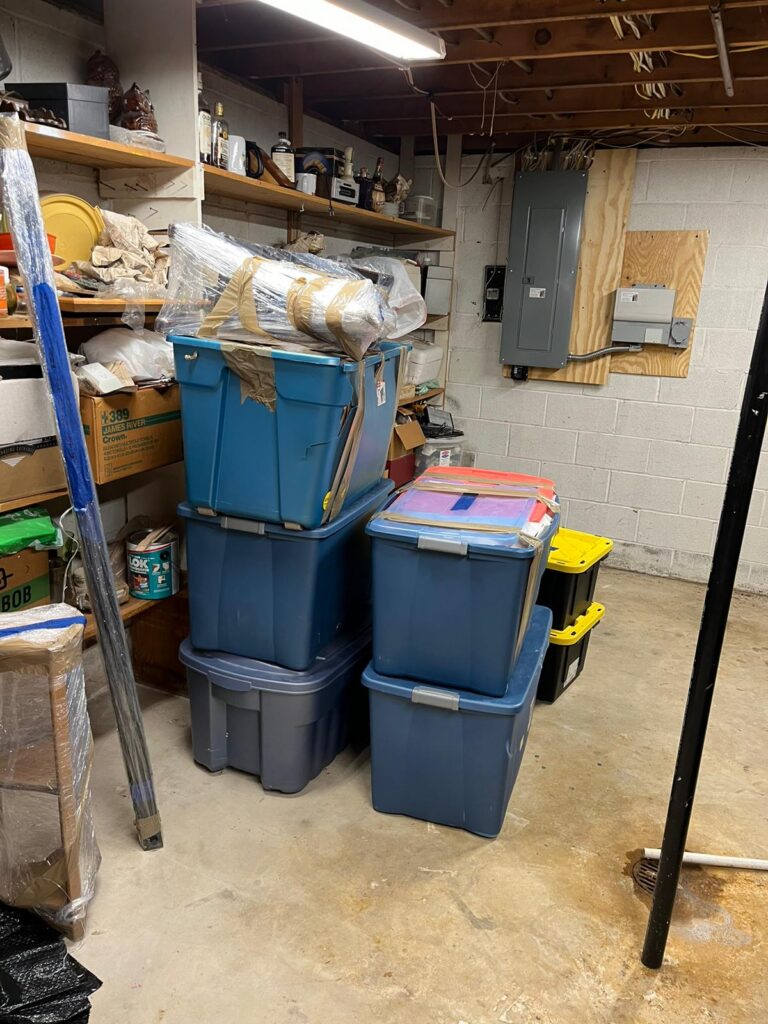
5. Store Boxes in a Safe Area:
– Move packed boxes to a dry, secure area away from the restoration work, such as a different room or an offsite storage location.
By following these steps, you can effectively protect the contents of a house during a water restoration project, ensuring minimal damage and facilitating a smoother restoration process.


