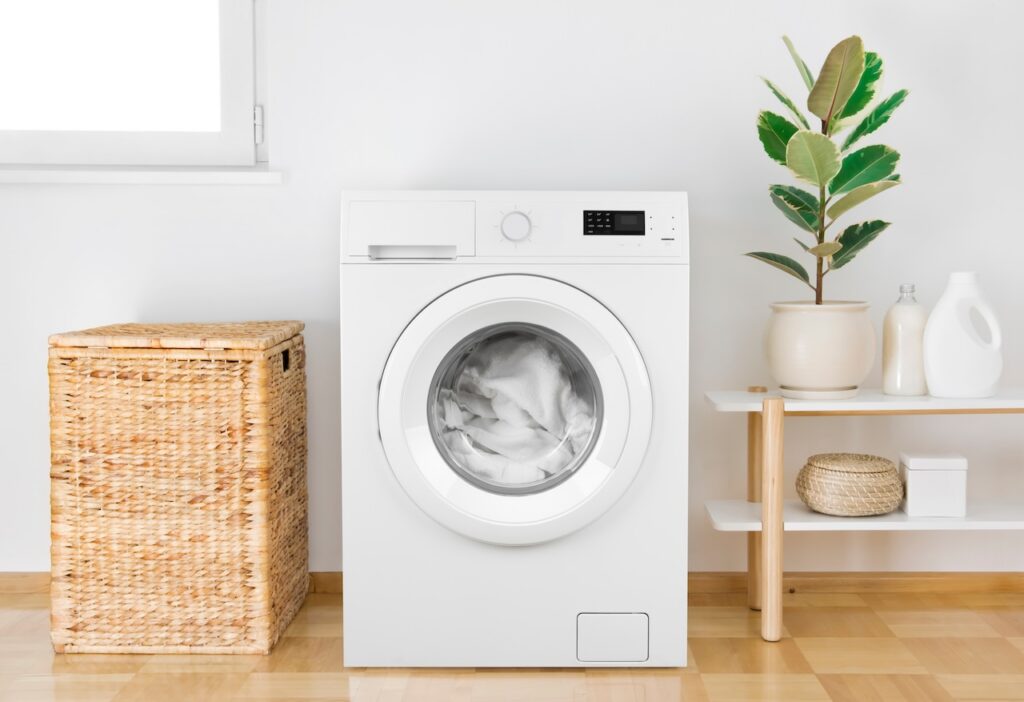
We understand the importance of maintaining home appliances to ensure safety and efficiency. One often overlooked task is cleaning your dryer vent. Regularly cleaning your dryer vent helps your dryer run more efficiently and reduces the risk of fire. Here’s a step-by-step guide on how to clean your dryer vent.
Why Regular Dryer Vent Cleaning is Essential
Regular dryer vent cleaning is crucial for several reasons:
- Prevent Fire Hazards:
- Lint buildup in your dryer vent can create a significant fire risk. According to the U.S. Fire Administration, clothes dryers are responsible for approximately 2,900 home fires each year, and the leading cause is failure to clean the dryer vent.
- Improve Dryer Efficiency:
- A clogged vent forces your dryer to work harder, increasing energy consumption and reducing lifespan. Cleaning the vent ensures optimal performance and energy efficiency.
- Reduce Drying Time:
- A clean vent allows air to flow freely, reducing the time it takes to dry your clothes. This saves time and energy.
How to Clean Your Dryer Vent: Step-by-Step Guide
Cleaning your dryer vent is a straightforward process you can do yourself with the right tools and steps.
1. Gather Your Tools:
- Before you start, gather the necessary tools: a dryer vent cleaning kit (available at most hardware stores), a vacuum cleaner, a screwdriver, and a brush.
2. Disconnect the Dryer:
- If you have a gas dryer, unplug it from the power source and turn off the gas supply. Then, pull the dryer away from the wall to access the vent.
3. Detach the Vent:
- Use a screwdriver to disconnect the vent hose from the back of the dryer. Be gentle to avoid damaging the hose or the vent.
4. Clean the Vent Hose:
- Use the brush from your cleaning kit to remove lint from the vent hose. Insert the brush into the hose and gently rotate it to dislodge any buildup. If your hose is long, you may need to work from both ends to clean it thoroughly.
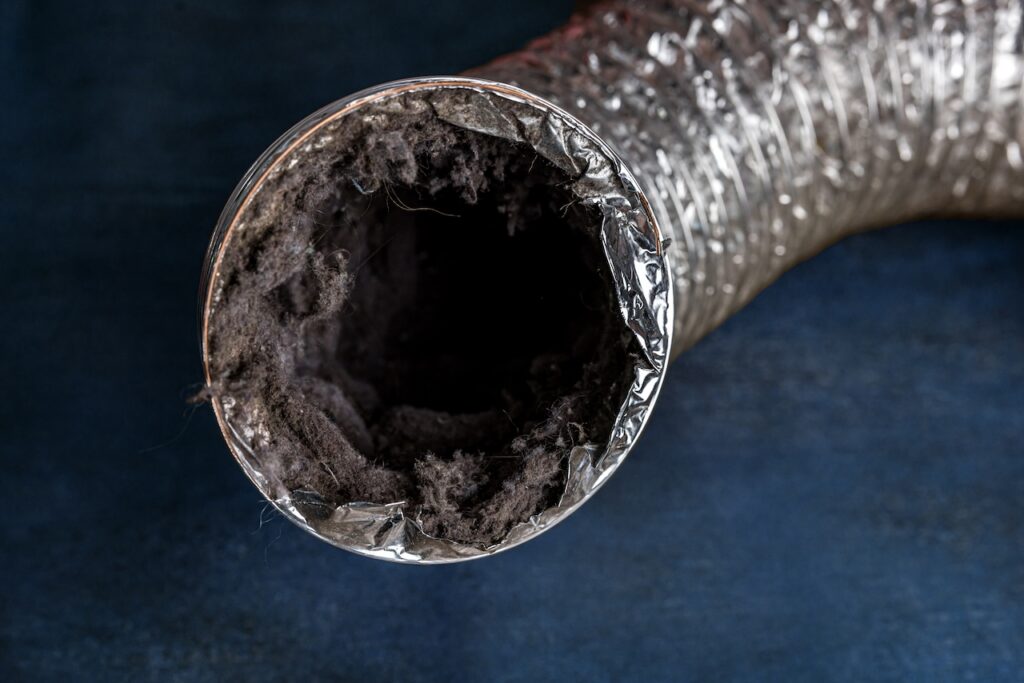
Vent hoses can fill with debris and become a hazard if not properly maintained.
5. Clean the Vent in the Wall:
- Insert the brush into the wall vent and rotate it to remove lint. Use the vacuum cleaner to suck out any loose debris.
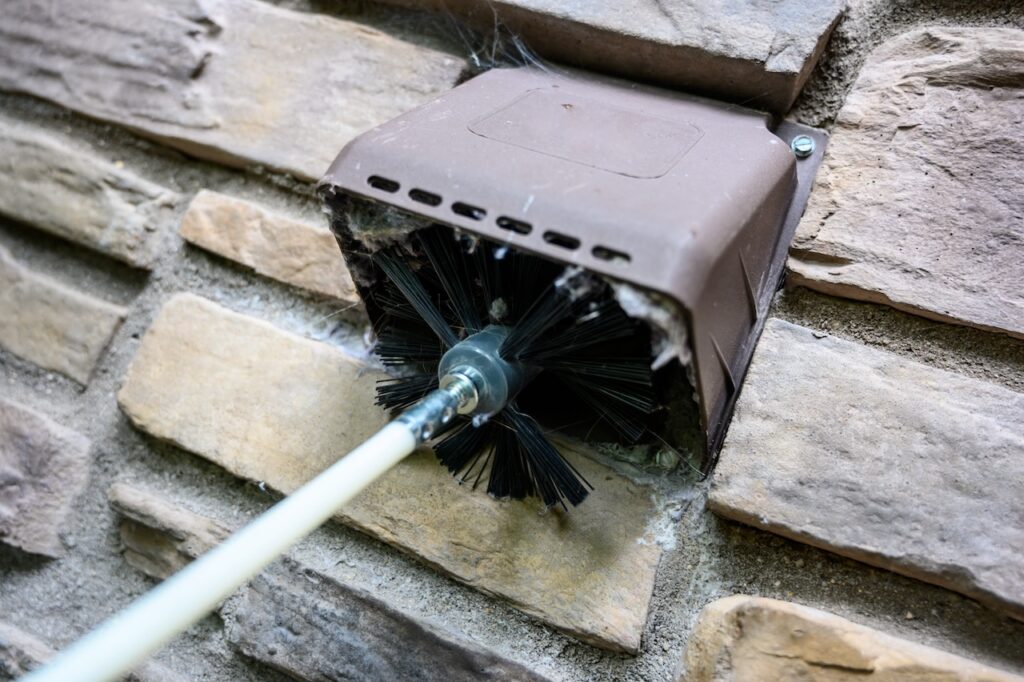
Remove the vent’s cap to dust and vacuum the area inside.
6. Clean the Dryer’s Lint Trap:
- While you’re here, don’t forget the lint trap inside your dryer. Remove the trap, clean it with a brush, and vacuum the area around it.
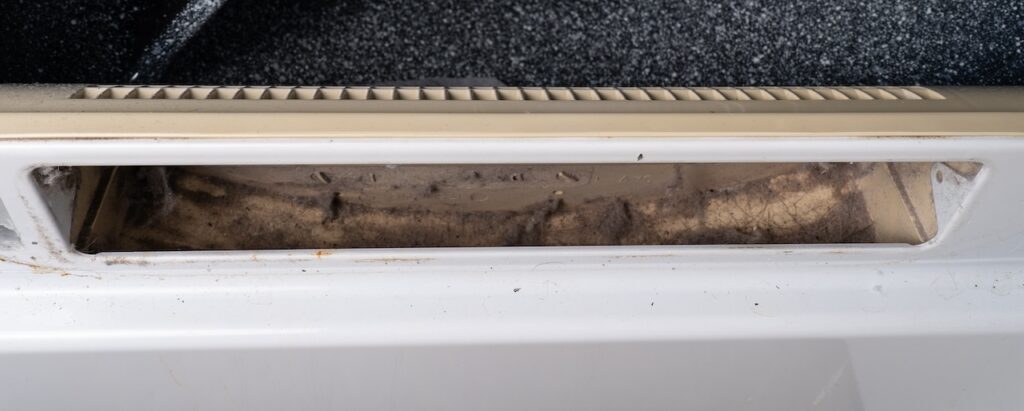
Cleaning the lint trap is crucial, as is cleaning the area underneath the trap.
7. Reconnect the Vent Hose:
- Once everything is clean, reattach the vent hose to the dryer and the wall. Ensure a secure connection to prevent future lint buildup.
8. Test the Dryer:
- Plug your dryer back in, turn on the gas supply if applicable, and run a short cycle to ensure everything is working correctly.
Seasonal Maintenance Tips
For best results, include dryer vent cleaning in your seasonal home maintenance routine. Here’s a quick checklist:
- Spring:
- Clean your dryer vent and check for any signs of wear or damage to the vent hose.
- Summer:
- Inspect the exterior vent to ensure it’s clear of debris and functioning correctly.
- Fall:
- Deep clean your dryer vent and lint trap before the cold weather sets in.
- Winter:
- Check the vent hose connections and clean the vent if you notice longer drying times.
Atlanta’s Answer For Mitigation and Repair
FEMA has published a Fire Safety Checklist for Homeowners and Renters. It’s a great starting point for minimizing potential threats, like lint traps, in your home. If you or someone you know has been the victim of a fire, call PuroClean of Wolf Creek at (404) 682-5400. Visit our fire and smoke damage page to learn how we can best assist you.

