When water hides inside walls, under floors, or behind cabinets, the real problem isn’t what you can see — it’s what you don’t. Left undiscovered, that hidden moisture becomes mold, rot, and expensive structural damage. Thermal imaging cameras give restoration professionals the fastest, least-invasive way to find those trouble spots and prove they’re gone.
This article explains, in plain language, what thermal imaging does, how pros use it during a water damage job, how it stacks up against other detection tools, and what property owners should expect and ask for.
Table of Contents
What a thermal imaging camera actually detects (and what it doesn’t)
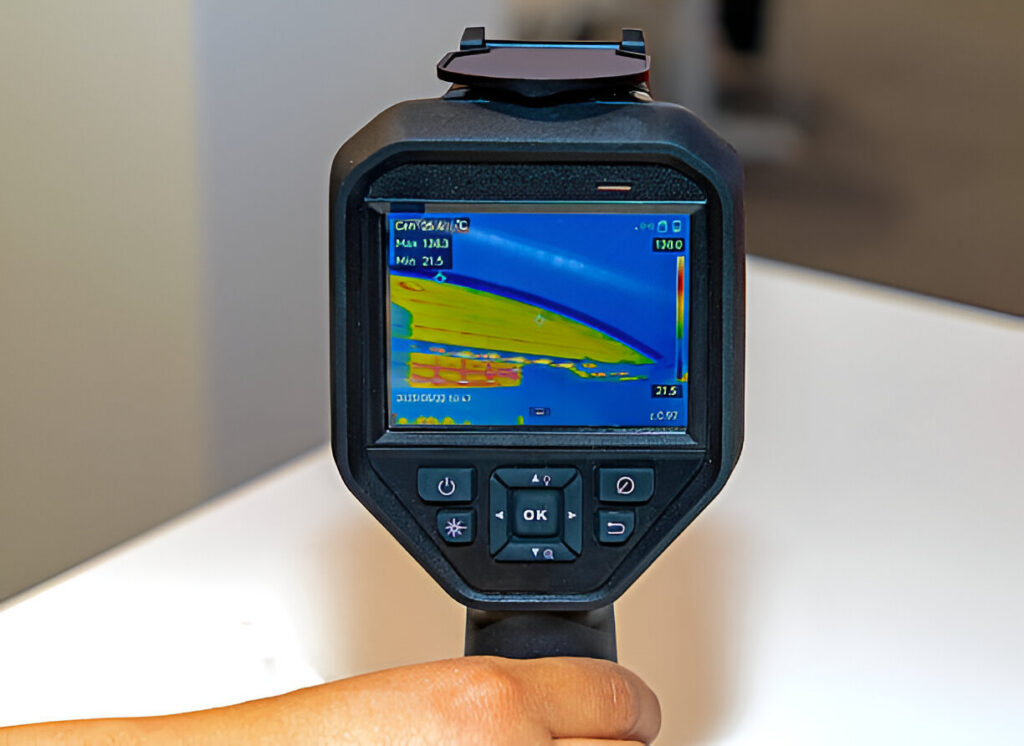
A thermal imaging camera measures surface temperature differences and turns them into a color image. Wet materials usually cool differently than dry ones as moisture evaporates, so wet spots often appear as cooler (or sometimes warmer) areas on the image. That contrast makes it possible to infer where moisture is hiding — without tearing anything open.
Important clarifications:
- Thermal cameras do not see moisture directly; they detect temperature patterns that suggest moisture.
- They are non-destructive and fast, perfect for scanning large areas.
- Because they depend on temperature differences, the timing, angle, and job conditions affect how clear the results are.
How thermal imaging fits into a modern restoration workflow
A thermal camera is not a stand-alone magic bullet — it’s part of a disciplined process that gets your property truly dry and safe. A typical workflow:
- Initial walkthrough & baseline photos. Technicians record visible damage and take photos of unaffected areas to set a “dry standard.”
- Whole-room thermal scan. The tech quickly scans ceilings, walls, and floors, producing thermal images that highlight anomalies.
- Targeted confirmation. Where the thermal image shows suspicious spots, the crew uses pin or pinless moisture meters and, if necessary, a borescope to confirm subsurface moisture.
- Drying plan mapped to findings. Air movers and dehumidifiers are placed where thermal + meter data show the greatest need — not just where it looks wet.
- Progress monitoring. Repeat thermal scans on a schedule (and after adjustments) to confirm moisture is decreasing and that drying is proceeding along the predicted path.
- Final documentation. Deliver thermal before/after images, moisture-meter logs, and a short narrative for the owner and the insurer.
This coordinated approach reduces unnecessary demolition, speeds up drying, and produces the documentation insurance companies expect.
Common Use Case
A small retail store flooded from a cracked pipe. Visible water was extracted, but customers continued to smell mildew days later. A thermal scan showed a cool band behind the wall below a sink — the likely source. A moisture meter inserted through a tiny access confirmed elevated moisture. Technicians placed focused drying and documented the thermal images as the area warmed and returned to baseline. Because the issue was found fast and dried with minimal cut-outs, the store reopened sooner and claim documentation was straightforward.
Comparing thermal cameras to other common detection tools
People often confuse thermal imaging with other moisture tools. Here’s how they compare:
- Moisture meters (pin & pinless): Provide direct moisture readings at a point. Best for confirmation. Thermal imaging is faster for locating where to take those readings.
- Infrared thermometers: Read temperature of a single spot. Thermal cameras give thousands of points at once and reveal patterns.
- Borescopes/endoscopes: Allow visual confirmation inside cavities but require a small hole. Use them when thermal + meter data point to a location.
- Hygrometers / data loggers: Track ambient humidity and temperature over time — essential for assessing drying progress, but they won’t locate hidden wet pockets.
- Moisture detection dogs / acoustic devices: Specialized methods with niche uses — they’re not replacements for a thermal scan plus moisture meter confirmation.
Bottom line: thermal imaging is best as a search and mapping tool. Always confirm thermal anomalies with a moisture meter or visual inspection before permanent repairs.
What to expect during when using thermal imaging cameras
If a restoration team uses thermal imaging on your property, here’s what you’ll typically see:
- A calm, non-intrusive scan of rooms (usually under 15–30 minutes for an average home).
- Side-by-side normal and thermal photos included in your report.
- Clear notes identifying the most likely moisture locations and any recommended verification steps (meter readings or small access holes if needed).
- Updates with new images as drying progresses.
Common mistakes other restoration firm makes:
- Mistake: Treating thermal images as proof of moisture without meter confirmation.
- Mistake: Scanning at the wrong time (e.g., during strong direct sunlight or right after HVAC changes).
- Mistake: Relying on poor-quality cameras or untrained operators.
What to look for when hiring a contractor:
Ask these simple questions:
- Do you use thermal imaging on every water-damage inspection? (A good answer is “yes.”)
- Will I receive the thermal images and moisture readings with the final report?
- Are your technicians trained in thermography and moisture measurement? (Look for evidence of training or experience.)
- How will you avoid false positives from HVAC, drafts, or reflections?
- Do you use thermal imaging to guide targeted repairs to reduce demolition?
A confident contractor will answer clearly and offer to walk you through the images.
Thermal imaging camera features that matter (for homeowners vetting a contractor)
- Radiometric imaging: Stores temperature data for each pixel, enabling later analysis.
- Resolution: Higher thermal resolution produces clearer images (professional units typically start around 160×120; 320×240 and above give finer detail).
- Thermal sensitivity (NETD): Lower numbers (measured in mK) detect smaller temperature differences.
- Visual & thermal overlay: Helps non-technical clients understand anomalies quickly.
- Report export & timestamping: Essential for insurance documentation.
(Contractors should own equipment that supports reliable reporting; homeowners do not need to buy one.)
Hidden moisture doesn’t have to mean hidden risk. When used correctly, thermal imaging saves time, reduces unnecessary repairs, and provides clear documentation for insurance claims.
If you’re facing water damage, insist on a restoration plan that includes thermal scanning plus meter confirmation — it’s a hallmark of a competent, modern restoration team. Call the right team. Call 941-877-2288 today or fill this form to get started.


