


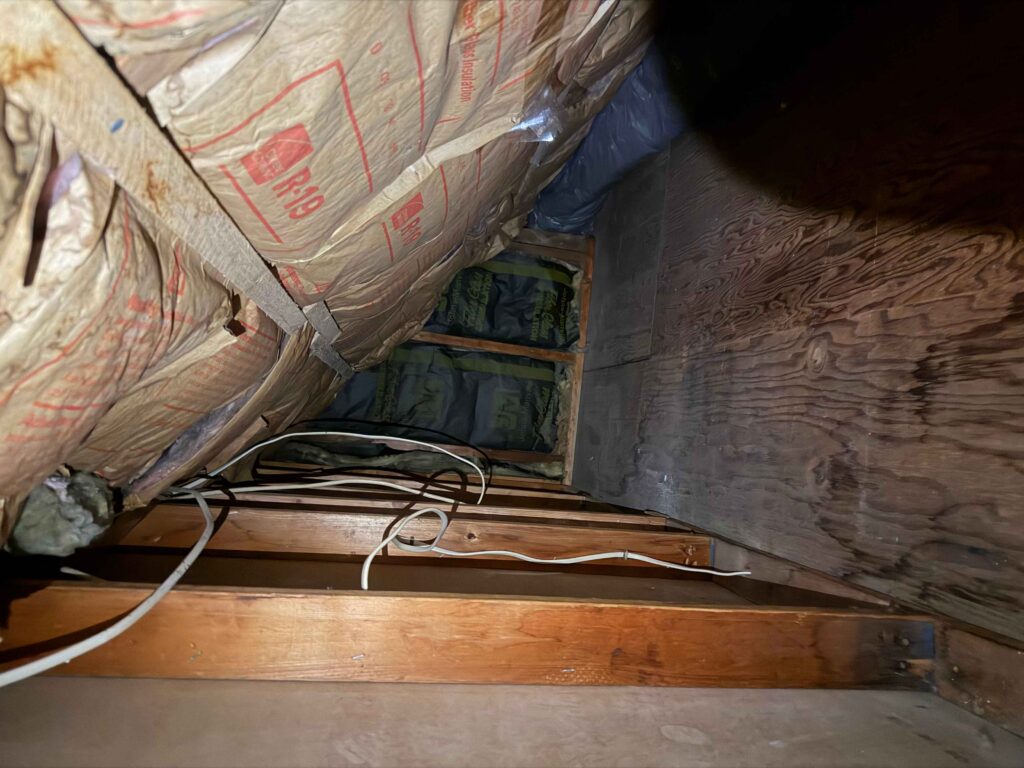
A soaked ceiling, damp wall, or waterlogged crawlspace can hide far more damage than the visible stain suggests. Knowing the right wet insulation removal steps helps protect the building, indoor air quality, and the people who occupy the space. The goal is not simply to pull out wet material. It is to stop the source, determine whether contamination is present, remove materials that cannot be safely restored, and dry the structure to verified moisture targets.
For homeowners and property managers in East Bridgeport, Milford, and Shelton, timing matters. Mold can begin growing on wet building materials in as little as 24 to 48 hours under the right conditions. A prompt, controlled response can reduce the scope of demolition and help keep a manageable water loss from becoming a larger remediation project.
Start With Safety and Stop the Water Source
Before anyone enters an affected area, identify immediate hazards. Water near electrical outlets, ceiling fixtures, appliances, or a service panel requires caution. If water is actively dripping through a ceiling or has reached electrical components, keep people out of the area and arrange for qualified help. A sagging ceiling can also fail without warning.
Next, stop the intrusion if it is safe to do so. Shut off a leaking supply line, place a container beneath a small plumbing drip, or move belongings away from a roof leak. Do not enter standing water when electricity may be involved, and do not handle water affected by sewage, a toilet overflow containing waste, or outdoor flooding.
The water category changes every decision that follows. Clean water from a broken supply line may allow some materials to be dried or restored when addressed quickly. Water from a washing machine discharge, dishwasher, or other source with significant contaminants needs greater care. Sewage, river water, and floodwater are considered highly contaminated and generally require removal of porous materials, including insulation, that came into contact with the water.
Document Conditions Before Wet Insulation Removal
Take clear photos and video of the affected rooms, the source of the loss when visible, damaged contents, and the path water traveled. Documentation can support an insurance claim and gives restoration professionals a useful starting point. Record when the water loss was discovered and any actions already taken, such as shutting off water or using towels to contain a small leak.
Do not rely only on surface appearance. Insulation inside a wall, above a ceiling, or below a floor may remain wet even after drywall looks dry. Moisture meters and thermal imaging help identify hidden moisture patterns, while material testing confirms whether framing, subflooring, and other structural components are drying as intended.
For commercial properties, documentation should also include affected tenant spaces, mechanical rooms, inventory, equipment, and any interruption to operations. Early records help property stakeholders make sound decisions about safety, access, and recovery priorities.
Wet Insulation Removal Steps That Protect the Structure
The correct removal process depends on the insulation type, how long it has been wet, the source of water, and where the material is installed. There is no responsible one-size-fits-all answer. However, professional mitigation generally follows a careful sequence.
1. Contain the affected area
Containment limits dust, insulation fibers, and potential microbial particles from moving into clean areas of the property. Technicians may use protective barriers, controlled access points, and air-filtration equipment where conditions warrant it. This is particularly valuable when wet insulation is being removed from occupied homes, offices, medical spaces, or retail areas.
2. Remove compromised finishes to access insulation
Wet insulation behind drywall cannot dry properly if the wall cavity remains closed. Technicians may remove baseboards and make controlled cuts in drywall, often several inches above the measured water line, to expose wet materials and improve airflow. The exact cut height should be based on moisture readings, not guesswork.
In a ceiling, removal may be more extensive because wet insulation can load the drywall with significant weight. For safety, a water-damaged ceiling should be evaluated before anyone attempts to drain, cut, or remove material below it.
3. Extract and bag wet insulation
Saturated fiberglass batts often lose their shape and insulating performance. Wet cellulose insulation is especially difficult to restore because it can compact, hold moisture, and support microbial growth. When removal is necessary, trained crews use appropriate personal protective equipment and carefully bag materials for disposal to avoid spreading debris through the building.
Insulation exposed to sewage or floodwater should not be dried for reuse. It should be removed along with other affected porous materials, then the exposed structure should be cleaned and disinfected using appropriate products and procedures.
4. Clean exposed cavities and structural surfaces
Once insulation is out, the work is not finished. Framing, sheathing, subflooring, and other exposed materials may need detailed cleaning. Depending on the water source and conditions, technicians can use HEPA vacuuming, physical cleaning, and EPA-registered disinfectants as part of the mitigation process.
This step is where a hidden leak often reveals its full impact. Darkened wood, odor, staining, deteriorated drywall backing, or visible microbial growth may indicate that water has been present longer than expected. If mold growth is identified, the scope may shift from routine drying to a more specific remediation plan.
5. Dry the cavity and verify progress
High-capacity air movers, dehumidifiers, and specialty drying equipment remove moisture from structural materials. The equipment alone is not the solution. Drying must be monitored with moisture meters and documented readings to confirm that materials are approaching normal, dry standards for that property.
Wall cavities, hardwood flooring systems, cabinets, and crawlspaces may need targeted drying methods. Closing a wall too early can trap moisture and create conditions for odor, warping, mold, or repeat repairs. A controlled drying plan is often faster and less disruptive than discovering concealed moisture after reconstruction has begun.
6. Rebuild only after moisture is controlled
New insulation and drywall belong at the end of the mitigation process, not the beginning. Once the source has been corrected, contaminated materials have been addressed, and the structure has reached acceptable moisture levels, reconstruction can move forward with confidence.
Can Wet Insulation Ever Be Saved?
Sometimes, but the answer depends on the material and circumstances. Fiberglass insulation affected by a small, clean-water leak may be salvageable if it has not been contaminated, compacted, or damaged and if thorough drying can be confirmed quickly. This is more realistic when the insulation is accessible and the water event was discovered immediately.
Cellulose insulation is less forgiving. It absorbs water readily, settles when wet, and may not regain its intended coverage or thermal performance. It is frequently removed after a significant water loss. Spray foam behaves differently because it does not absorb water the same way fibrous insulation does, but moisture can still be trapped behind or around it, making professional assessment necessary.
The location matters too. Insulation in a vented attic after a minor roof leak may have a different restoration path than insulation inside a finished basement wall after a sewage backup. The safest decision is based on contamination, measured moisture, condition, and the ability to access and dry the assembly.
Mistakes That Can Make Water Damage Worse
Leaving wet insulation in place and running a household fan is a common mistake. Fans may move humid air without drying the hidden cavity, and they can spread contaminants if the water was not clean. Spraying fragrance to cover a musty smell also delays the real work of locating and drying the source.
Another problem is replacing drywall before verifying moisture levels. Fresh paint and new trim can make a room look restored while wet framing remains concealed behind the wall. That can lead to mold concerns, persistent odors, material failure, and a more expensive repair later.
Avoid removing large sections of wet drywall or ceiling material without evaluating structural and electrical conditions. Water damage is unpredictable, especially when the leak has traveled along framing or through multiple floors.
When to Call a Water Damage Professional
Professional help is strongly recommended when water has reached insulation in a wall or ceiling, when the source is sewage or floodwater, when more than one room is affected, or when the loss has been present for more than a day. It is also the prudent choice when occupants have respiratory sensitivities, when a business must reopen quickly, or when insurance documentation is needed.
PuroClean of East Bridgeport responds around the clock with moisture detection, thermal imaging, controlled demolition, cleaning, disinfecting, and structural drying designed for the real conditions inside your property. Clear communication matters just as much as equipment when a home or business has been disrupted.
A water loss can feel overwhelming, but the next decision does not have to be. Protect the area, avoid disturbing contaminated materials, and get the wet insulation evaluated before hidden moisture has time to create a second problem.

