
Family photos and videos are among our most treasured keepsakes. They remind us of all our favorite moments and act as a record of our lives. In today’s digital age, it’s easier than ever to protect your family photos and save them for years. Here are six steps you can take to make sure that nothing bad happens to your family photos.
1. Create Documentation
An itemized list is the perfect way to start. It will give you a way to organize everything you have so that it all gets protected. One way is to create a Word document or an Excel spreadsheet. List the photographs by category, location, time period, and type of content (i.e., print photo, digital photo, or video). Weed out things you don’t need such as random or duplicate photos from your phone or poor-quality images.
2. Scan
Anything that isn’t already digital should be made digital. If you have a large project with a lot of valuable images to preserve, invest in a high-quality photo scanner. So that your archival process doesn’t become overwhelming, it can be helpful to set a certain amount of time to work on it each day. Have a system for making sure that you don’t scan anything twice. For videos, you can use a professional service to convert to digital or invest in the right equipment and do it yourself.
3. Organize
Once you have everything scanned, uploaded, and on one computer, it’s time to organize all the files. Organize them by year, location, event, or whatever other categories make sense. Some people break them down by year and then by sub-categories like “family shots,” “pets,” “scenery,” or “Hawaii vacation.” Have a directory, folders, and subfolders. Be as descriptive as possible when labeling and naming. If you’re unsure how to do this, there are plenty of resources on the web that will walk you through the process of organizing computer files step by step.
4. Back up
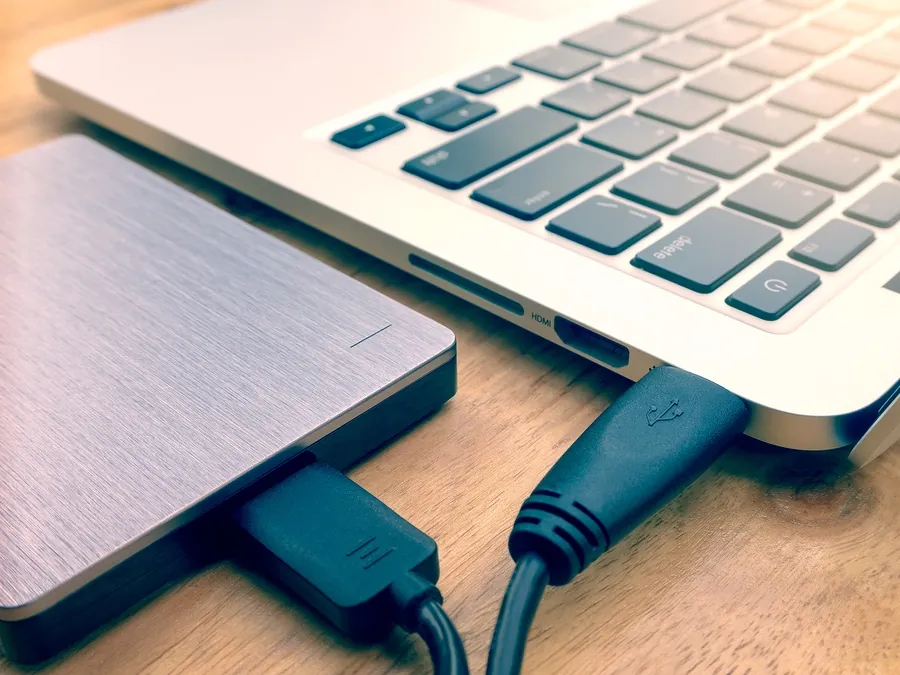
Backing up your images is perhaps the most important step when trying to protect your family photos. One computer is not going to cut it for storage—you want back up as well. Copy the photos onto an external hard drive, CDs or DVDs, or both. Make sure that your photos do not exist on only one drive, because if anything happens to that drive, you’ll lose everything. Experts recommend external hard drives over every other method.
5. Make copies
If you have favorite images that you know you want to share, why not share them now rather than later? Make copies and give them as meaningful gifts to friends and loved ones. Making copies is another way to protect your family photos, because the people you give them to can make copies for you in the event that something happens to the originals.
6. Store offsite
You can protect your family photos by storing the back up at a location other than your home. That could be a safe deposit box, a friend’s house, your office, or any place that would be safe should something happen to your home. These days, a lot of people use the cloud. If you use the cloud, you should still have another back up, but it does provide one more layer of protection. Some top cloud photo storage options are Dropbox, Prime Photos from Amazon, and Google Drive.
After you’ve completed backing up and safeguarding your precious moments, make sure you store your photos properly. Unless stored correctly, printed photos will deteriorate over time and with exposure to light. Look into the basics of storing photos and take the time to do it right.
For many people, videos and photos are some of their most precious possessions. Make sure you safeguard yours today so that you can enjoy these treasured memories for years to come.


