In 2025, homeowners are more empowered and more challenged than ever when it comes to maintaining their homes. Between rising repair costs and the push for eco-conscious living, water damage prevention has become a top priority, especially in high-risk zones like the bathroom. It’s no longer just about fixing what’s broken; it’s about future-proofing your space with smarter, more sustainable choices.
Bathroom water damage often hides in plain sight, showing up as peeling paint, warped floors, or hidden leaks inside walls. If left unchecked, it can quickly lead to mold, expensive structural repairs, and even problems with your insurance. But here’s the good news: with the right tools, know-how, and a little DIY grit, you can handle bathroom water damage repair the right way and protect your bathroom for years to come.
In this complete guide, we’ll walk you through:
- How to spot early warning signs before they escalate
- Step-by-step instructions to repair bathroom water damage
- Waterproofing hacks that actually work
- Smart upgrades like leak detectors and humidity-sensing fans
Whether you’re tackling your first bathroom renovation or maintaining an older home, this blog will help you protect one of the most vulnerable areas in your house.
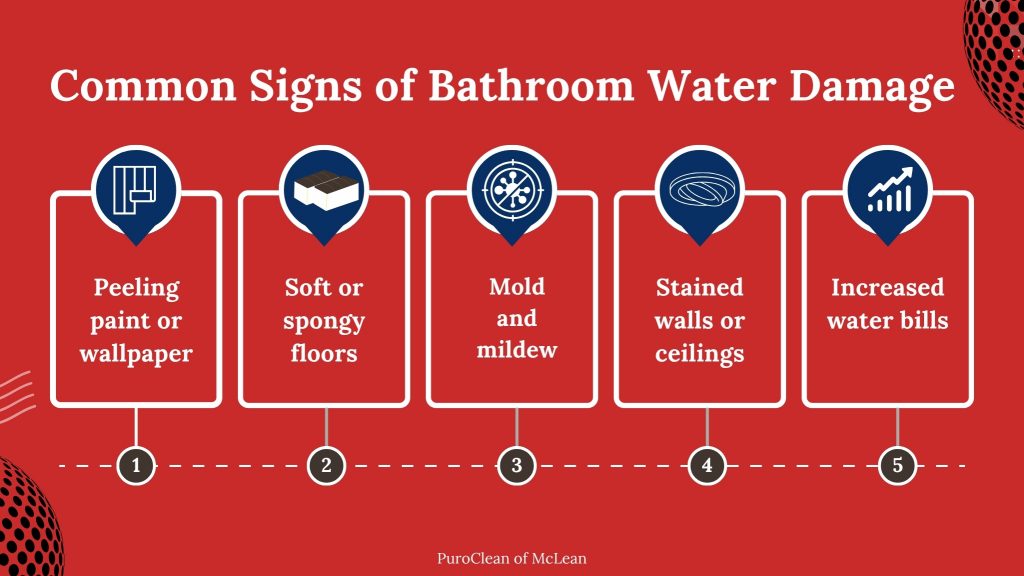
Common Signs of Bathroom Water Damage
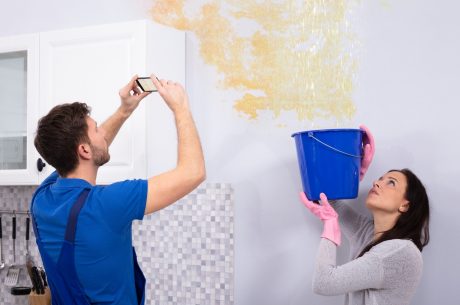
Bathroom water damage can be sneaky. It often starts with subtle signs of water damage in bathroom corners, such as small leaks in pipes or a damp patch, and goes unnoticed until the problem becomes much bigger and more expensive.
Here are some of the most common warning signs to watch out for:
- Peeling paint or wallpaper: Moisture buildup causes bubbling or peeling, especially near tubs and toilets.
- Soft or spongy floors: If your bathroom floor feels like it has some give, water might be seeping through.
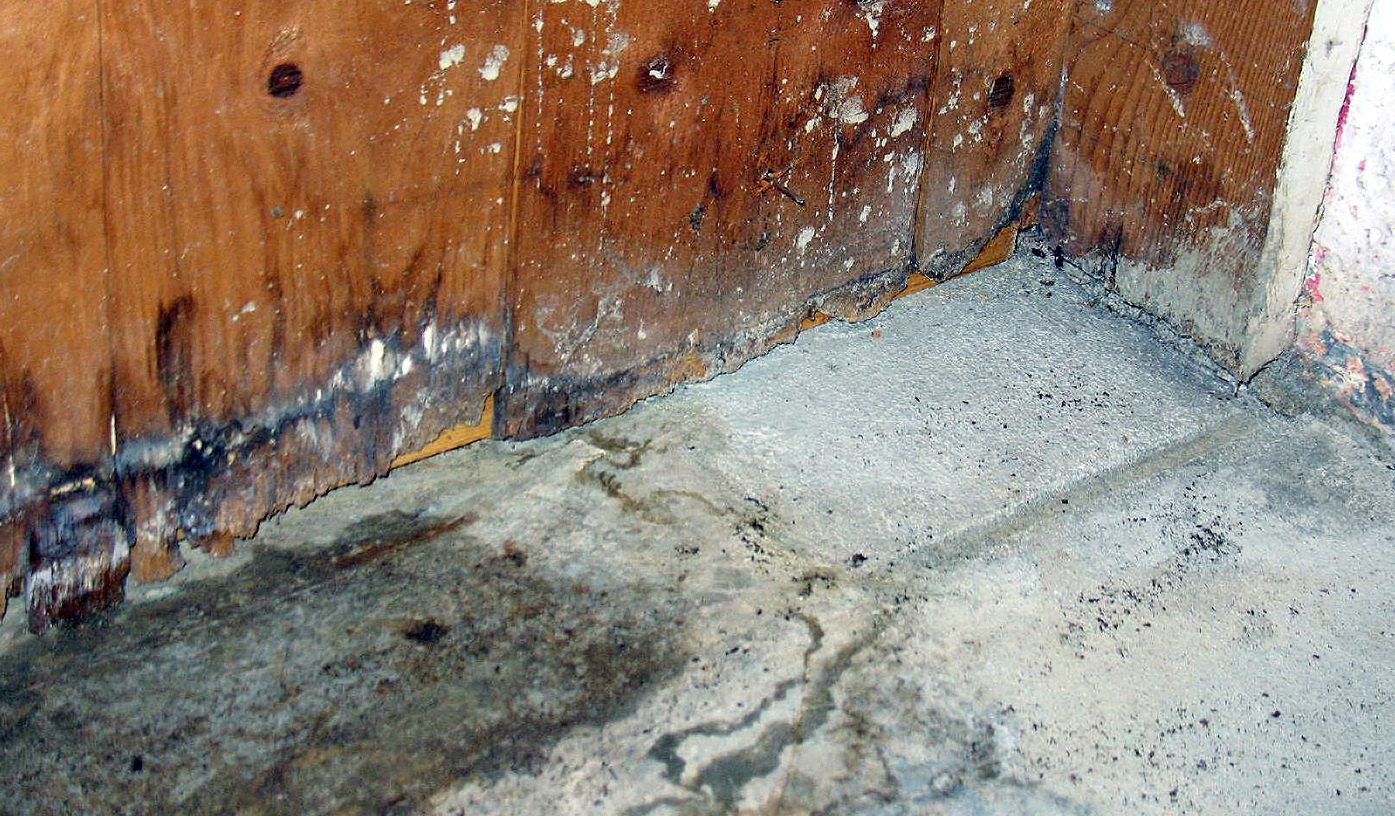
- Mold and mildew: Persistent dark spots or funky odors? That’s a sign of moisture that’s overstayed its welcome.
- Stained walls or ceilings: Brownish or yellow discoloration can indicate a slow leak behind the surface.
- Increased water bills: A hidden leak may be quietly draining your wallet.
If you spot any of these signs of water damage in bathroom spaces, it’s time to investigate further and take action. Detecting water damage early is the first step to saving money and protecting your home.
Step-by-Step Guide to Bathroom Water Damage Repair
Bathroom water damage can feel overwhelming, but fixing it is absolutely doable if you follow a clear, step-by-step plan. Whether you’re dealing with a leaky sink or a soggy wall, here’s how to repair bathroom water damage the right way:
Step 1: Stop the Source of the Leak
Before anything else, find where the water is coming from. Shut off water valves to the sink, toilet, or shower if needed. No repair will work until the leak is fully stopped.
Step 2: Dry the Area Completely
Use fans, towels, and a dehumidifier to dry out the space. The faster you remove moisture, the less chance there is for mold to form. Don’t skip this step; it’s critical.
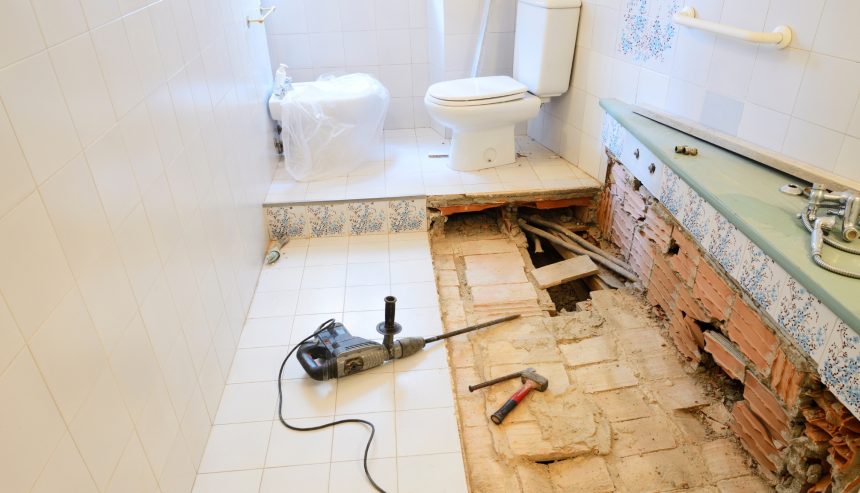
Step 3: Remove Damaged Materials
Cut away any water-soaked drywall, insulation, flooring, or trim as part of your bathroom water damage repair process. Be careful, check behind surfaces for hidden mold or structural issues. If you see black spots or smell mildew, take extra precautions.
Step 4: Treat for Mold and Mildew
Spray affected areas with a mold remover or white vinegar solution. Wear gloves and a mask. If the mold covers a large area, more than 10 sq. ft, it’s best to call a professional.
Step 5: Make Structural Repairs
Once the area is dry and clean, repair or replace what was damaged. This may include new drywall, flooring, tiles, or baseboards. Use water-resistant materials where possible.
Step 6: Waterproof and Seal the Area
Apply waterproof sealant around fixtures, seams, and joints to prevent future leaks. Don’t forget to re-caulk around tubs, sinks, and toilets.
Step 7: Test for Leaks
After everything is repaired, turn the water back on and observe. Run the shower, flush the toilet, and check all connections. If no new leaks appear, your bathroom water damage repair is complete, and your space is ready for use again.
Tools & Materials You’ll Actually Need
Here’s a basic toolkit to keep handy for bathroom water damage repair:
- Utility knife
- Pry bar
- Dehumidifier
- Mold remover or vinegar
- Protective gloves and goggles
- Drywall, caulk, and paint
- Waterproof sealant
- Tile adhesive if replacing tile
When to Call a Professional Water Damage Specialist
While small bathroom water damage repair tasks can be handled with a bit of DIY effort, there are times when calling a professional is the right choice. One of the biggest warning signs is mold. If it’s spreading beyond a small area or there’s a strong musty smell that doesn’t go away after cleaning, it’s best to call in an expert.
Another situation is when you can’t figure out where the leak is coming from. Professionals have tools like moisture meters and thermal cameras to find hidden problems without tearing up your bathroom.
If there’s structural damage or you’re planning to file a homeowner’s insurance claim, hiring a licensed contractor is a smart move. And if you’ve already tried to fix the issue but it keeps coming back, don’t waste more time or money; get professional help right away.
Top 5 Waterproofing Hacks That Actually Work
Waterproofing your bathroom doesn’t have to be complicated or expensive. A few smart changes can make a big difference in keeping moisture out and preventing costly water damage down the line. Here are five simple, effective waterproofing hacks that really work:
- Seal Grout and Caulk Regularly: Over time, grout and caulk can crack or wear away, allowing water to seep behind tiles and fixtures. Reapplying grout sealer and fresh caulk once a year keeps water out and your bathroom protected.
- Install a Quality Exhaust Fan: Moisture buildup from steamy showers can lead to mold and mildew. A good exhaust fan with a humidity sensor pulls moisture out of the air before it settles into walls or ceilings. Bonus: it also prevents peeling paint and foggy mirrors.
- Use Waterproof Paint on Walls and Ceilings: Standard paint isn’t made to handle constant humidity. Waterproof or moisture-resistant paint creates a protective barrier that helps prevent mold growth and paint bubbling, especially in bathrooms with poor ventilation.
- Apply a Waterproof Membrane Before Tiling: If you’re renovating or replacing tiles, applying a waterproof membrane underneath is a game-changer. It blocks moisture from reaching subfloors and drywall, keeping your bathroom structure safe and sound.
- Add a Leak Detector Under Sinks or Near Toilets: Smart leak detectors sense water where it shouldn’t be and send alerts to your phone. Placing one under the vanity or behind the toilet gives you a heads-up before small leaks become big problems.
Small Upgrades That Stop Big Damage
- Switch to a single-piece toilet to reduce leak points
- Add splash guards near your tub or shower
- Install an exhaust fan with a humidity sensor
- These upgrades are low-cost but can save you a lot of hassle over time
Final Thoughts
Bathroom water damage repair doesn’t have to be overwhelming. The key is to catch signs of water damage in bathroom areas early, act fast, and take steps to waterproof your space before trouble begins. With a solid maintenance routine and a few smart upgrades, you can turn your bathroom from leak-prone to leak-proof.