
Metal roof leak issues can cause significant damage if not addressed promptly. These roofs are known for their durability, but even the best materials can develop leaks over time. In this guide, we’ll explore common causes of leaks, the tools and materials needed for repairs, and provide a step-by-step guide to fixing leaks effectively. We’ll also share preventative maintenance tips to help you avoid future problems.
Identifying Common Causes of Metal Roof Leaks
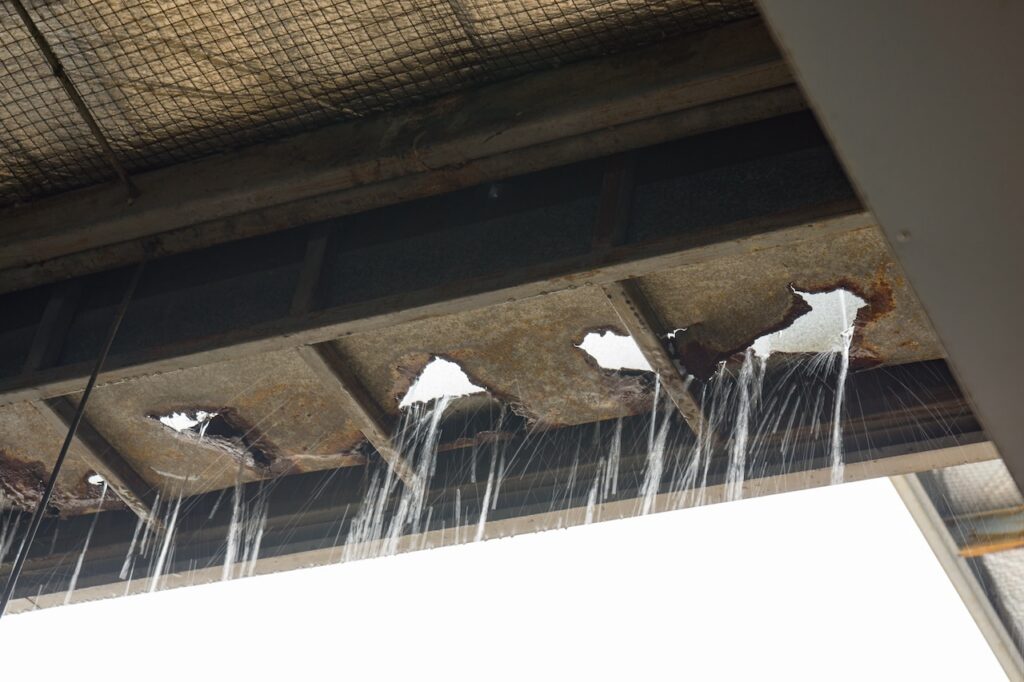
Metal roof leaks often result from the following:
- Rust and Corrosion: Over time, exposure to the elements can lead to rust, particularly if the metal is not properly coated or maintained. Regularly inspecting your roof for signs of rust can help prevent extensive damage.
- Improper Installation: Faulty installation can leave gaps or improperly sealed seams that allow water to seep through. It’s crucial to hire experienced professionals for installation to minimize these risks.
- Damaged Flashing: Flashing is used to direct water away from critical areas. If it’s damaged or poorly installed, leaks can occur. Regular checks can identify issues before they lead to significant water damage.
- Loose or Missing Fasteners: Screws and fasteners can become loose over time, creating openings for water. This is often due to thermal expansion and contraction of the metal.
- Seam or Joint Separation: Expansion and contraction due to temperature changes can cause seams to separate, leading to leaks. Keeping an eye on these areas can help catch problems early.
Tools and Materials Needed for Repairs
Before diving into repairs, gather the necessary tools and materials:
- Ladder: Ensure it’s stable and secure.
- Safety Harness: Always wear a harness to prevent falls.
- Metal Roof Sealant: Choose a high-quality sealant suitable for your roof type.
- Wire Brush: Essential for cleaning rust and debris.
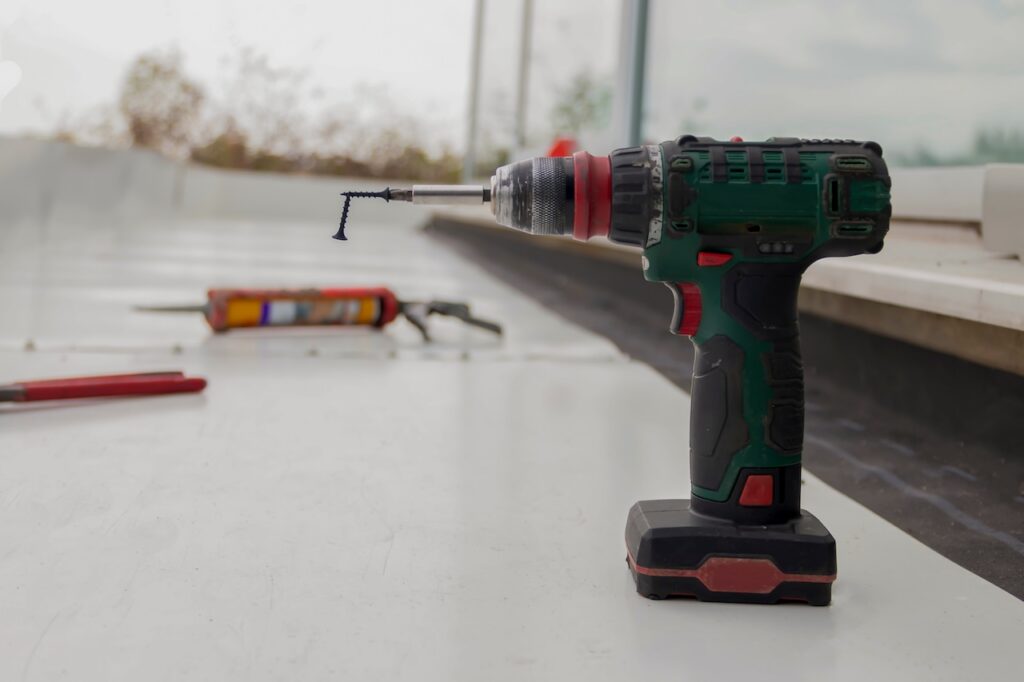
- Roofing Screws: Use corrosion-resistant screws.
- Metal Shears: These are used for cutting metal as needed.
- Screwdriver: Necessary for tightening and replacing screws.
- Caulking Gun: For applying sealant accurately.
- Waterproof Tape: Provides extra protection for seams.
Step-by-Step Repair Guide
Once your tools and materials are gathered, follow these steps:
- Ensure Safety First: Always prioritize safety by using a sturdy ladder and wearing a safety harness when working on the roof. Never work alone if possible.
- Inspect the Roof: Carefully examine the roof for signs of rust, loose fasteners, and seam separation. Pay close attention to areas around chimneys, vents, and skylights.
- Clean the Affected Area: Use a wire brush to remove rust and debris from the leaking area to ensure proper sealant adhesion. A clean surface is crucial for the sealant to adhere effectively.
- Seal the Leak: Use a caulking gun to apply metal roof sealant generously over the affected area. Ensure it covers all gaps and seams. Follow the product instructions for the best results.
- Replace Damaged Fasteners: If you find loose or missing screws, replace them with new roofing screws to secure the metal panels. Ensure they are adequately tightened to avoid future leaks.
- Reinforce Seams: Use waterproof tape over seams and joints that appear vulnerable to further protect against leaks. This extra layer can prevent water from seeping in during heavy rain.
- Check Flashing: Inspect and repair or replace damaged flashing to ensure water is directed away from vulnerable areas. Proper flashing is essential for a leak-free roof.
For more information on repairing your metal roof, read this guide by the U.S. General Services Administration (GSA).
Preventive Maintenance Tips
Preventing leaks in the first place is always better than repairing them. Here are some tips to keep your metal roof in top condition:
- Regular Inspections: Schedule bi-annual inspections to catch potential issues early. Pay special attention after severe weather, which can exacerbate existing problems.
- Clean Gutters: Ensure gutters and downspouts are clear of debris to prevent water backup that can lead to leaks. Blocked gutters can cause water to pool and find its way into your roof structure.
- Trim Overhanging Branches: Branches can scratch and damage your roof, leading to potential leaks. Regular trimming helps prevent this damage.
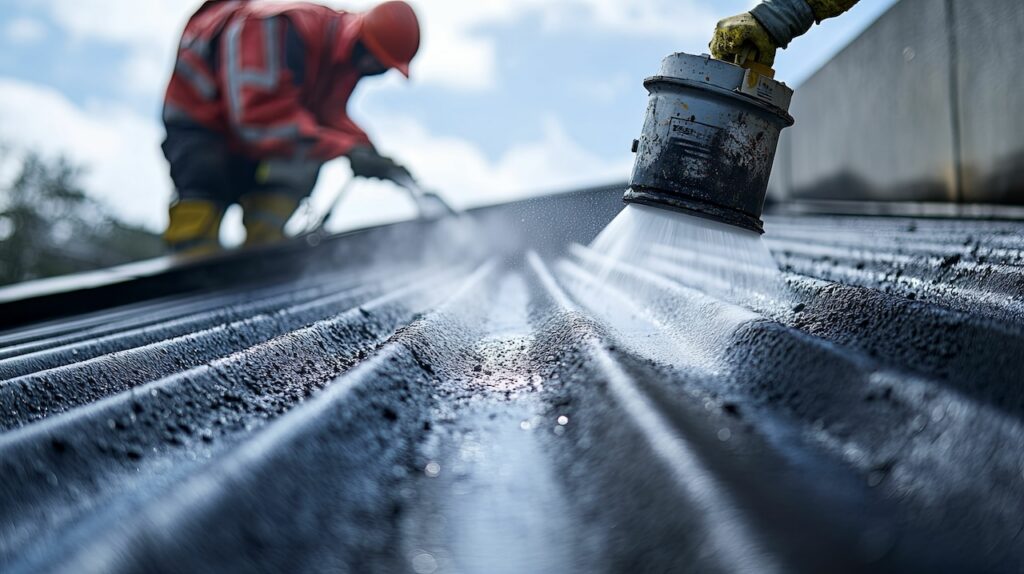
- Apply Protective Coatings: Consider applying a rust-resistant coating to extend the life of your metal roof. This can be especially beneficial in areas with high rainfall or humidity.
- Check Fasteners: Regularly check and tighten all screws and fasteners to maintain a snug fit. Loose fasteners are a common cause of leaks.
Contact PuroClean of Redmond/Woodinville for Water Damage Restoration Services
Don’t let a metal roof leak compromise the safety and comfort of your home. Take action today by inspecting your roof and addressing any issues promptly. Remember, regular maintenance is key to preventing future leaks and ensuring your metal roof remains a reliable shield against the elements. If you need professional help, contact PuroClean of Redmond/Woodinville at (425) 488-7688 for expert water damage restoration services.


