
Deprecated: preg_replace(): Passing null to parameter #3 ($subject) of type array|string is deprecated in /nas/content/live/puroclean6001/wp-content/themes/puroclean-tw/inc/template-shortcodes.php on line 395
Mold is a common sight in many areas of the home where dampness and warmth exist. Unfortunately, kitchens are also prone to mold growth, especially if they’re poorly ventilated or if there are water leaks. In this article, you will learn how to remove mold in the kitchen.
Although it’s better to allow professional mold removal companies to get rid of mold in the kitchen, you can clean up small areas yourself with proper guidance. Let’s get started!
Preparation Before Mold Kitchen Removal
Before deciding to tackle the mold in the kitchen yourself, don’t forget to do these things first:
- Wear protective gear such as gloves, goggles, and a mask to shield yourself from mold spores and cleaning agents.
- Ensure adequate ventilation by opening windows and using fans to circulate air. This helps prevent the inhalation of mold spores and fumes from cleaning products.
- If dealing with extensive mold growth or sensitive individuals, consider temporarily vacating the area during removal.
Importance of Removing Mold in the Kitchen
The importance of removing mold in the kitchen cannot be overstated due to several key reasons:
- Health Concerns: Mold releases spores that can trigger allergic reactions, respiratory issues, and worsen asthma symptoms. Prompt removal minimizes health risks for you and your family.
- Structural Damage: Mold weakens surfaces like drywall and wood, compromising the kitchen’s structural integrity. Early removal prevents costly repairs and renovations.
- Food Safety: Mold contaminates food surfaces and can produce harmful mycotoxins. Removing mold ensures the safety of stored food items.
- Odor Elimination: Mold growth produces musty odors that spread throughout the home. Removing mold improves indoor air quality and eliminates unpleasant smells.
- Prevention of Spreading: Mold spores can easily spread to other areas of the home. Prompt removal prevents secondary contamination and protects adjacent rooms..
How to Remove Mold in the Kitchen
Mold on Grout
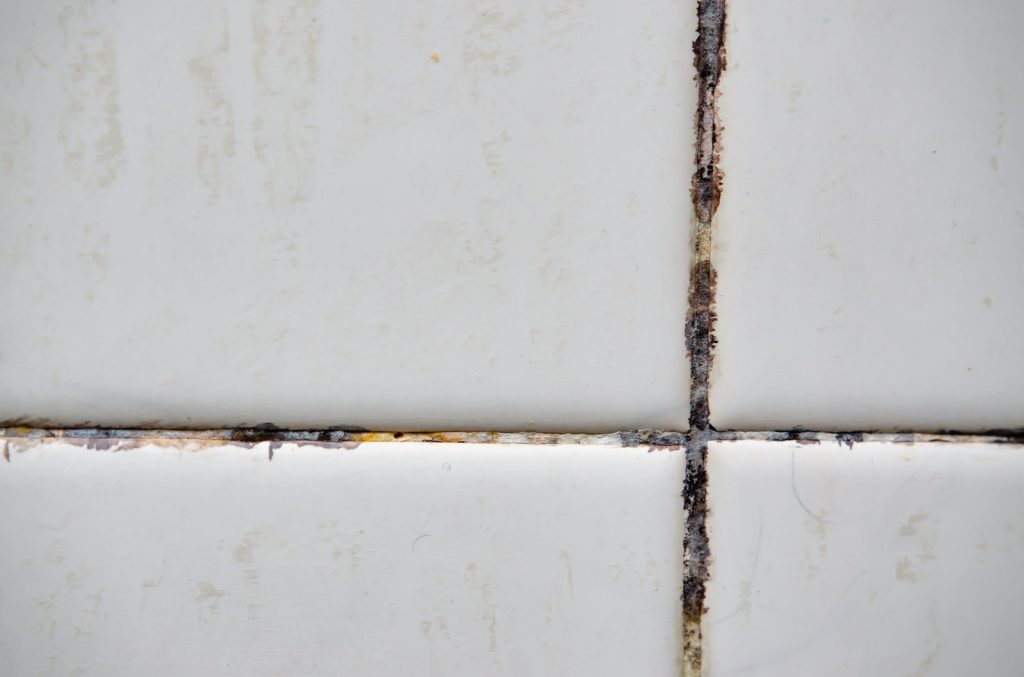
- Moisten the Moldy Grout: Before starting the removal process, moisten the moldy grout with water. This helps to prevent dry mold spores from becoming airborne when disturbed. Use a spray bottle to lightly mist the affected area, ensuring that the grout is damp but not soaked.
- Prepare the Cleaning Solution: Mix a mold-killing product or create a cleaning solution by combining warm water and detergent in a spray bottle. Alternatively, you can use vinegar, hydrogen peroxide, or a commercial mold remover diluted according to the manufacturer’s instructions.
- Scrub the Moldy Grout: Using a scrubbing brush or an old toothbrush, vigorously scrub the moldy grout with the cleaning solution. Focus on the areas where mold growth is visible, applying firm pressure to loosen and remove the mold from the porous surface of the grout.
- Rinse and Repeat: After scrubbing, rinse the grout thoroughly with clean water to remove any remaining mold spores and cleaning residue. Use a soft paper towel or cloth to wipe away excess moisture and debris from the surface. If any mold remnants persist, repeat the scrubbing process until the grout appears clean and mold-free.
- Dry and Inspect: Allow the cleaned grout to air dry completely before inspecting the area for any signs of remaining mold growth. Ensure that the surrounding area is adequately ventilated to promote drying and prevent mold recurrence.
- Preventive Measures: To inhibit future mold growth on grout surfaces, consider applying a mold-resistant sealant after cleaning. Additionally, maintain proper ventilation in the kitchen and promptly address any water leaks or moisture issues to prevent mold from returning.
Learn more about removing mildew from grout.
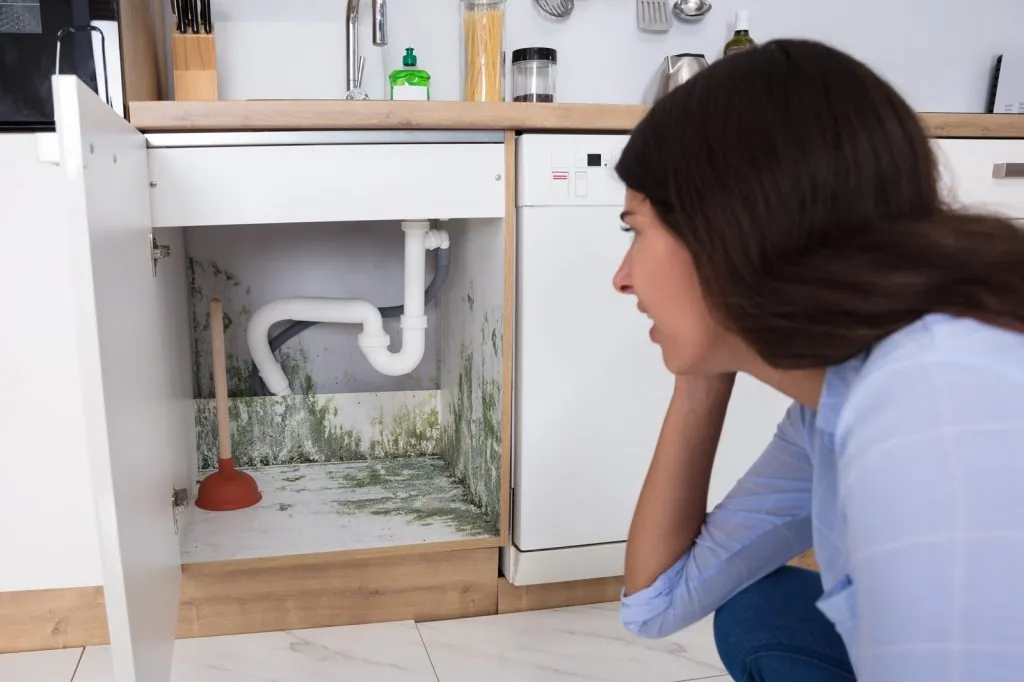
Mold in the Sink Area
- Remove and Seal Items: Start by removing all items from the moldy area, including dishes, utensils, and any other kitchenware. Place these items into sealed plastic bags to prevent the spread of mold spores. Depending on the extent of mold growth, you may need to discard heavily contaminated items or thoroughly clean and disinfect them.
- Address Water Problems: Identify and address any underlying water issues that may be contributing to mold growth, such as a leaky pipe beneath the sink or a damaged faucet. Fix the water problem promptly and thoroughly dry the affected area using fans and dehumidifiers to prevent mold from thriving in damp conditions.
- Contain the Area: Seal off the kitchen area by closing windows and doors to prevent mold spores from spreading to other parts of your home. Use plastic sheeting and duct tape to cover any openings or vents that could allow mold spores to escape into adjacent rooms.
- Clean Moldy Surfaces: Equip yourself with a scrubbing brush or firm sponge and prepare a cleaning solution using a mixture of warm water and detergent or a specialized mold-killing product in a spray bottle. Thoroughly scrub the moldy surfaces, focusing on areas where mold growth is visible. Apply firm pressure to loosen and remove the mold from the surfaces.
- Rinse and Dry: After cleaning, rinse the area with clean water to remove any residual cleaning solution and debris. Allow the surfaces to air dry completely, ensuring adequate ventilation to speed up the drying process and prevent moisture buildup, which can promote mold growth.
Mold in Kitchen Cabinets
- Address Moisture Problems: The first step in tackling mold in kitchen cabinets is to identify and rectify any moisture sources contributing to mold growth. Inspect the cabinets for signs of water leaks, plumbing issues, or inadequate ventilation that may be promoting mold growth. Repair any leaks or ventilation problems promptly to prevent further moisture buildup.
- Prepare Cleaning Solution: Create a cleaning solution by mixing equal parts water and detergent in a spray bottle. Alternatively, use a commercial mold cleaner specifically designed for porous surfaces like wood cabinets. Ensure the area is well-ventilated before applying the cleaning solution.
- Remove Mold: Spray the cleaning solution onto the moldy areas inside the kitchen cabinets. Use a scrubbing brush to scrub away the mold, focusing on areas with visible growth. For tight corners and hard-to-reach spots, use a toothbrush or a small scrubbing tool to ensure thorough cleaning.
- Wipe and Rinse: After scrubbing, use a clean, damp cloth to wipe away the residue and any remaining mold particles. Rinse the surfaces with a separate clean, dry cloth to remove any lingering cleaning solution. This step helps to eliminate traces of mold and prevent its regrowth.
- Accelerate Drying: To expedite the drying process, use fans or open windows to increase air circulation within the cabinets. If available, use a dehumidifier to reduce humidity levels and promote faster drying. Ensure that the cabinets are thoroughly dry before replacing any items to prevent mold recurrence.
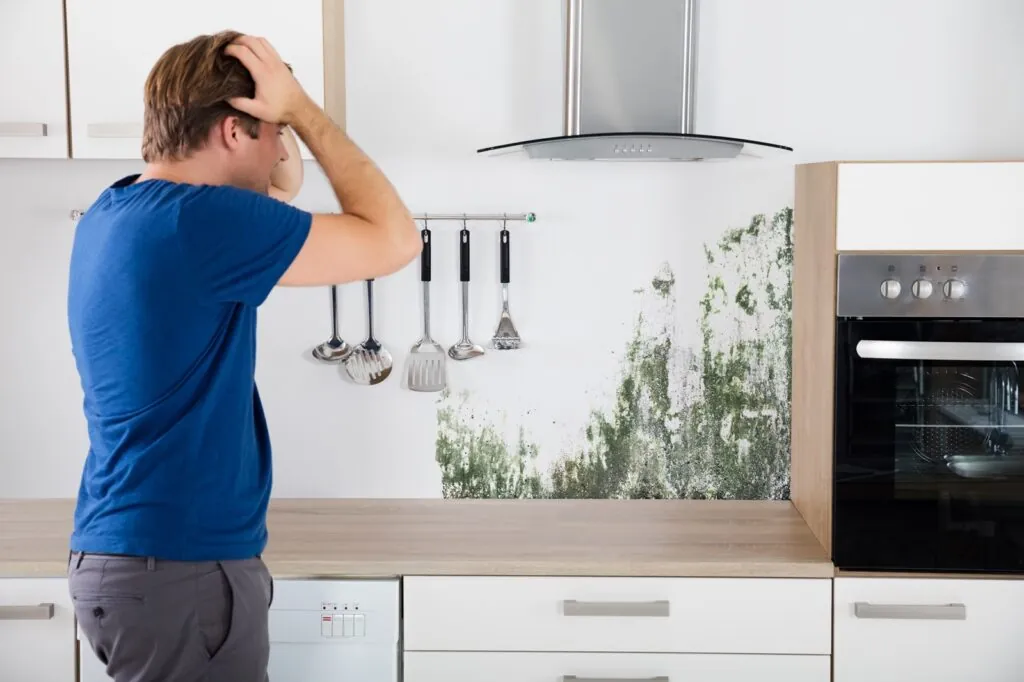
Mold on Ceiling and Walls
- Identify and Fix Water Leaks or Condensation: Inspect the ceiling and walls for any signs of water leaks from the roof or plumbing fixtures, as well as areas prone to condensation buildup. Address any leaks or condensation issues promptly to eliminate the source of moisture that promotes mold growth.
- Assess Porous Surfaces: Determine if the mold has affected porous surfaces such as drywall. In many cases, mold-infested drywall may need to be removed and replaced to prevent further spread and ensure thorough remediation. Non-porous surfaces like painted walls can typically be cleaned without causing damage.
- Prepare Cleaning Solution: Mix a mold removal solution using water and detergent, or opt for a commercial mold cleaner suited for use on walls and ceilings. Ensure the area is well-ventilated before proceeding with cleaning.
- Clean the Mold: Using a stepladder to reach elevated areas, carefully scrape away any loose paint or surface debris using a paint scraper. Then, apply the cleaning solution to the affected areas using a firm sponge or scrubbing brush. Work in sections, ensuring thorough coverage and agitation to remove the mold effectively.
- Provide Ventilation: During the cleaning process, ensure adequate ventilation by opening windows and using fans to circulate air. This helps to dissipate airborne mold spores and speed up the drying process. Address any underlying moisture issues to prevent mold from returning.
- Apply Mold Inhibitors: Before repainting the affected areas, consider adding mold inhibitors to the paint to prevent future mold growth. These additives can help protect the walls and ceilings from mold colonization, especially in areas prone to moisture buildup.
Learn more about removing mold on ceilings.
For Professional Mold Removal, Call the PuroClean Restoration Experts!
When dealing with extensive or stubborn mold in the kitchen, it’s often best to enlist the expertise of professional mold removal services. PuroClean Restoration stands out as a trusted leader in the industry, offering comprehensive solutions for mold remediation and restoration. Call us today at or contact your local PuroClean office.


